DIY DONUT WALL

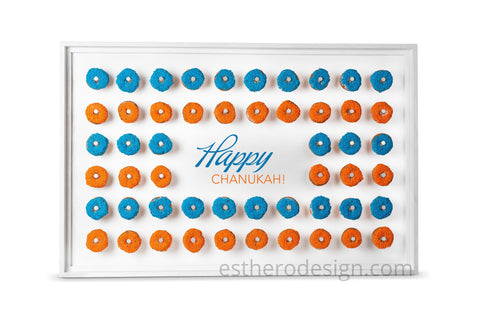
Roll up your sleeves and jump on the DIY donut wall bandwagon. It takes a bit of time and planning, but the results are show stopping and it's really not difficult! By making your own donut wall you can customize the shape and size to suit your needs. You can also frame it and hang it or just lean it against your wall.
Follow my step by step tutorial and have fun!
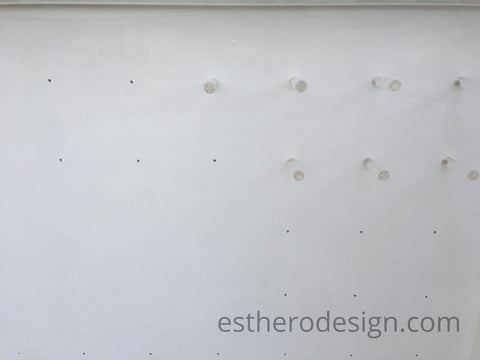
By using the EstherO Acrylic Donut Rods, you will enjoy the benefits of making your own wall out of wood, but still enjoy the benefits of using acrylic rods. Nobody likes their donut with a dusting of wood splinters or a sprinkling of paint chips. In addition, the pegs are screwed in and easily removed so that the wall can be cleaned well or even repainted when you want to change your color scheme. Acrylic pegs also give it an elegant finishing touch - nobody will believe you made this donut wall yourself!
You will need:
- 1/4" Plywood or Peg Board (frame-optional) available at your local hardware store.
- High Gloss Paint
- 2-3" Foam Brushes
- Acrylic Donut Rods
- Removable Vinyl Lettering (optional)
Directions:
- Determine the size of your donut wall. This one is 35"x 55" with a frame.
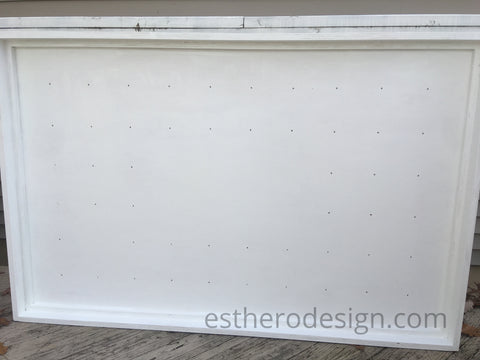
- You can skip this step if you are using pegboard (as the holes are already there) Determine where you would like the holes to be and mark off with a pencil. I usually leave approximately 5" between each donut. This step can be done before or after the wall is painted.
- Drill 1/4" holes.
- Sand the wood.
- Lay the plywood down on protected surface.
- Put on plastic gloves and apply multiple coats of paint until the color is even. Let it dry.
- Place the screw through the back of the wall and screw the peg in tightly.
TIPS:
- Color your donuts with Wilton Edible Spray.
- Cut out 4" paper circles and use them to plan your donut spacing.
- Ask the hardware store to cut your pegboard or plywood to your desired dimensions.
*Disclaimer: This post contains affiliate links, which help to support estherodesign.com. For more information, see my disclosure policy.


