

Bar Mitzvah Hat Box Favors – An Updated DIY Party Favor
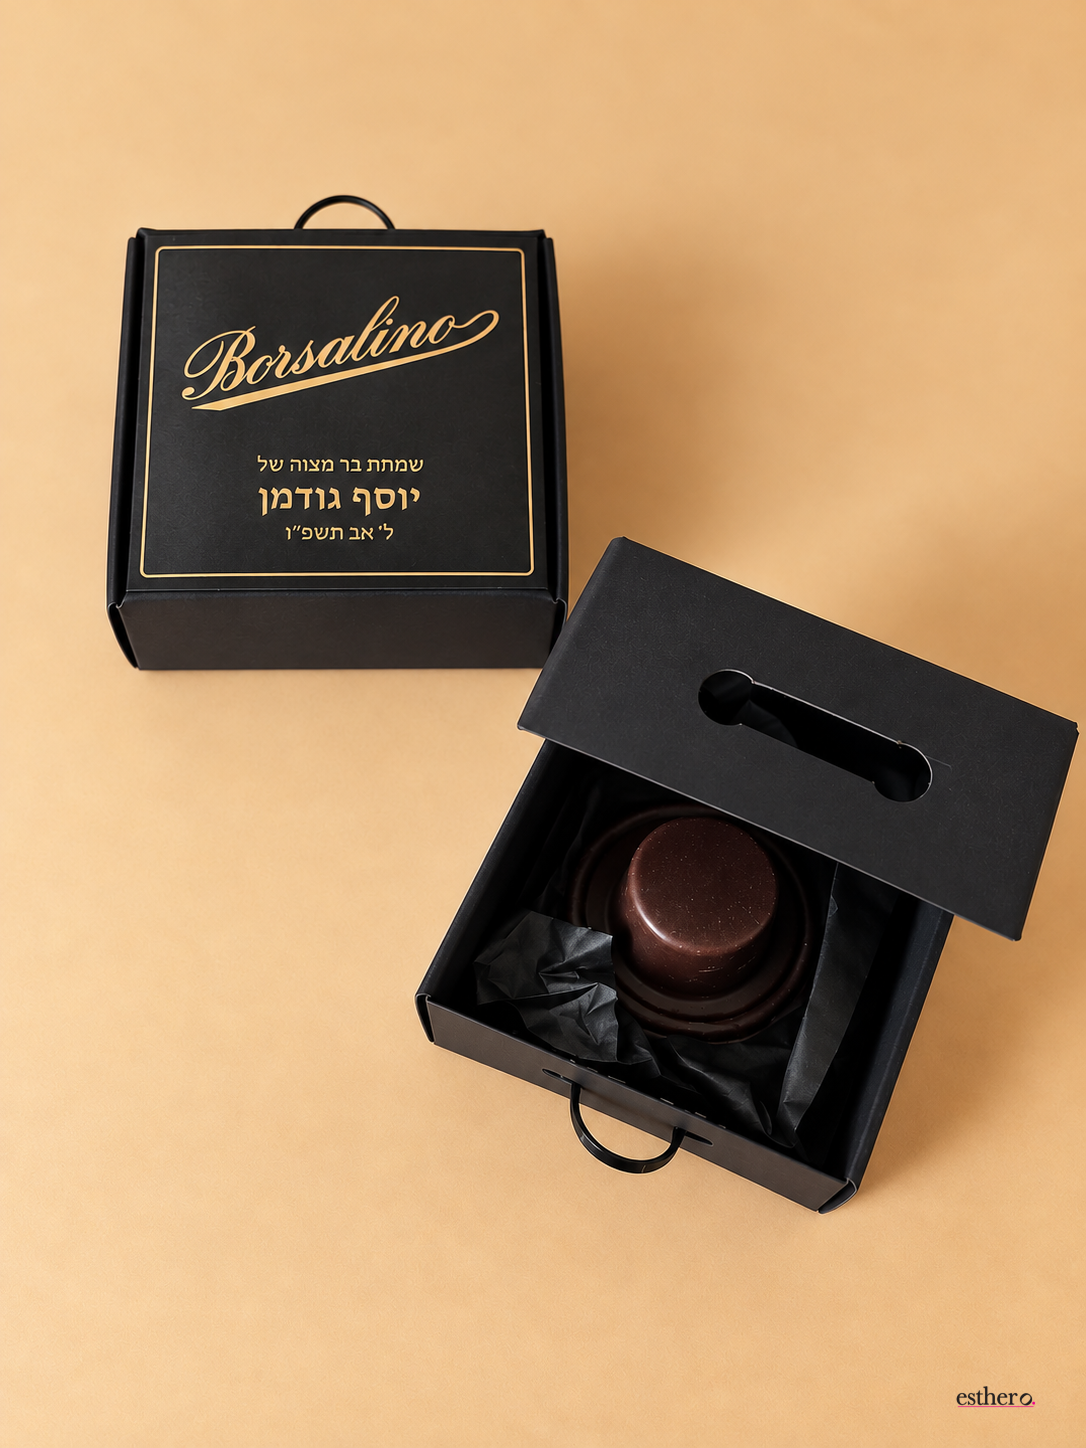
Hats off to your Bar Mitzvah boy!
There’s nothing quite like seeing a Bar Mitzvah boy dressed in his new suit and fresh black hat, ready for his special day!
We first shared these adorable Bar Mitzvah Hat Box Favors back in 2013, and we’re bringing this favorite project back with a fresh, updated look!
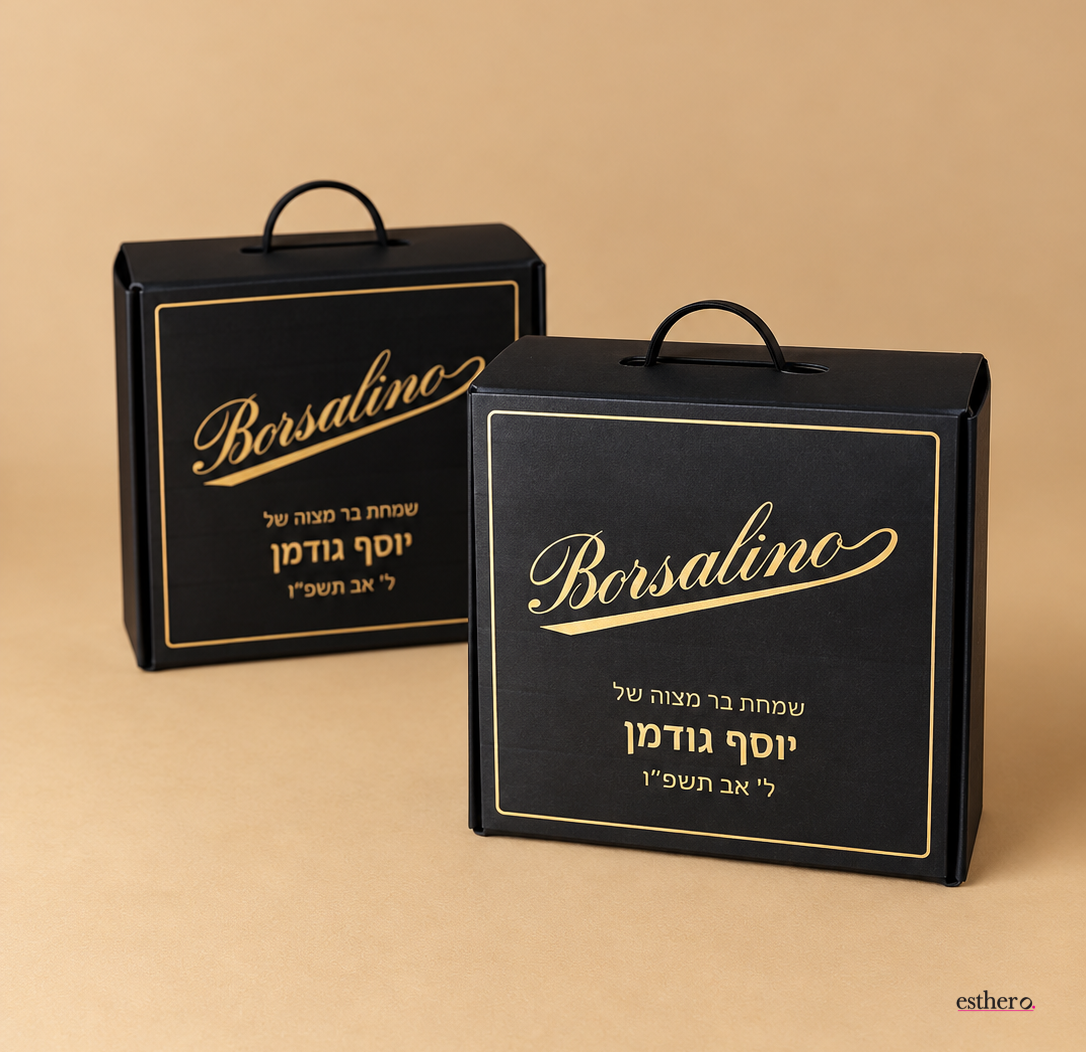
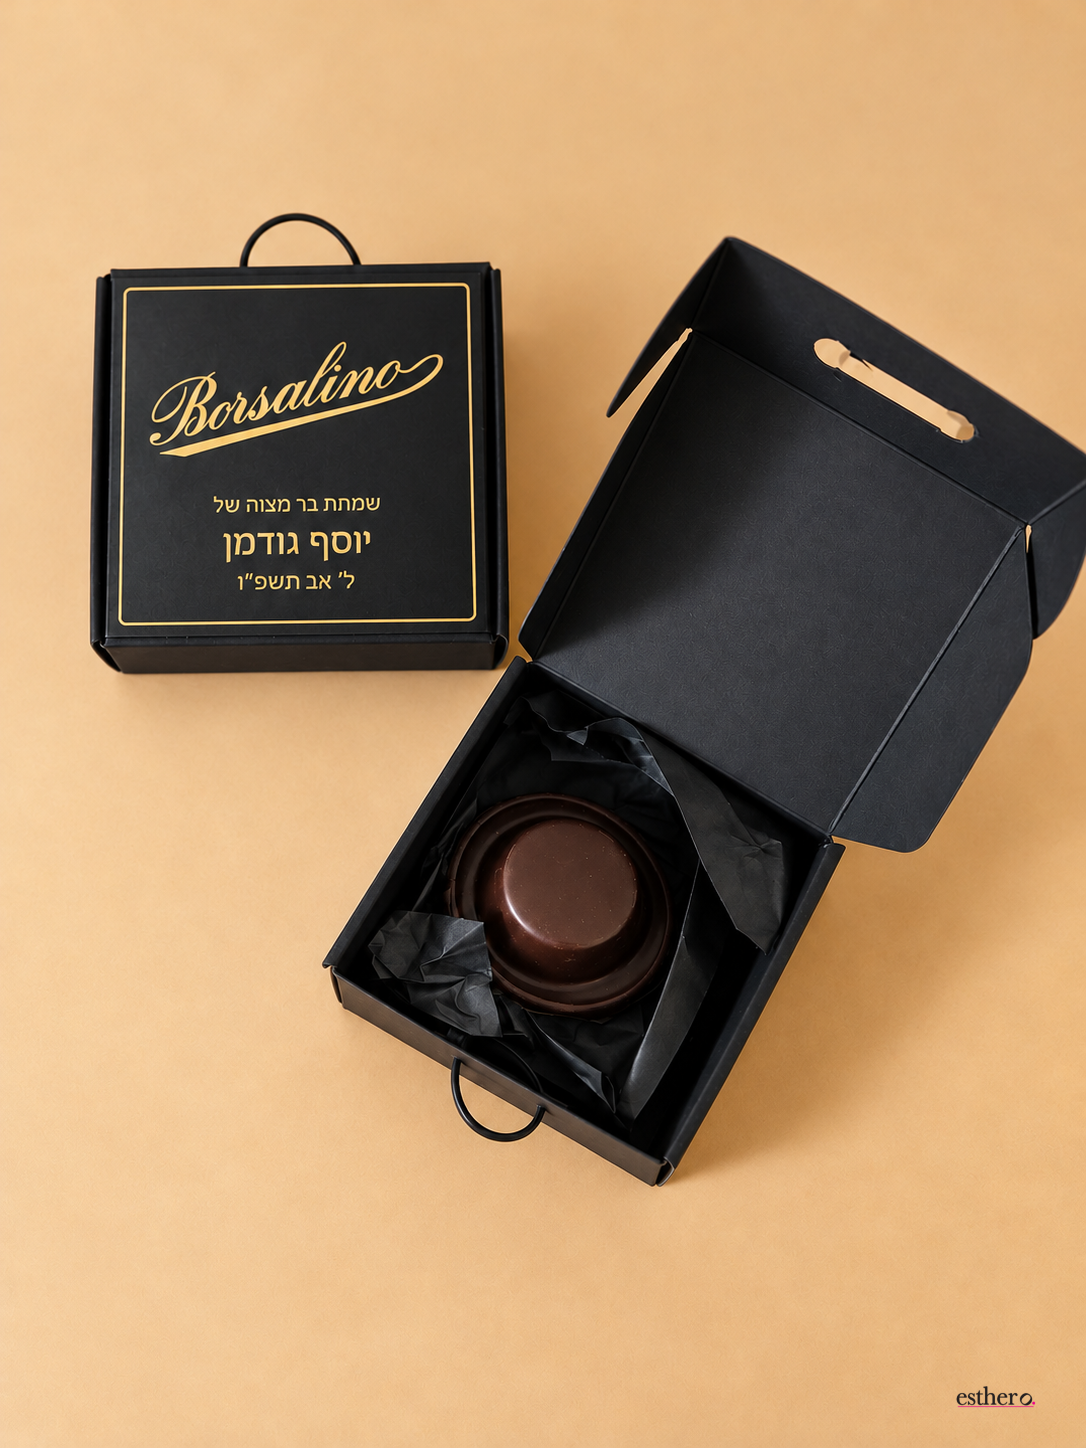
We’ve upgraded the original design with a more realistic black hat box, a beautiful handle, and an editable personalized label. The result is a classic, elegant favor that looks just like a miniature version of the real thing!
A Classic Bar Mitzvah Favor with a Fresh New Look
These miniature hat boxes are a fun and creative way to celebrate your Bar Mitzvah boy.
We love the black-and-gold combination, which gives the boxes an elegant, polished appearance. The updated handle adds an authentic touch, while the personalized label makes each favor extra special.
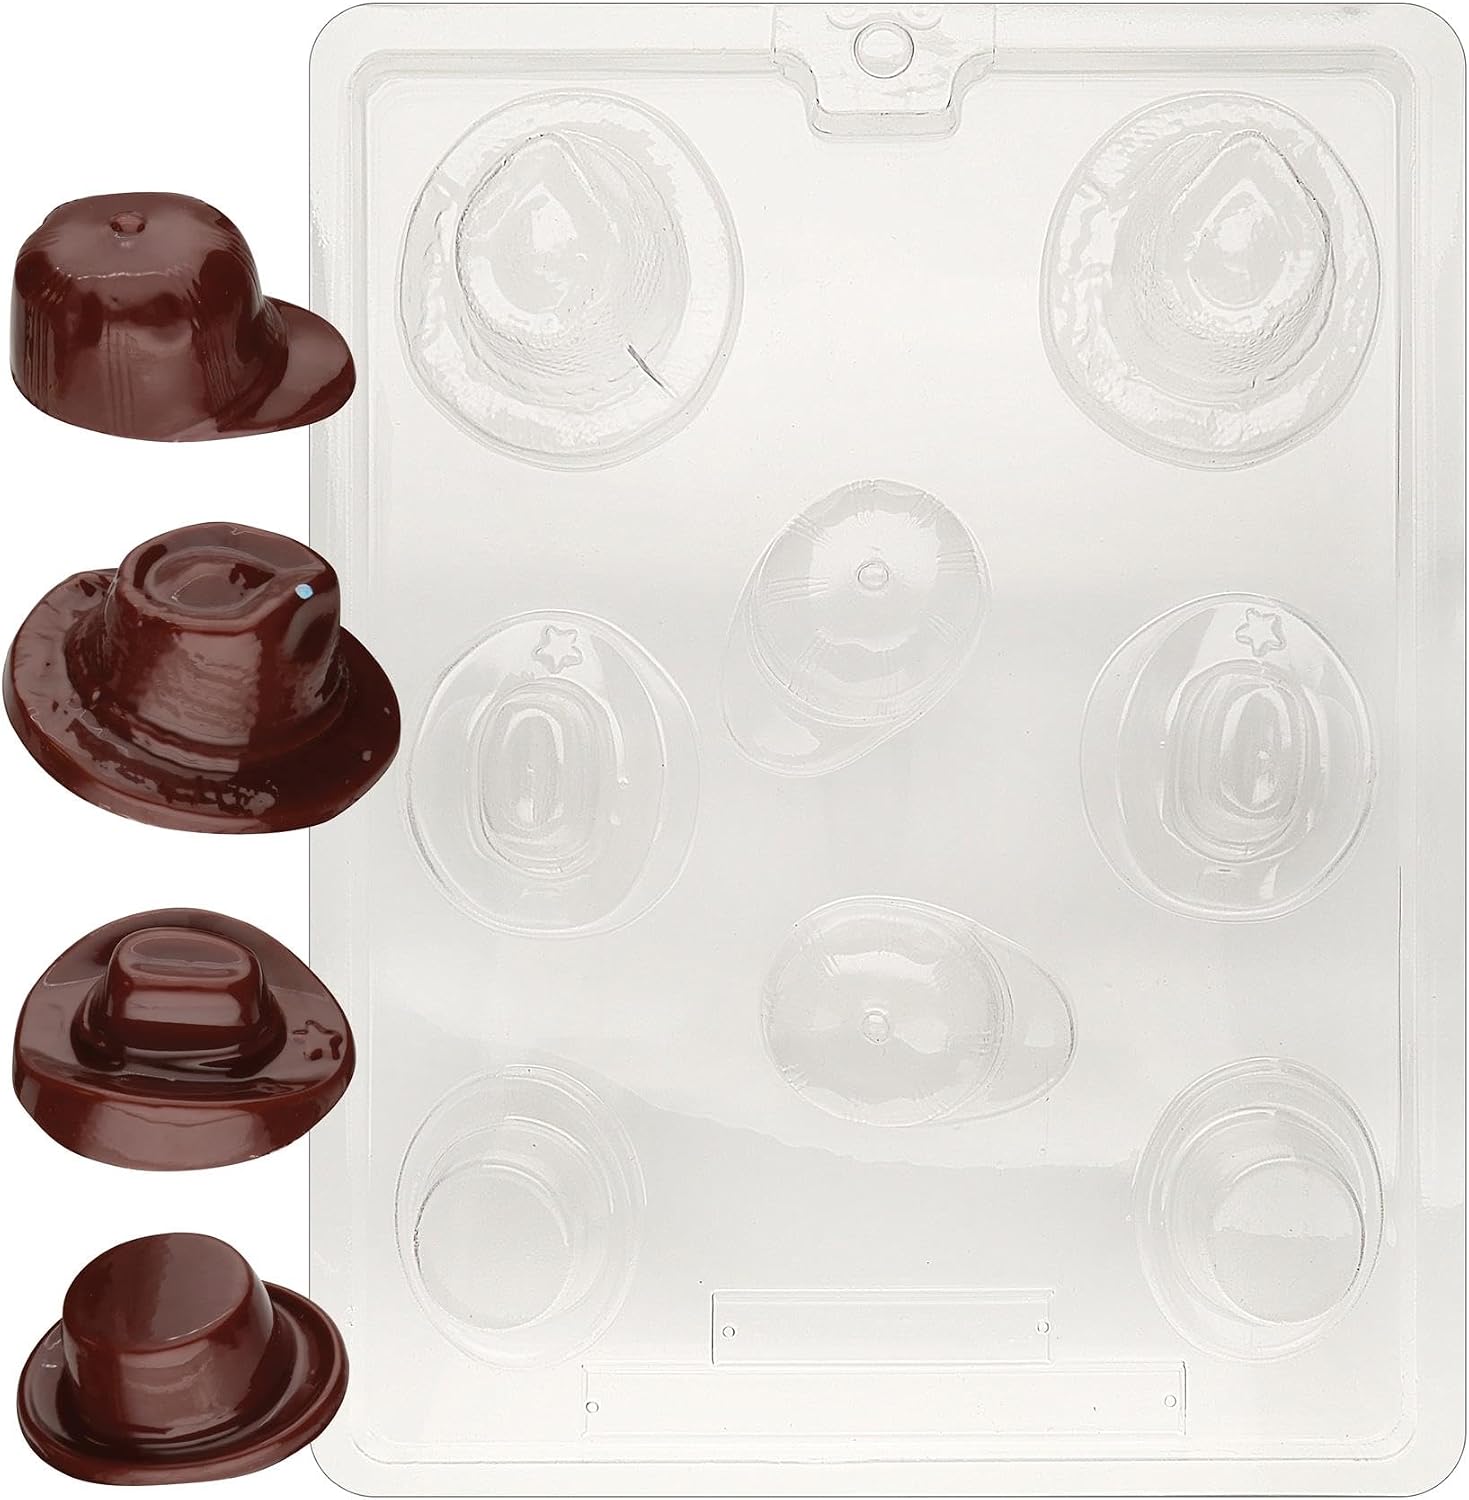
And what better surprise to find inside than a chocolate hat?
It’s truly an out-of-the-box Bar Mitzvah favor!
Of course, you can also fill the boxes with chocolates, candies, cookies, or any other small treats.
DIY Bar Mitzvah Hat Box Favors with Editable Labels
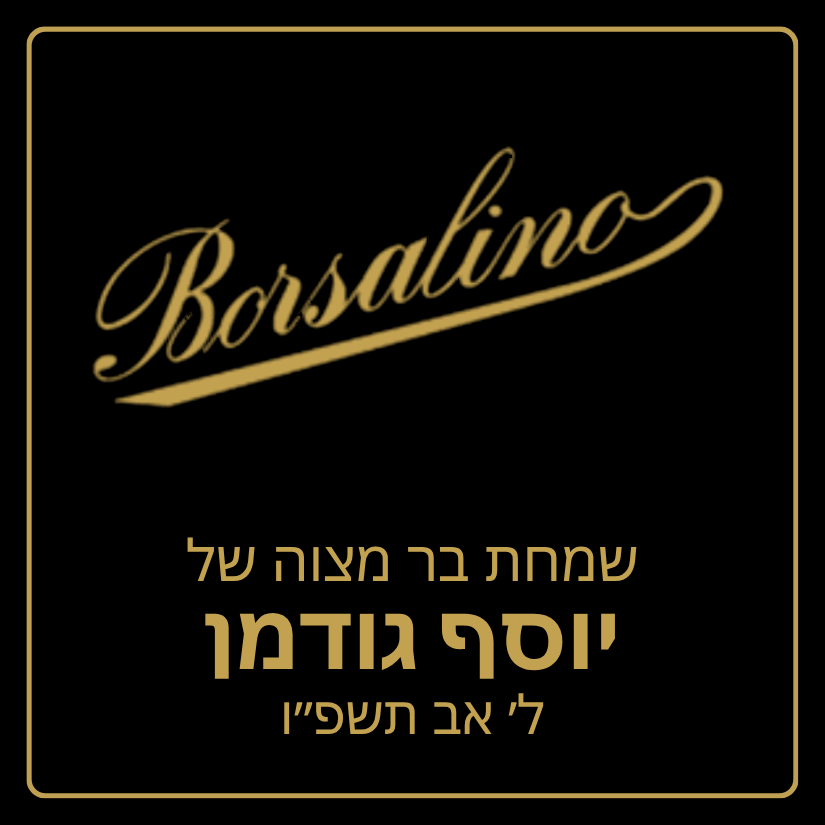
Our updated design includes an editable label that you can customize with the Bar Mitzvah boy’s name and date.
Simply edit the label in Canva, print, and attach it to your box for a beautiful personalized finish.
Please note: Basic knowledge of Canva is required to edit the label.
What to Put Inside Your Bar Mitzvah Hat Boxes
A chocolate hat is our favorite filling because it ties the whole theme together beautifully!
You can also fill these miniature hat boxes with assorted chocolates, candies, cookies, or other small treats. Choose something that complements your celebration and fits comfortably inside the box.
Creative Ways to Display Your Bar Mitzvah Party Favors
These hat boxes make a beautiful addition to your Bar Mitzvah celebration.
Arrange them on a dessert table, display them together at a dessert station, or place one at each guest’s setting. You can also put them into welcominng bags.
It’s a simple detail that adds that extra oomph to your celebration!
More Unique Bar Mitzvah Favor Ideas
Looking for more inspiration? Be sure to check out our Bar Mitzvah Hat Favors and our Tefillin Bag Party Favor among many more Bar Mitzvah Celebration ideas to make your simcha memorable.
Originally published in 2013. Updated October 2026 with an improved hat box design, upgraded handle, and editable personalized label.
You will need:

Step 1: Personalize and Print Your Labels
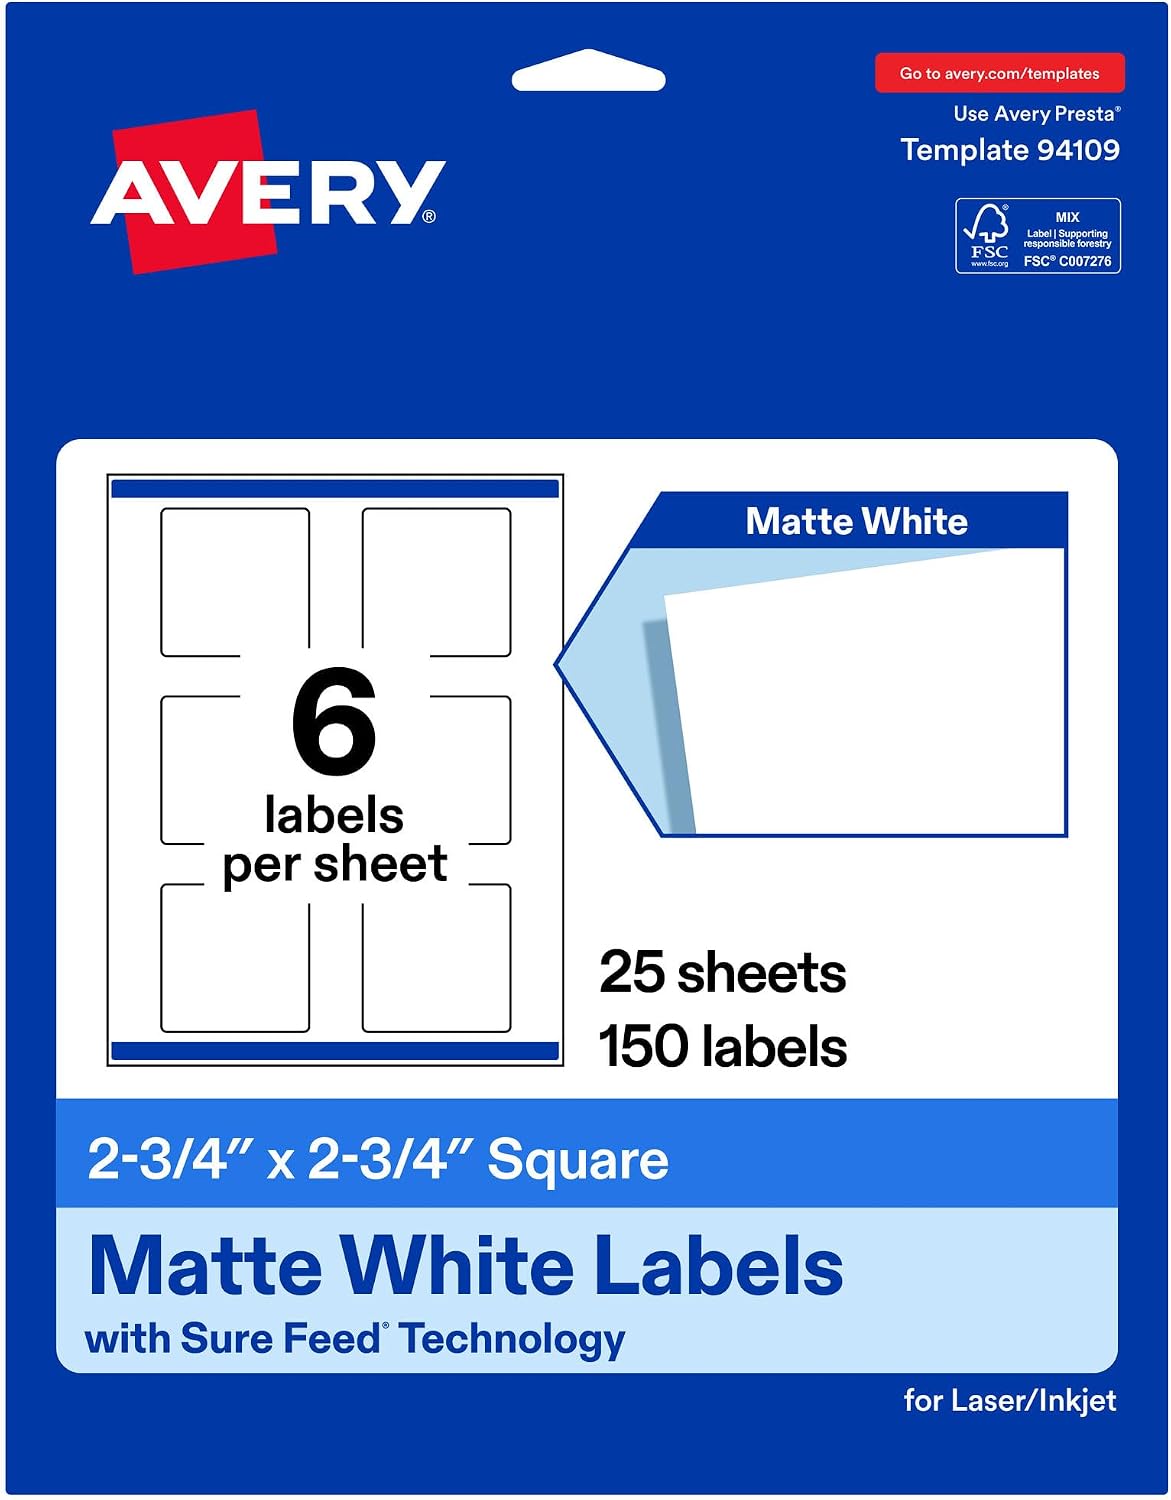
Open the editable label template in Canva and personalize it with the Bar Mitzvah boy’s name and date. You can also change the color.
Once your design is complete, arrange the labels on a printable label sheet to fit as many as possible.
You can print on individual adhesive labels or use full-sheet sticker paper and cut the labels into squares.
Step 2: Assemble the Hat Boxes
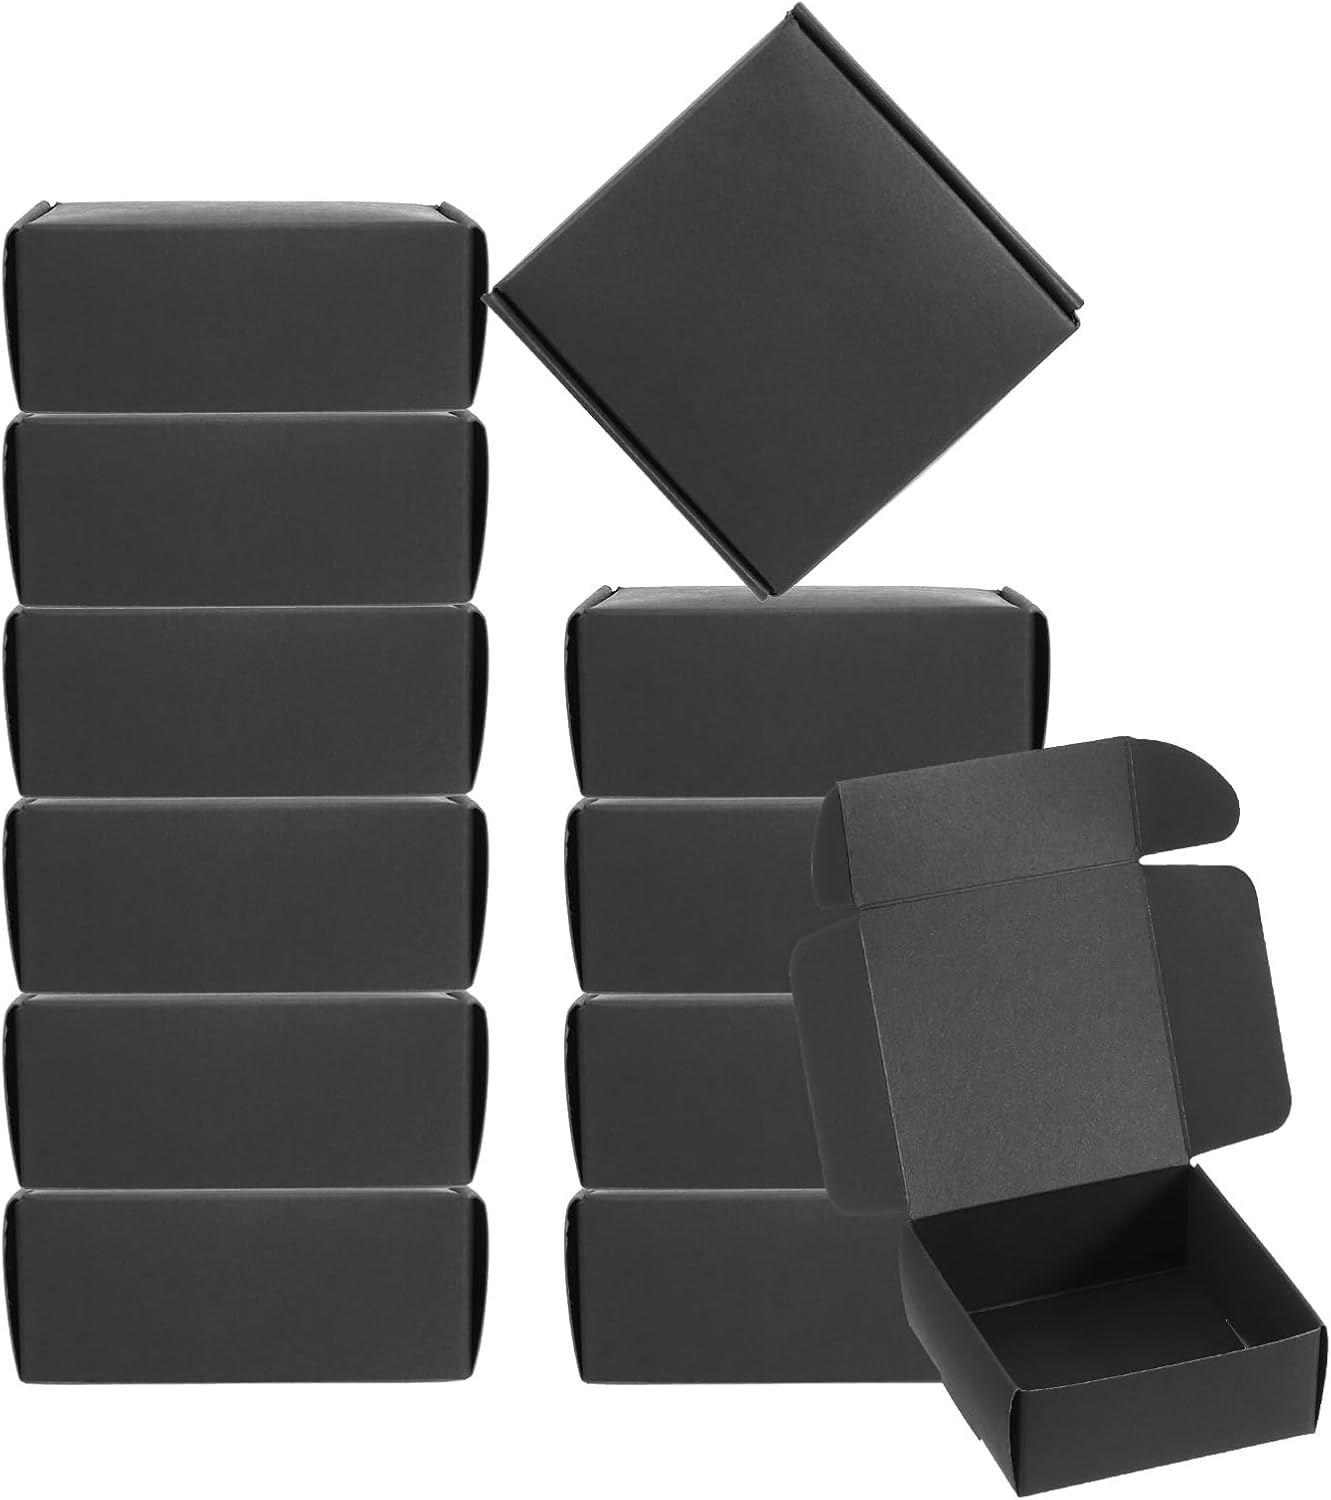
Fold and assemble your black favor boxes according to their original fold lines.
Make sure the box is positioned with the closing flap facing upward when applying the label.
Peel off the sticker backing and carefully center the personalized label on the front of each box.
Step 3: Create the Opening for the Handle
Open the top flap of the box.
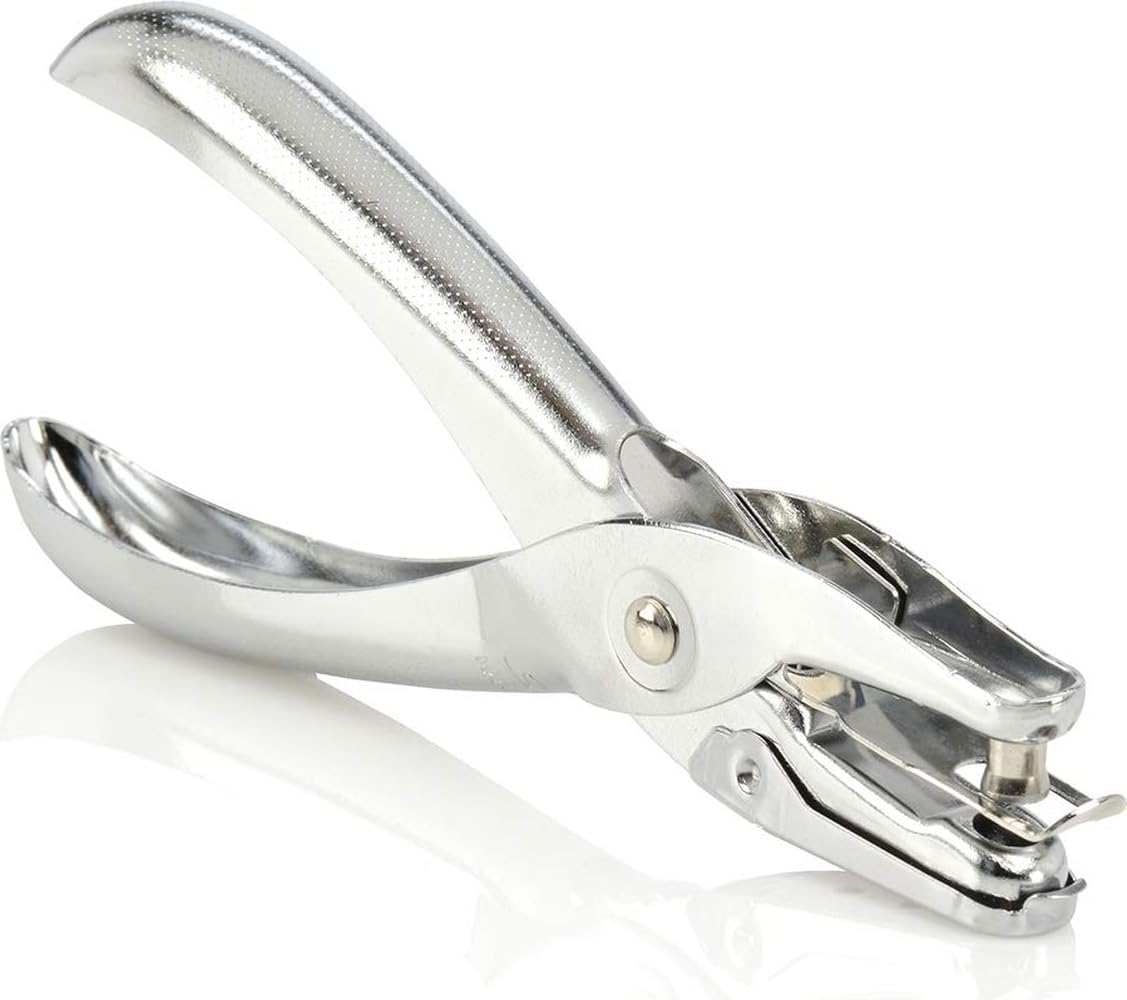
Using a hole punch, make two holes in the flap, approximately 1 inch apart.
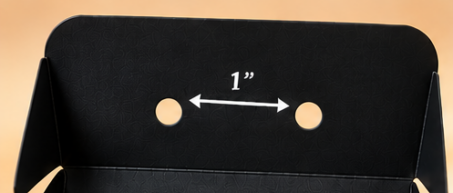
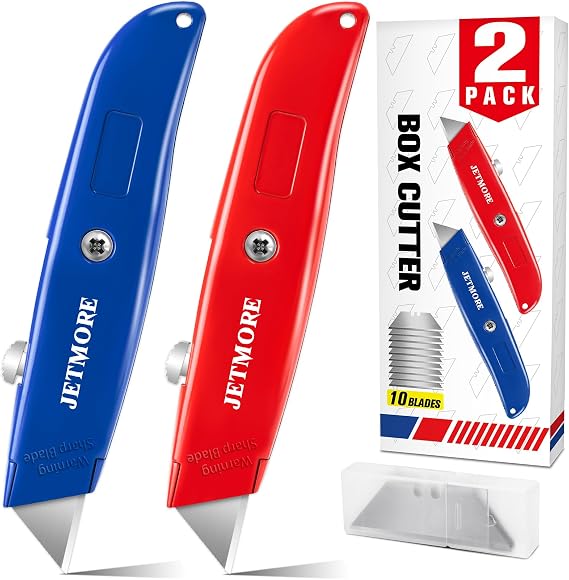
With a sharp craft knife or razor, carefully cut away the cardboard between the two holes, connecting them to create one long, narrow oval opening.
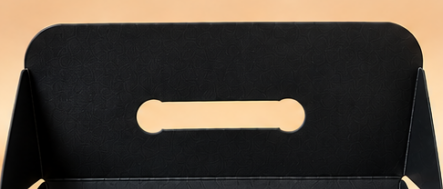
Step 4: Punch the Holes for the Handle
Close the top flap and use the oval opening as a guide.
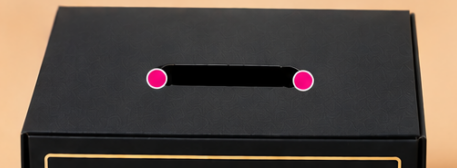
Mark the two ends of the oval onto the box underneath the flap.
Open the flap again and punch a hole at each marked point.
Important: The two holes underneath the flap must line up with the ends of the oval opening. This allows the zip-tie handle to come through neatly while the flap closes over it.
Step 5: Add the Zip-Tie Handle
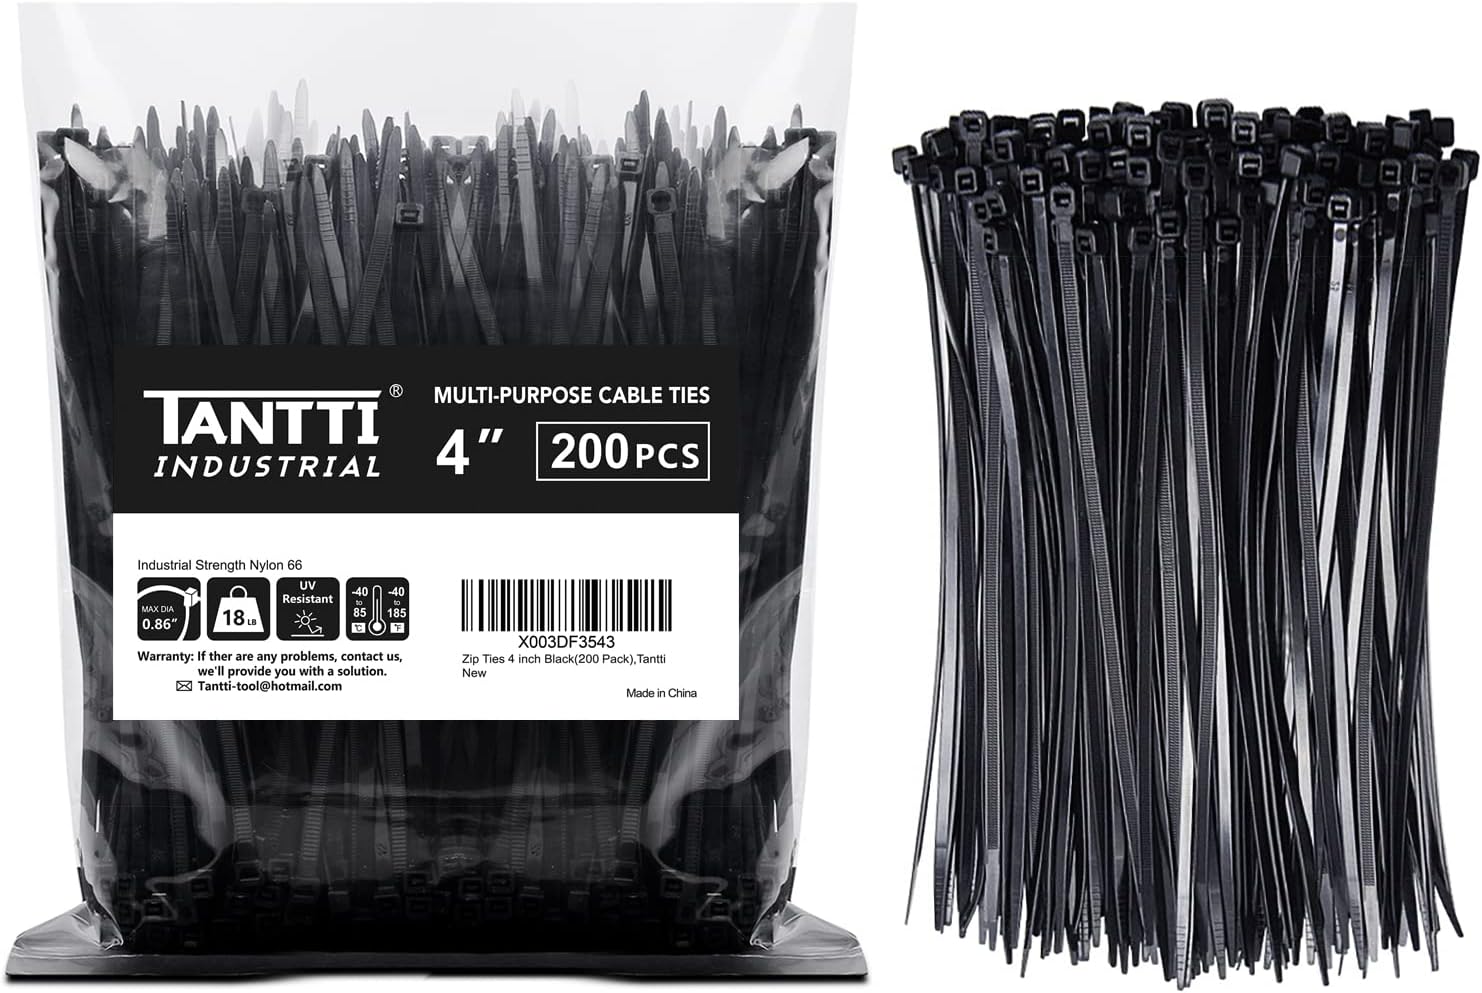
Thread a black zip tie through the two holes in the box, leaving a small loop above the top to resemble the handle of a real hat box.
Secure the zip tie underneath, adjusting the loop until it is the desired size.
Trim any excess zip tie if necessary.
Close the flap, guiding the handle through the oval opening you created.
Your miniature hat box now has its very own handle!
Step 6: Make the Chocolate Hats
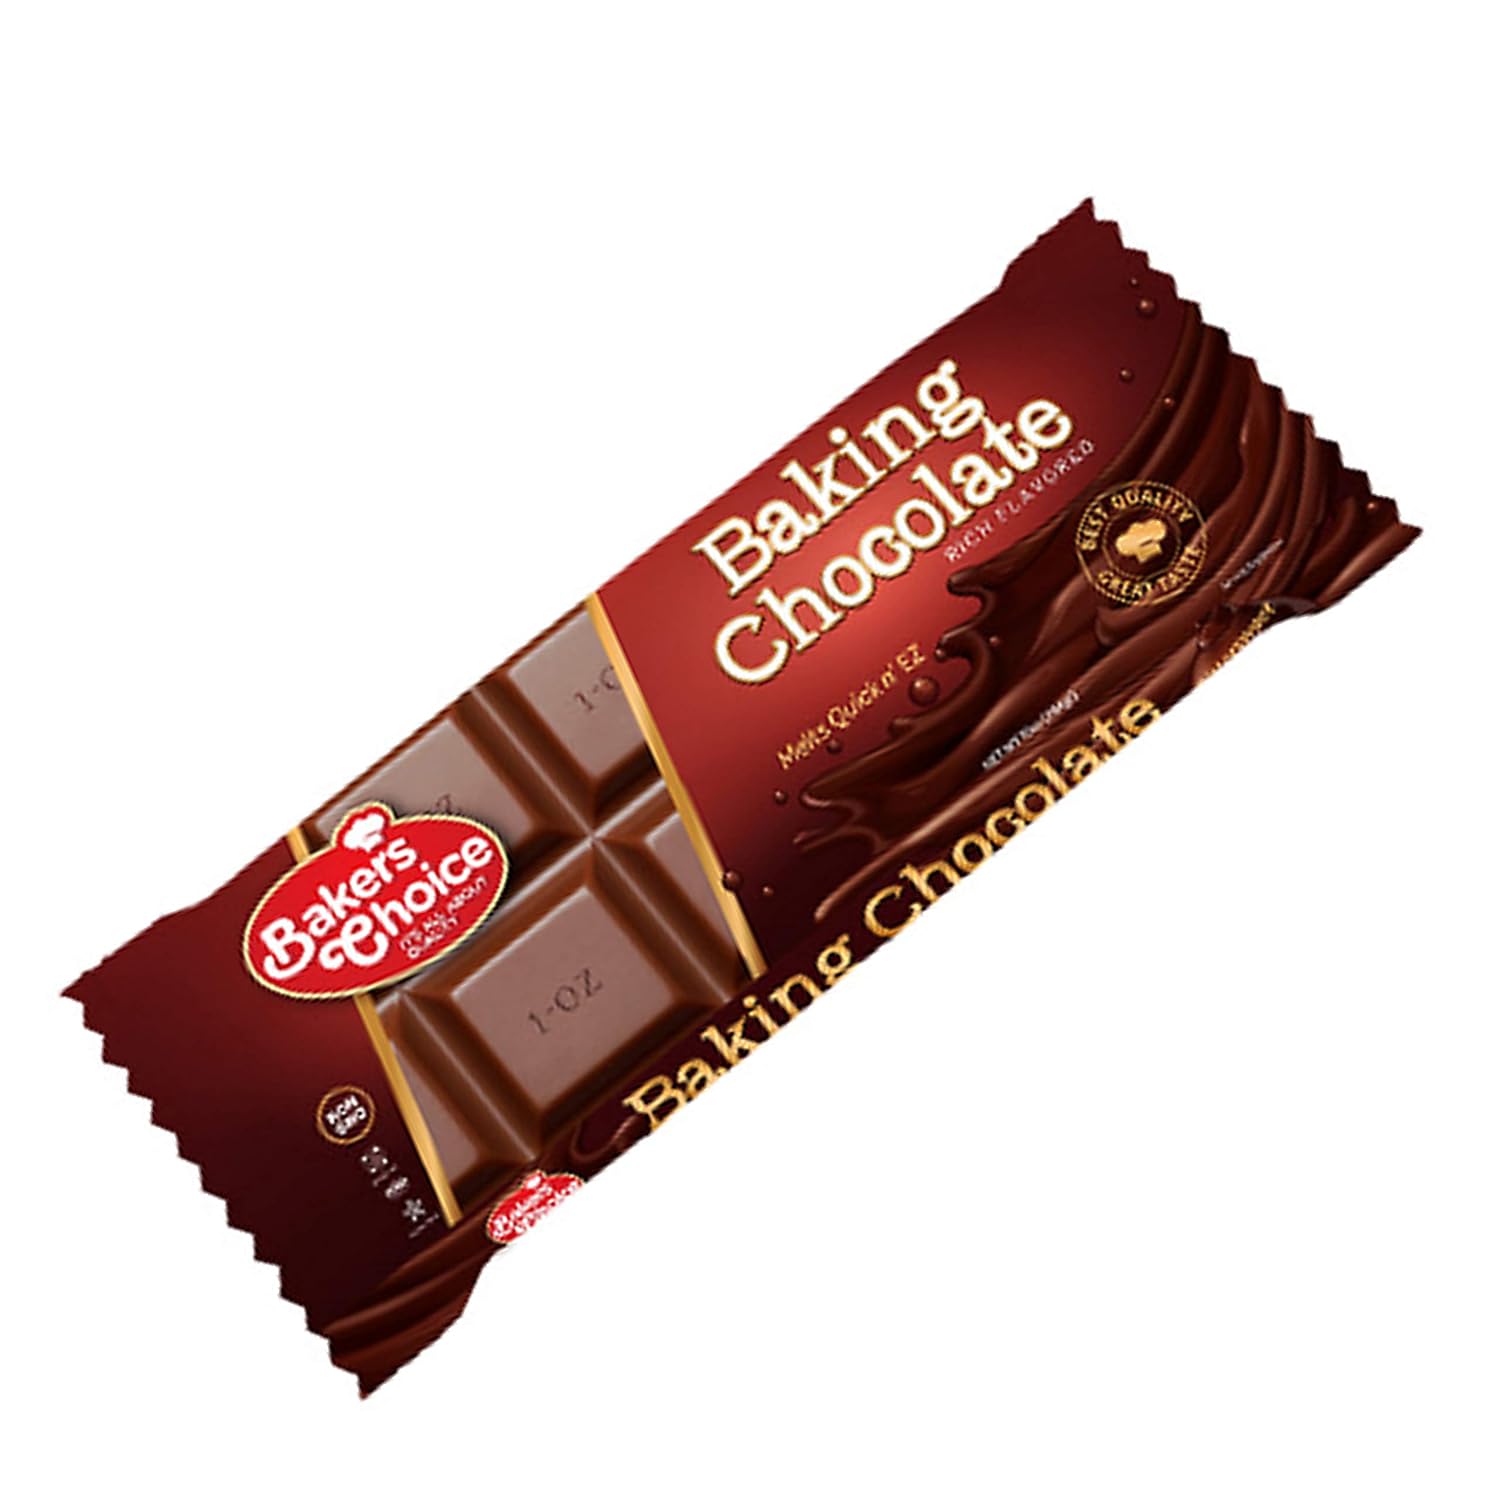
Melt your chocolate according to the package directions until smooth.
Carefully fill the chocolate hat molds, tapping them gently to release any air bubbles.
Allow the chocolate to set completely, then carefully remove the hats from the molds.
Our tips for making chocolate hats:
If you’re preparing a large number of favors, we recommend using several molds at once. This will make the process go much faster!
We also love using a chocolate melting pot that we can unplug and plug back in as needed. It makes working with chocolate so much easier, especially when preparing a large quantity.
Step 7: Fill Your Bar Mitzvah Hat Boxes
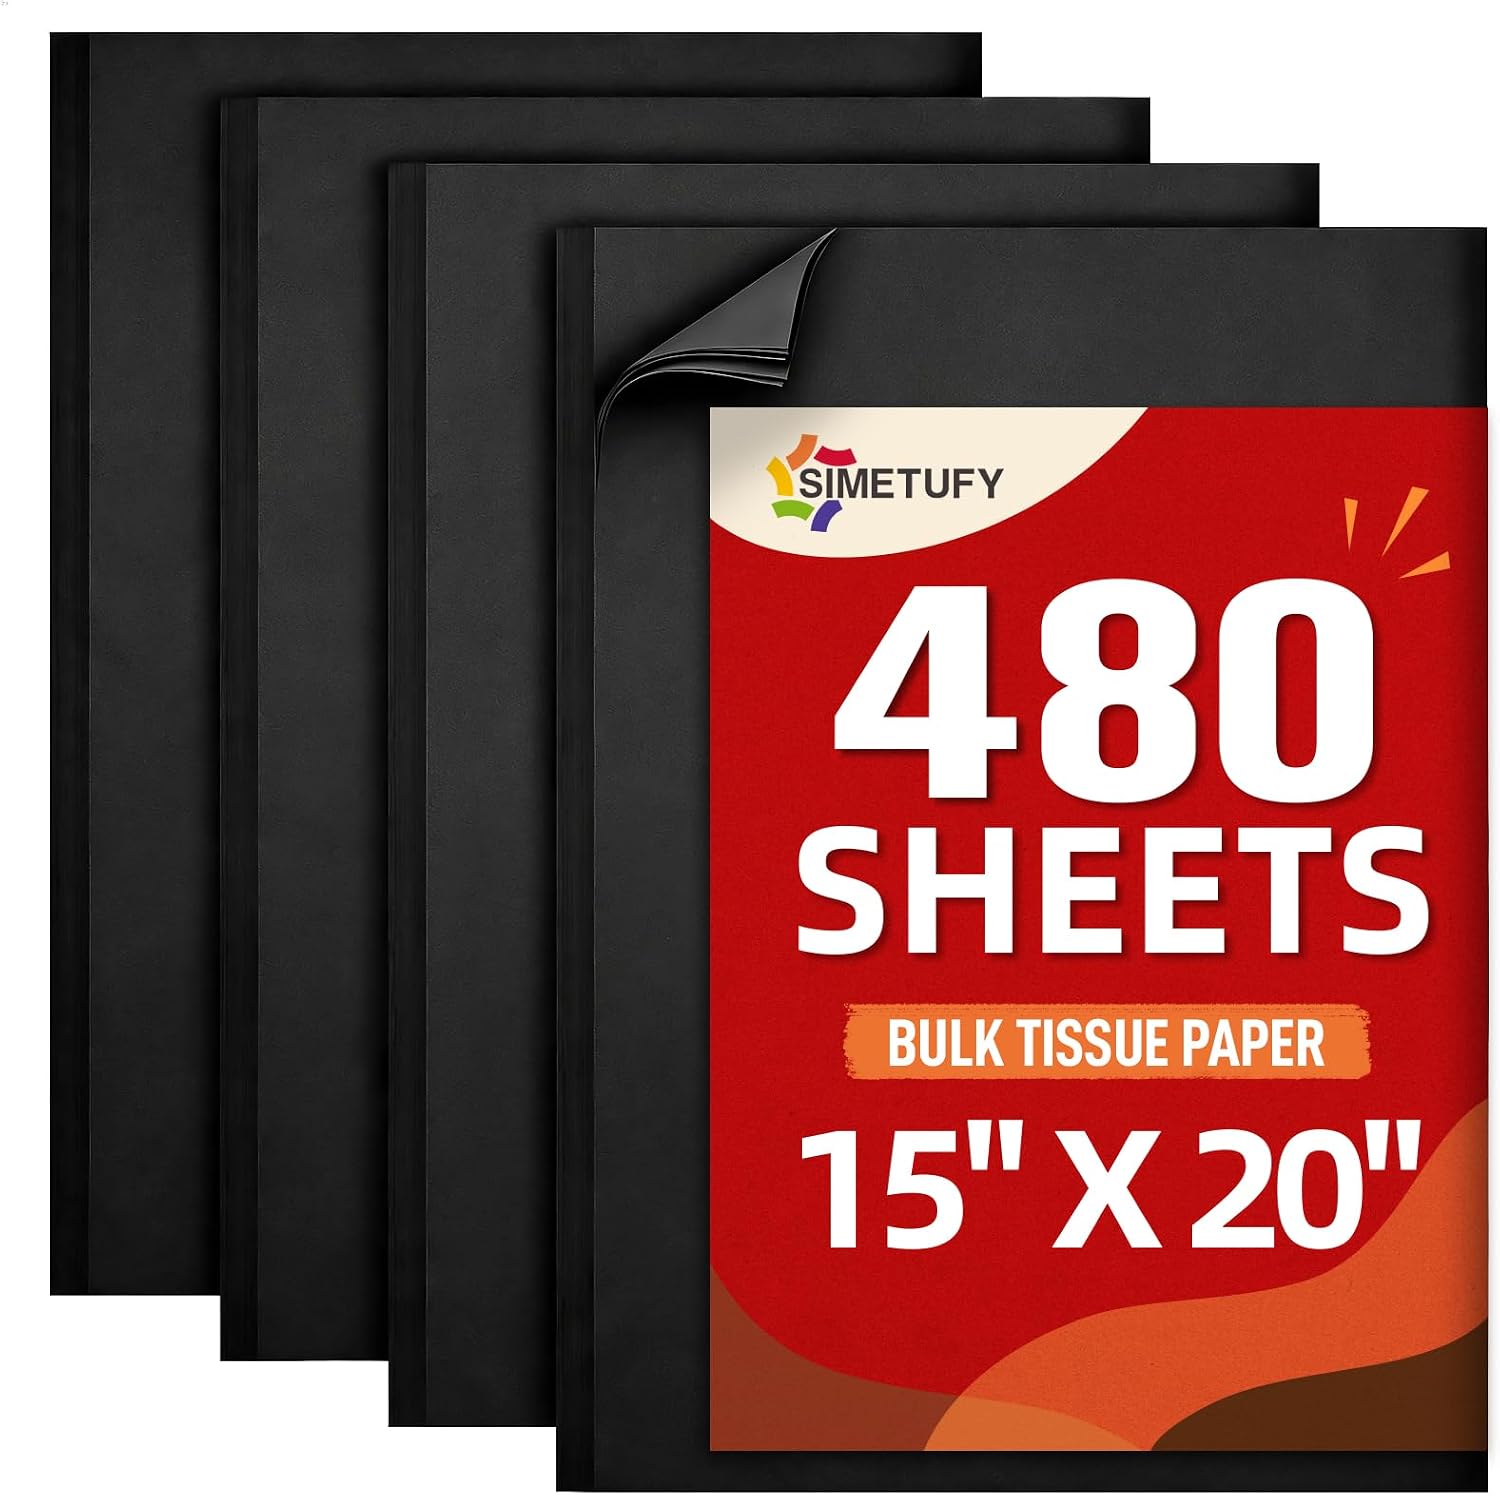
Line each box with a small piece of black tissue paper.
Carefully place a chocolate hat inside, arranging the tissue paper around it for a beautiful presentation.
Close the box, making sure the handle comes through the oval opening.
Your personalized Bar Mitzvah hat box favors are now ready to display!
Helpful Tips
For a consistent look: Use the first completed box as a guide for positioning the holes on the remaining boxes. Once your first sample is made, you can open it up flat again and use it as your template to easily mark the rest of the boxes.
For safety: Always use a protective cutting surface when working with a craft knife, and keep sharp tools away from children.

2 Responses
Hi, The link to edit label is not working.
Hi,
Do you have a filter that might be preventing it from working?
It does seem to be working.