




When I attended Kosherfest this year, it was with intention of finding new and exciting products to pass on to my readers.
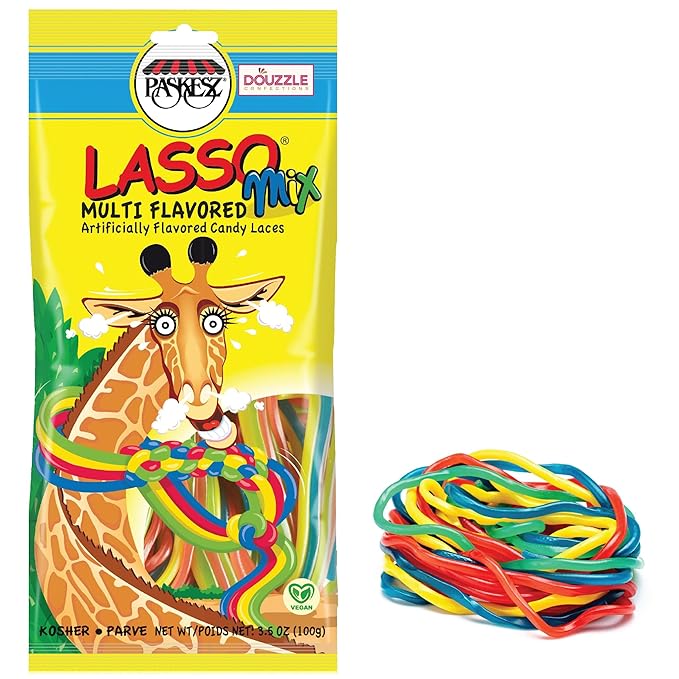
To my delight, I encountered the Paskesz candy company first. Right away, I knew I was off to a good start! Once again, Paskesz has put on the market a new and original candy that’s sure to be a big hit.
For one who enjoys creative food crafting , these new Eats ‘n Crafts are a winner for you! (Not to mention they taste great too!) Edible lanyard, lacing cookies, weaving, pom poms… the ideas are endless. The following are some actual samples that I have tried. (Some have instructions, while others are pictures only.)
Remember- the sky’s the limit and let your child’s imagination soar!
Cookie Lacing
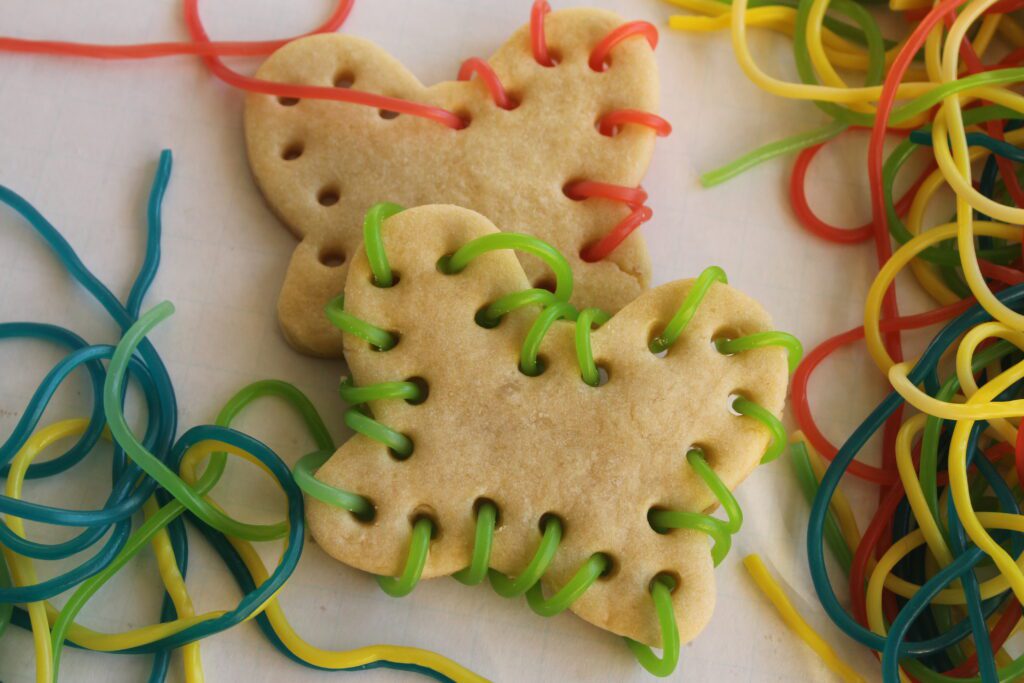
Supplies:
- sugar cookie dough
- large cookie cutter
- straw
- Eats ‘N Crafts or Lasso Rope
Directions:
- Roll out the cookie dough.
- Using your cookie cutter, cut out shapes.
- Use a straw to make holes for lacing. Move the straw around a little, in a circular motion to enlarge the hole. If the hole closes up during baking, repoke the hole as soon as you remove the cookies from the oven.

4. Tie a knot at one end of the Eats ‘N Crafts and begin “stitching” the cookie.



Cookie Weave
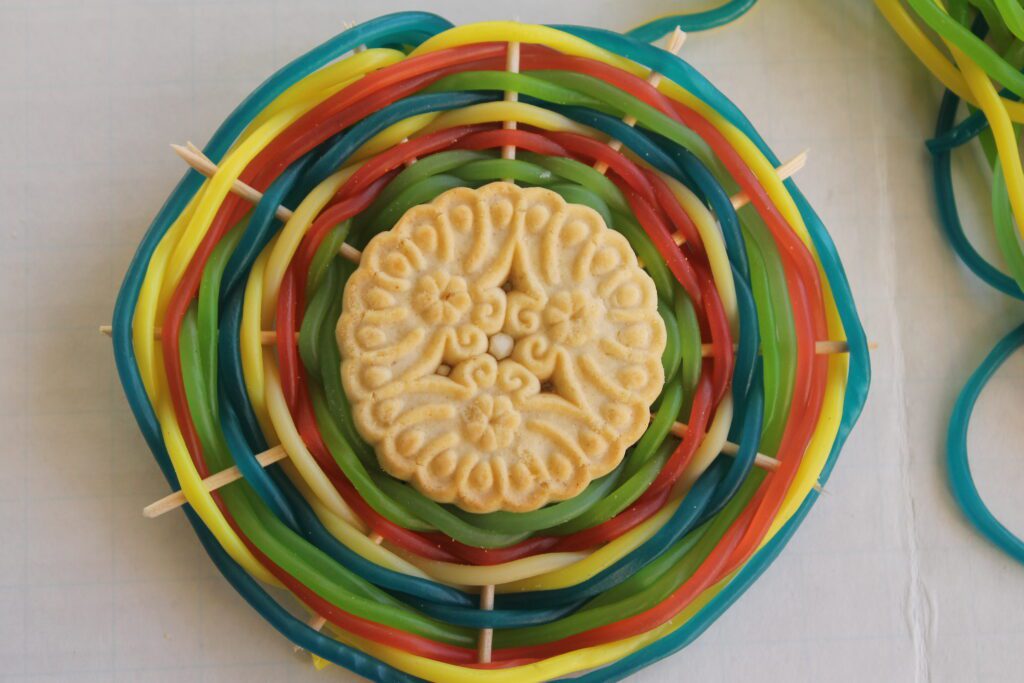
Supplies:
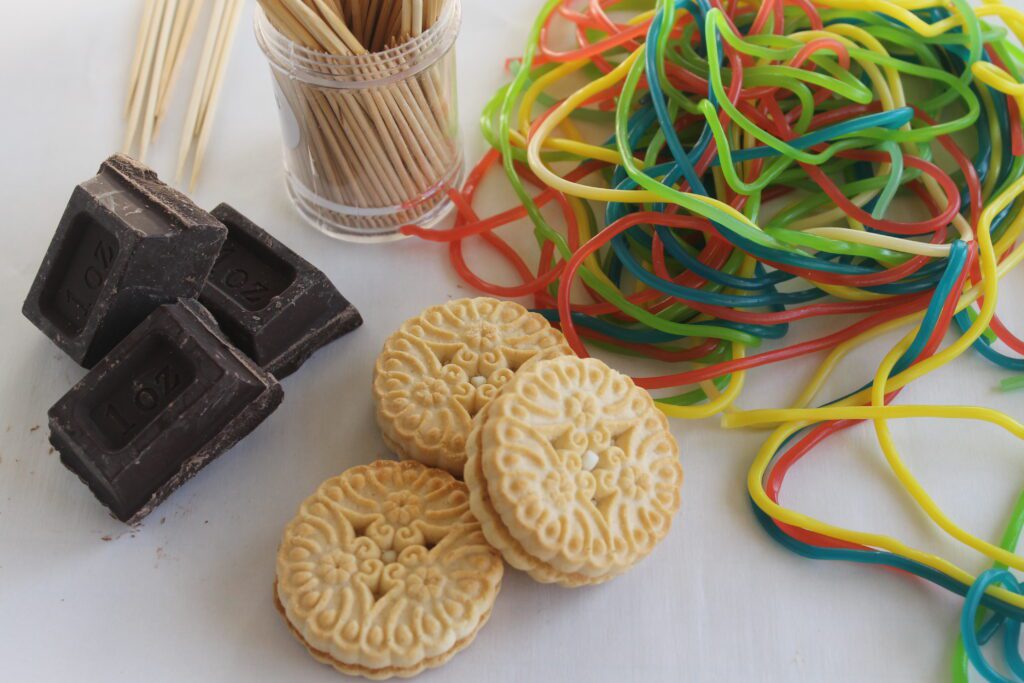
- larger size sandwich cookie
- melted chocolate
- toothpicks
- Eats ‘N Crafts or Lasso Rope
Directions:
- Open up the sandwich cookie and remove the cream filling.
- Place ½ tsp of melted chocolate in the center of one half.
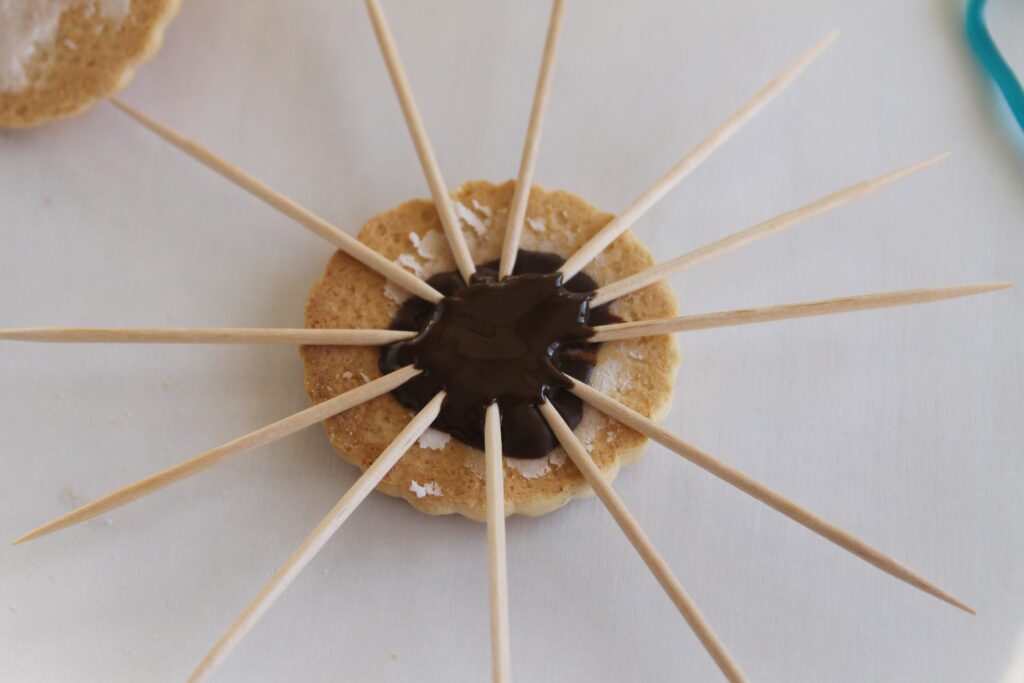
- Arrange 12 tooth picks as in photo. Allow to dry completely.
- Place another ½ tsp of melted chocolate over the toothpicks.
5.Cover the cookie with the other half of the cookie. Allow to dry completely
6. Knot together 8 strands of Eats ‘N Crafts.
7. Begin weaving the Eats ‘N Crafts around the cookie, keeping all knots to the back. When done, tuck the end of the Eats ‘N Crafts to the back end.
Indian Bead Stitch
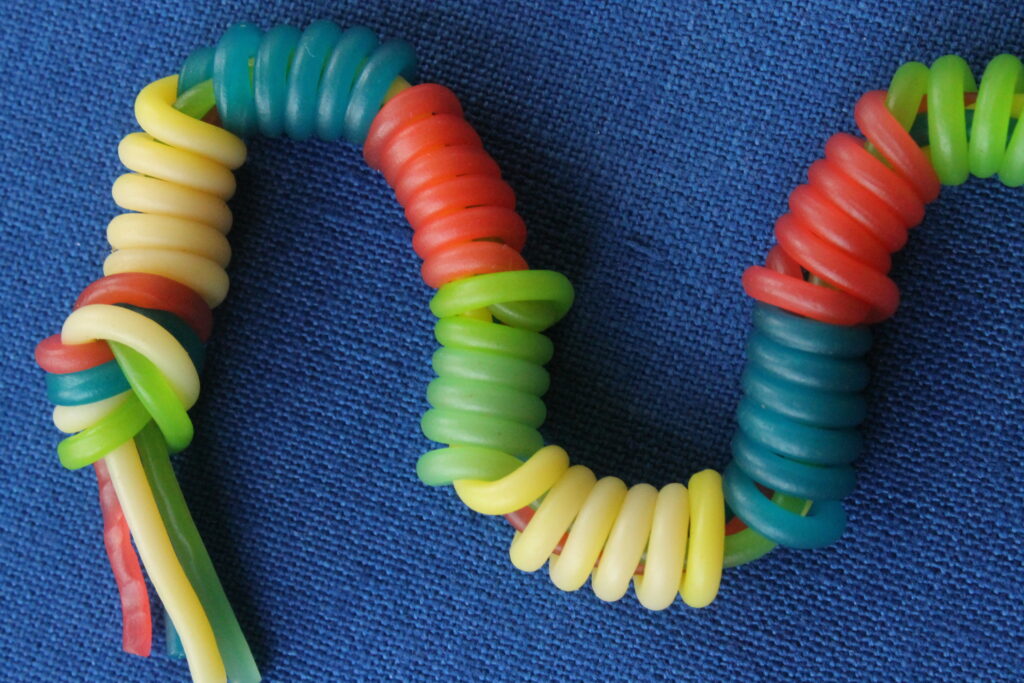
Here is a fun, easy and impressive looking design. As a young girl, I used to enjoy doing this with telephone wires.
Supplies:
- 3 or 4 strands Eats ‘N Crafts or Lasso Rope
Directions:
- Knot the strands of Eats ‘N Crafts together on one end.
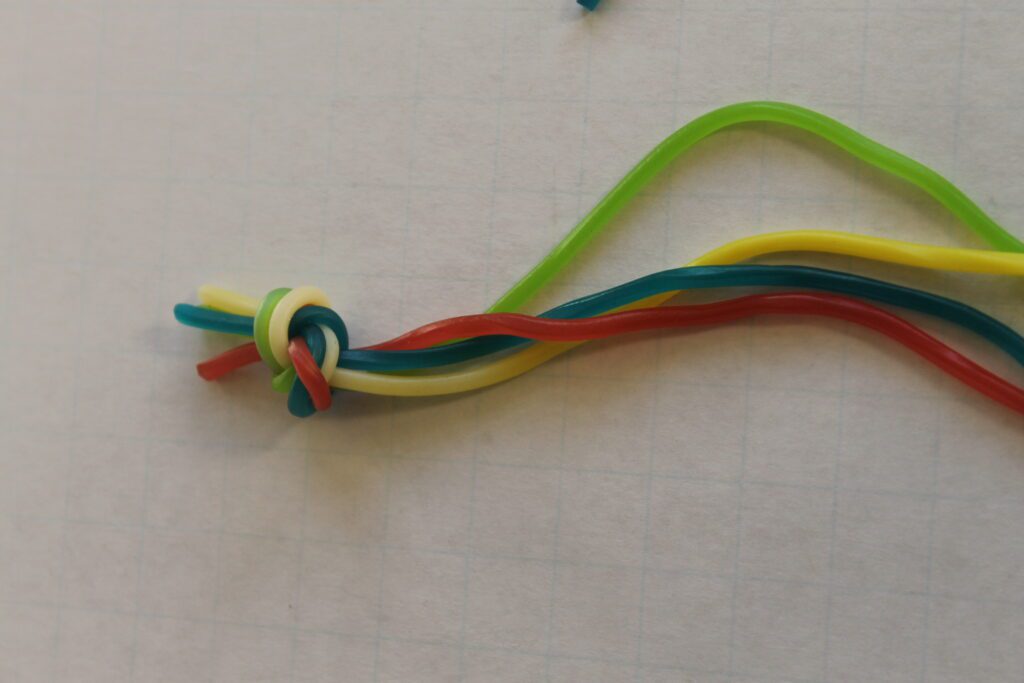
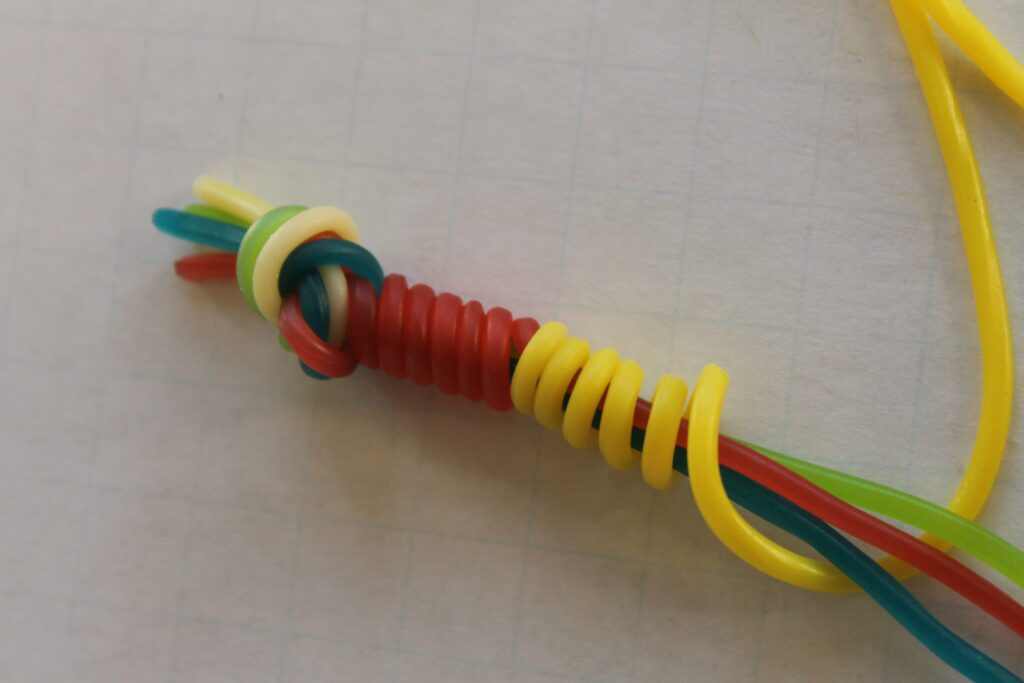
2. Each one of the strands will “take turns” wrapping the other strands.
3. Take one strand of the knotted Eats ‘N Crafts and wrap it around the other strands (about 1”).
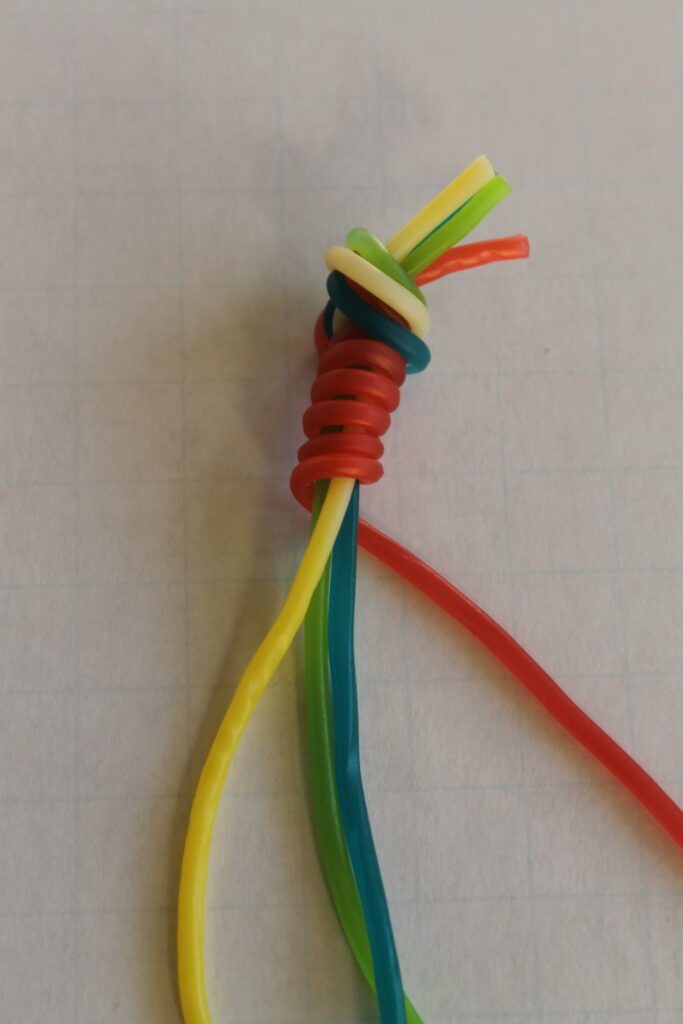
4. Next, take another one of the strands and wrap it around the other strands. Continue until pattern is complete. Knot all strands together at the end.
Easy Finger Crocheting
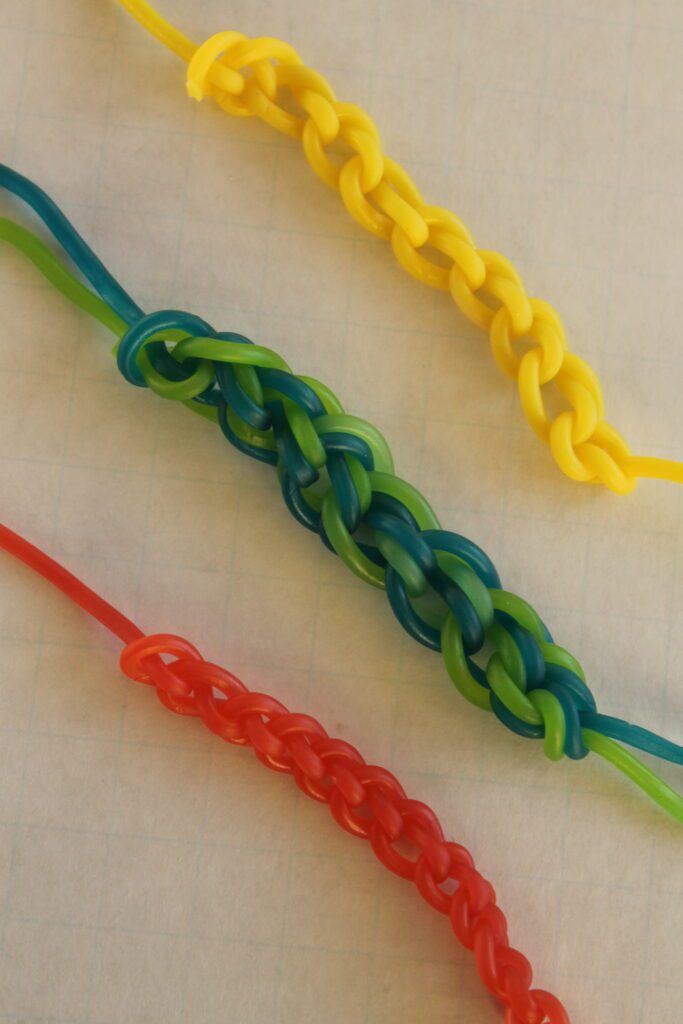
My grandmother taught me to crochet with my fingers when I was 5 or 6 years old. I used basic yarn to make bracelet after bracelet. Learning how to make a crocheted chain is the first step in learning how to crochet. This is a fun and easy stitch to teach young children.
Supplies:
1 strand Eats ‘N Crafts or Lasso Rope
Directions:
1) Make a slip knot at one end of a strand of Eats ‘N Crafts.
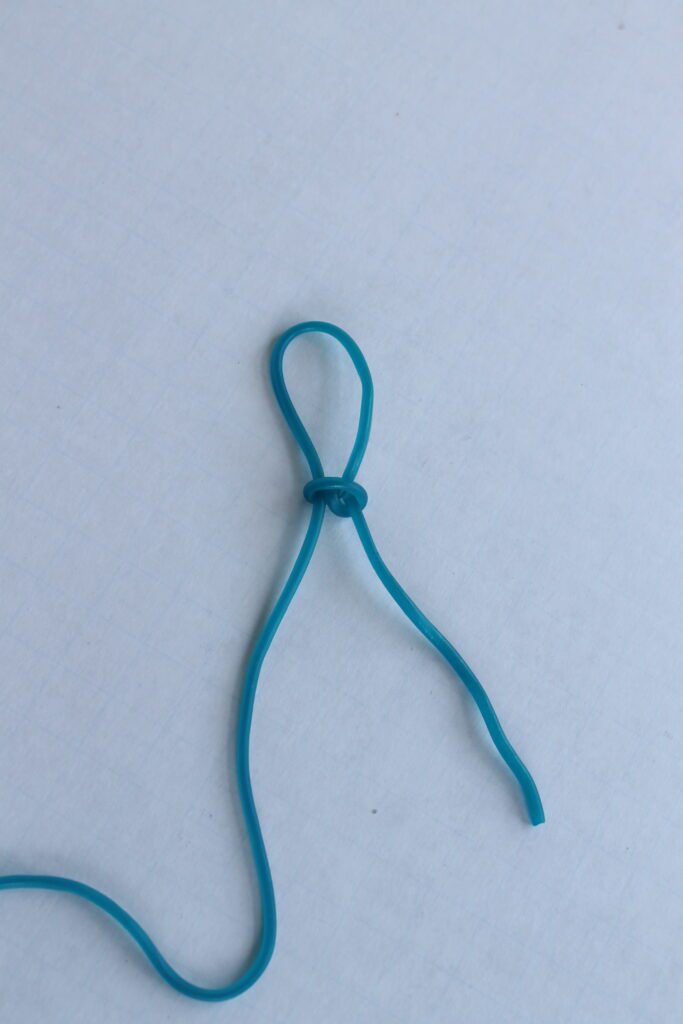
2) Place your finger in the knot and pull the longer string to make sure the loop is snug.
3) Take the longer string and wrap it over your finger, above the loop and around.
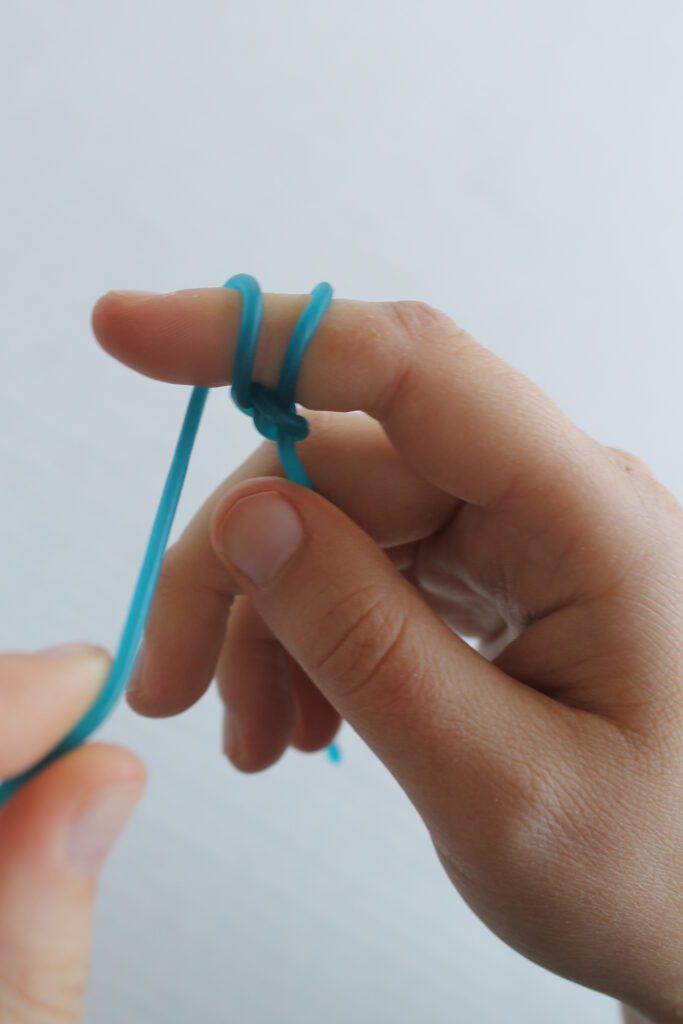
4) Carefully bring the top loop over the bottom loop until it is all the way over.
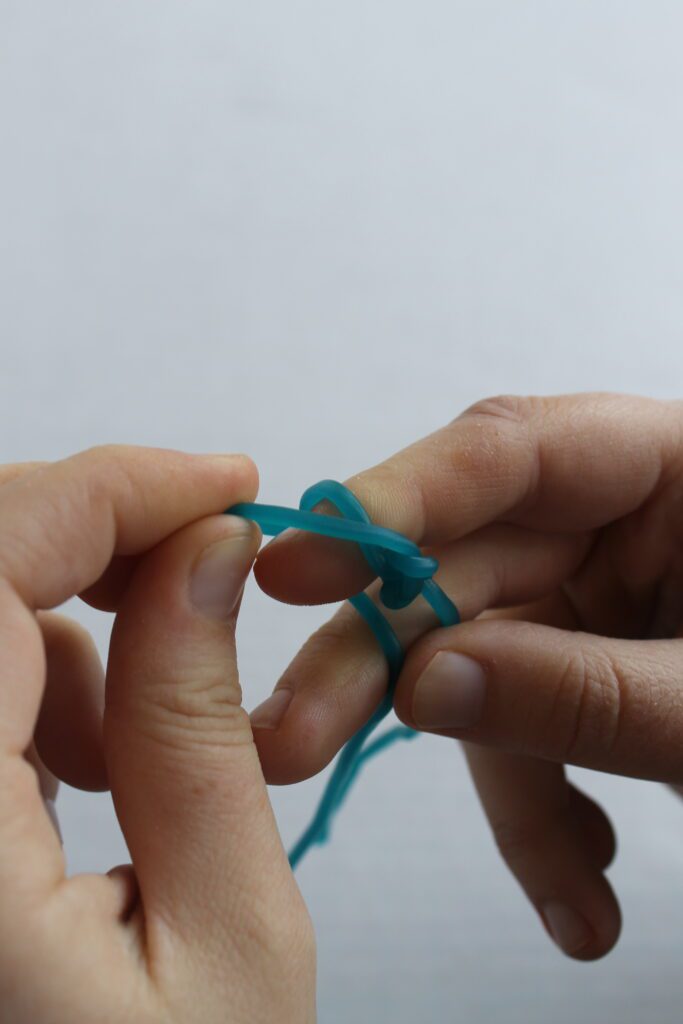
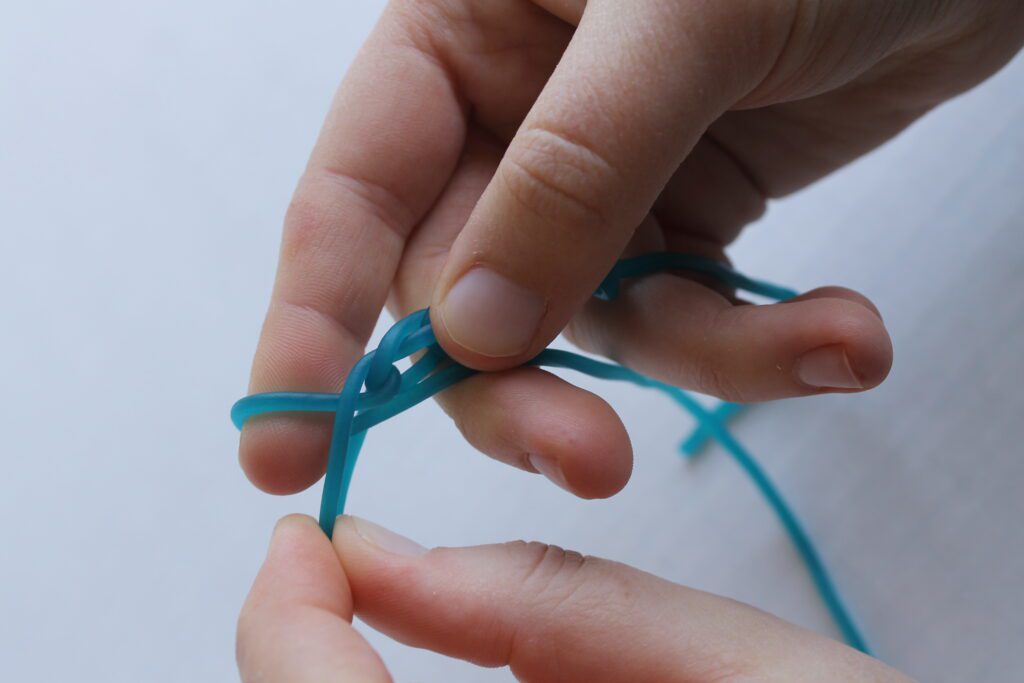
5) Use the longer string to ensure the remaining loop is snug around your finger. The new loop you formed will now be the bottom loop.
6) Repeat the process, pulling the top loop over the bottom loop.
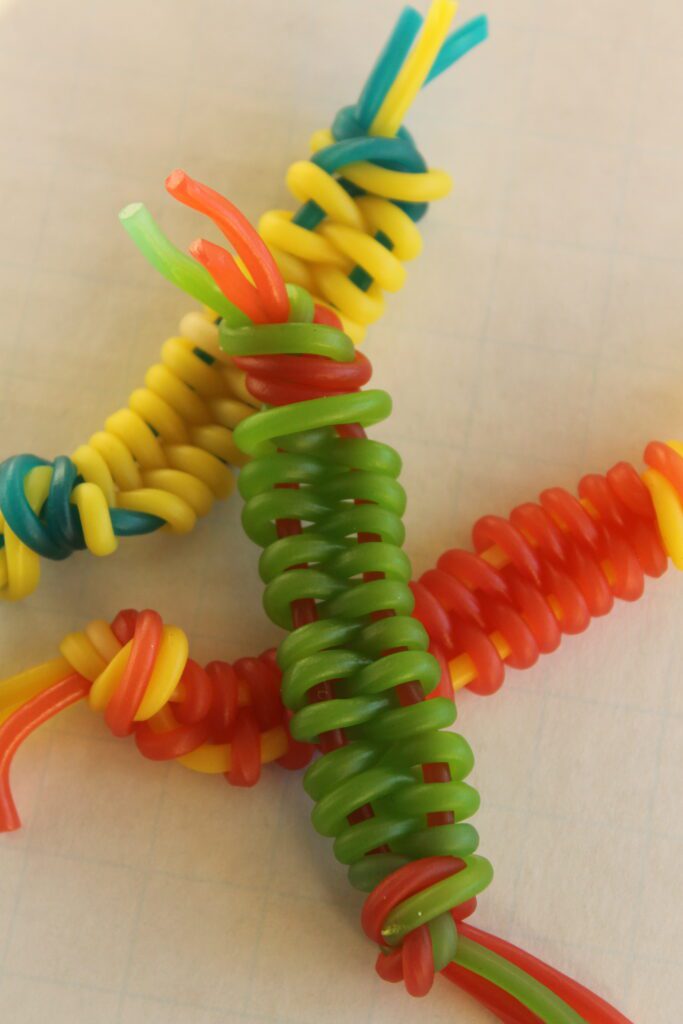
Zipper Stitch
Supplies:
- 2 strands Eats ‘N Crafts or Lasso Rope (zipper tracks)
- 1 strand Eats ‘N Crafts or Lasso Rope (working strand)
Directions:
- Tie all strands together at one end.

2.Turn the working strand over the first core strand and under second core strand toward the right. Pull taut.
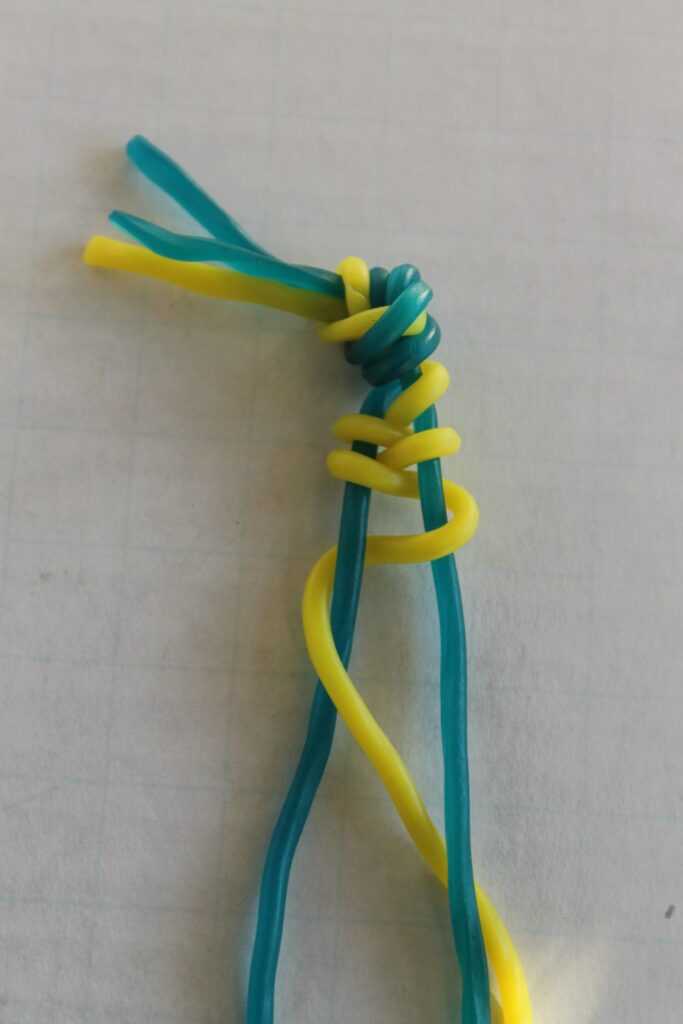
3.Then turn work strand over the first work strand and under next work strand toward the left. Pull taut.
4.Repeat until you reach desired length.
5. Tie a knot at the end.
This post is sponsored by Paskesz.