


How to Make a Gumball Necklace — A Sweet & Fun DIY
Looking for a whimsical, creative craft that’s just as fun to make as it is to wear? A Gumball Necklace checks all the boxes! Bright, playful, and cheerful, this candy-inspired accessory is perfect for birthday parties, camp, playdates, or a rainy afternoon at home.
We first shared this project back in 2012, and we’re excited to bring it back for a new generation of kids to enjoy. While it’s still the same adorable necklace that looks like giant gumballs strung on a ribbon, we’ve found a much easier way to make the holes. That simple update makes this classic craft quicker, easier, and far less frustrating—while the finished necklace is just as cute as ever!
Tips for Success
-
This project is recommended for ages 10 and up with adult assistance for making holes and threading the gumballs.
-
Try choosing gumballs in a color scheme to match a party theme or holiday.
-
You can add charms or ribbon accents to personalize further.
Sweet and Stylish
Whether you’re hosting a bas mitzvah party, birthday party, a camp activity, or just want a fun DIY project, the gumball necklace is a playful and memorable craft. Not only does it look great, it doubles as a wearable treat that kids will love showing off.
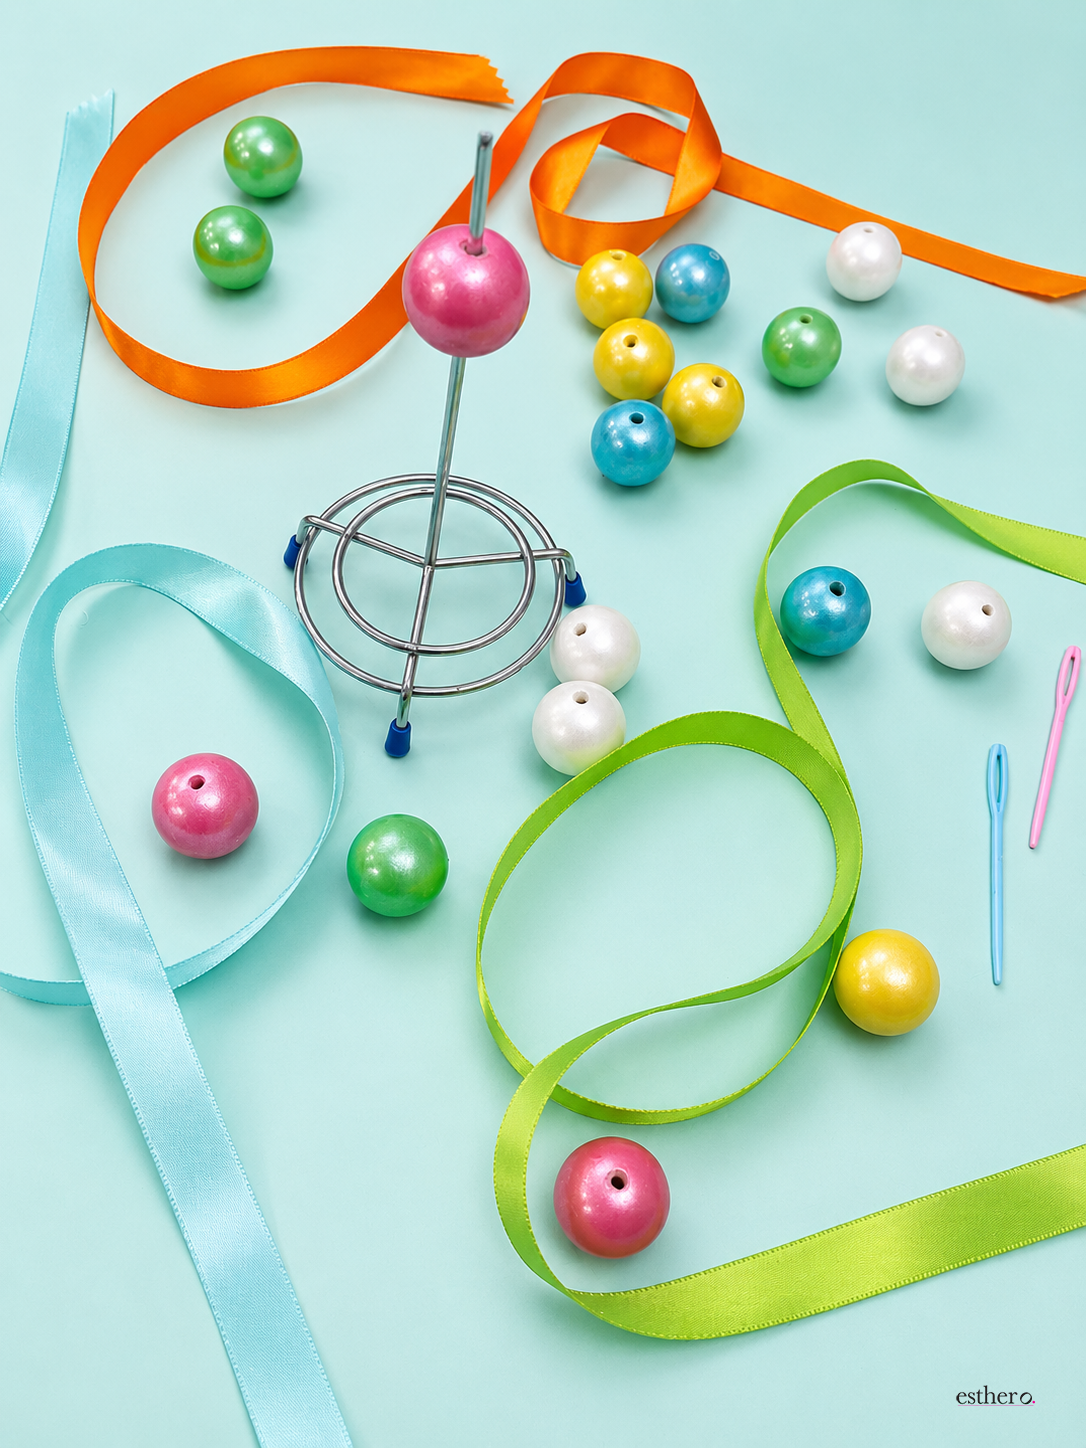
You will need:
-
9 large round gumballs (for best results, gumballs should be fresh to prevent cracking.)
-
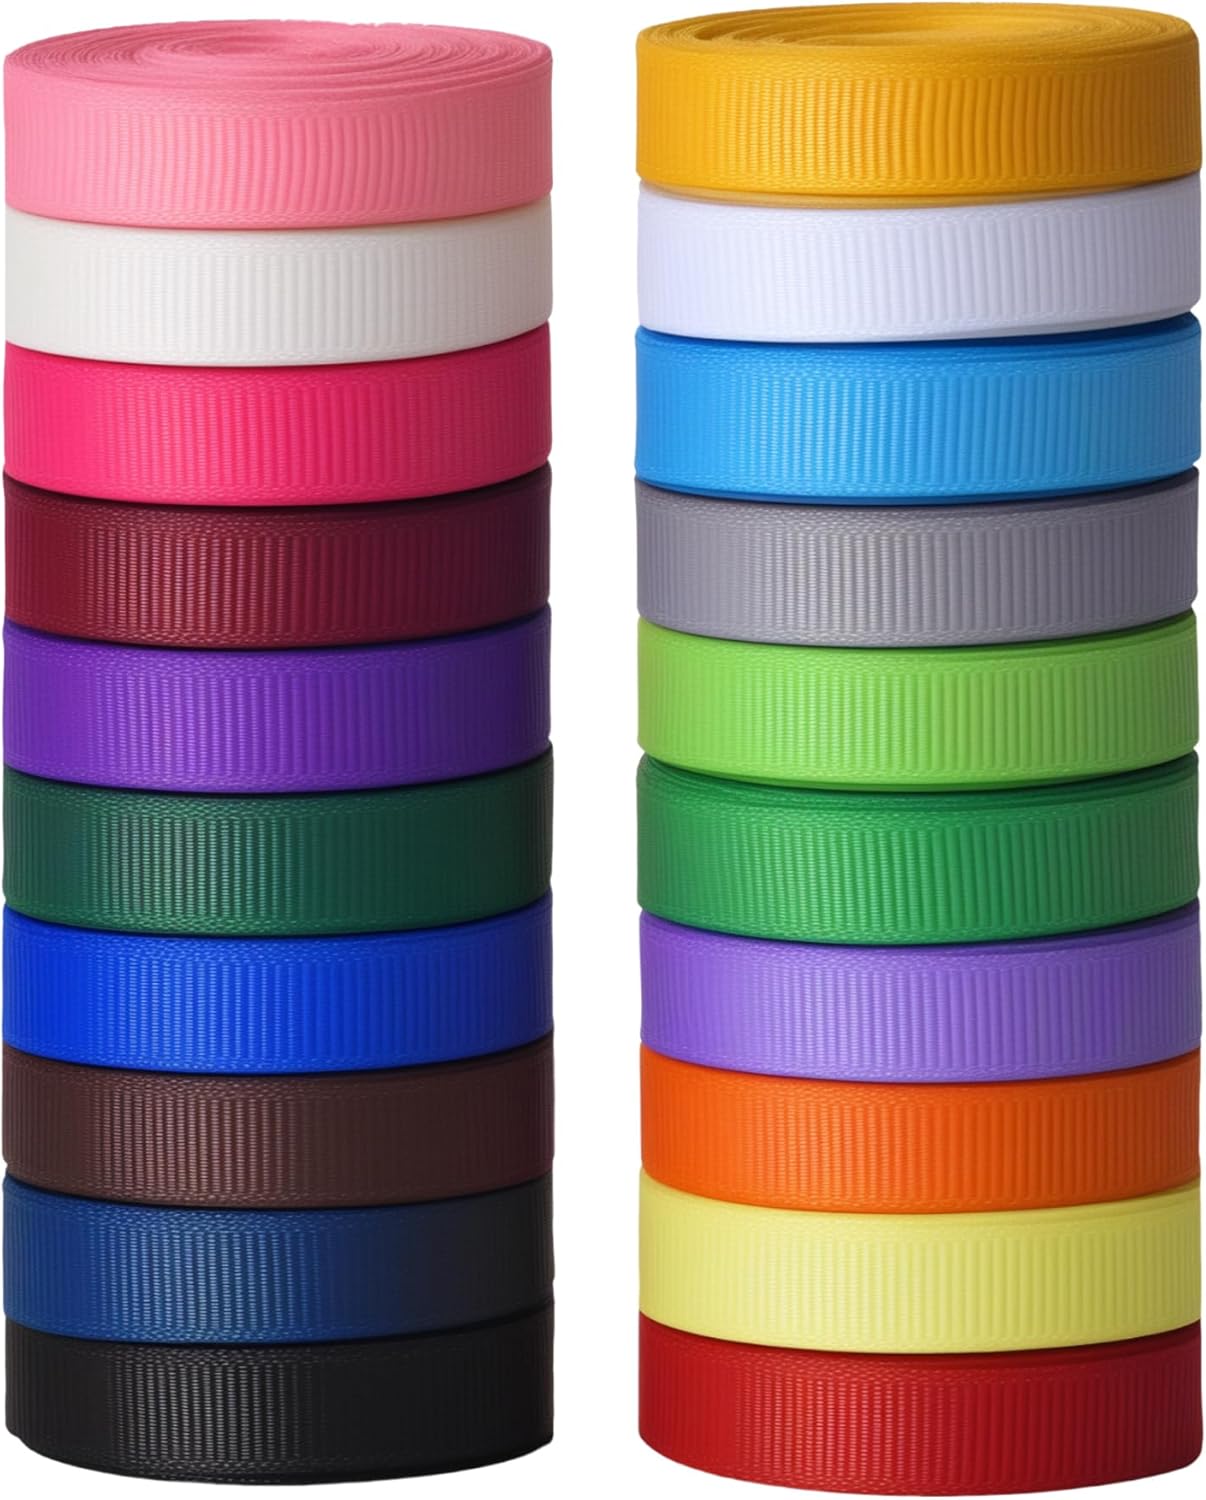
ribbon — any color you like
-
receipt holder for creating holes
- needles


Directions:
- Remove the small black plastic piece from the receipt holder.
- Carefully poke a hole through each gumball using the receipt holder.

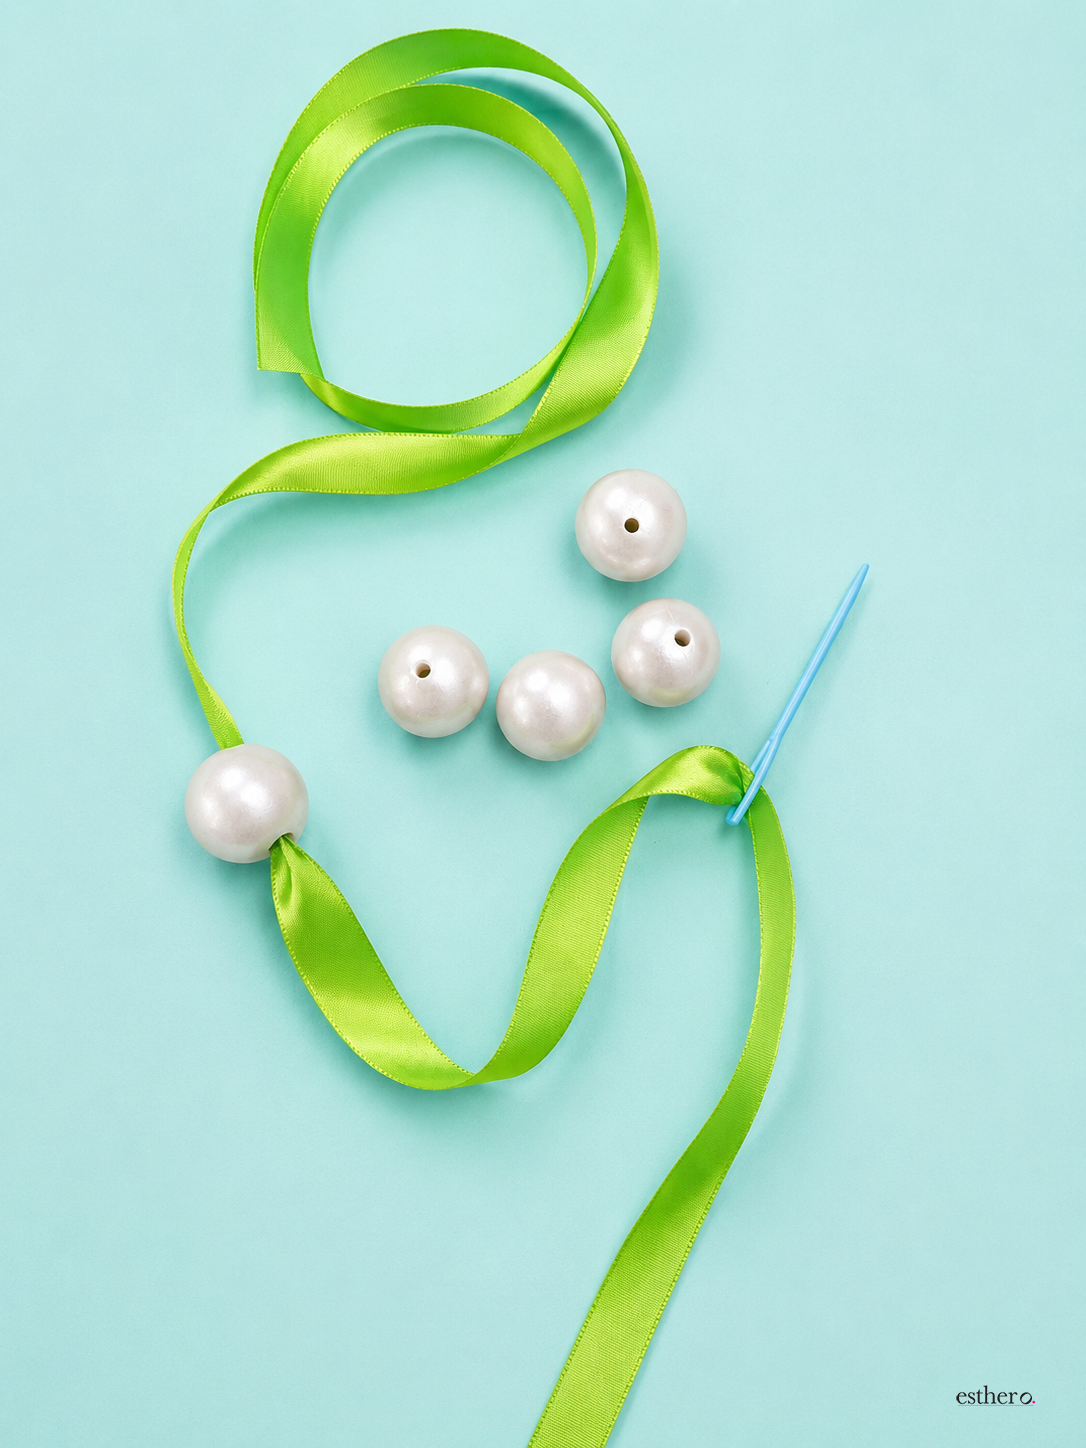
- Thread the ribbon onto the needle. This step takes a little patience, so don’t worry if it isn’t easy at first! It helps to work with a friend—one person can hold the gumball steady on the table while the other pulls the needle and ribbon through the hole. Slide the gumball to the center of the ribbon.
4. Make a knot on both sides of the gumball and continue threading your gumballs making a knot in between each gumball and at the two ends.
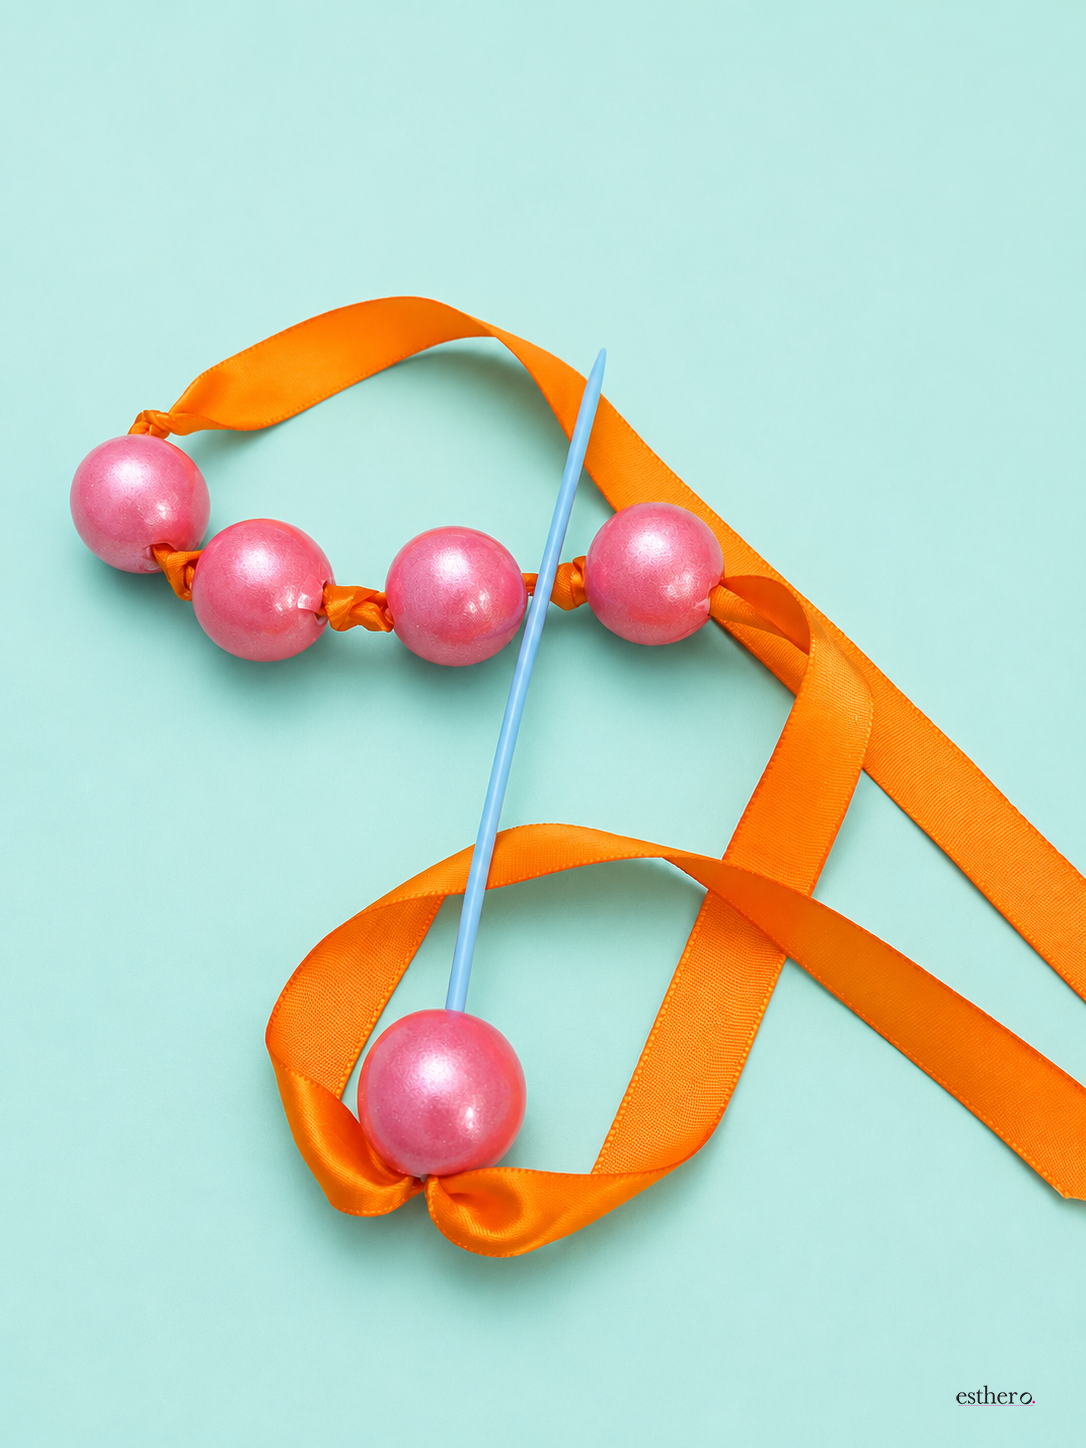 5. Tie the ends of the ribbon into a bow.
You can use as many or as few gumballs as you would like. We prefer an odd amount.
This article originally appeared in Family First
Photography by Dan Engongoro


