


Fabric-Wrapped Mishloach Manos: The “Materialistic” Look We Love
It’s a wrap — literally!
We’ve got you covered with this gorgeous fabric-wrapped Mishloach Manos idea that looks elevated, thoughtful, and totally customizable.
For this look, we used cloth napkins, but of course you can use any fabric you love. The colors, styles, and designs are endless, which makes this one of the easiest ways to create a gift that feels both unique and beautiful.

You can wrap any food items directly in the cloth, or for a more structured look, place everything in a box first.
For this look, we used cloth napkins, but of course you can use any fabric you love. Napkins are available in all different patterns, styles, and quality levels, so whether you’re going for something luxurious or simple and playful, there’s an option that works beautifully. You can also pick a napkin to work with a theme. The colors, designs, and textures are truly endless.
Not Just for Purim!
This fabric wrap idea isn’t only great for Mishloach Manos. It’s also perfect for wrapping any time of year.
Here are some ideas for foods you can wrap in cloth:
challah
sourdough
- beef jerky
babka (We suggest wrapping it in cellophane or shrink wrap first.)
mini cakes
cookies
hostess gift
teacher appreciation treats
Basically, if you can gift it — you can wrap it.
What You’ll Need
To create this look, you’ll need:
Cloth napkins (or any fabric)
Box (optional)
Food items
Ribbon
Tag / Label


How to Make Fabric-Wrapped Mishloach Manos
Step 1: Prep Your Items
Place your food items in a box if you’re using one. This method helps keep everything neat and gives your wrap a more structured shape.
Step 2: Set Up Your Napkin
Lay your napkin right side down on a flat work surface.
Step 3: Place the Items in the Center
Place the bread, box, or food items right in the center of the napkin.
Step 4: Fold the First Two Corners
Overlap the two diagonal corners over the center.
Tip: You can use a tiny piece of tape to hold them in place.
Step 5: Tie the Wrap
Lift the other two corners up and tie them into a tight knot.
This instantly creates that beautiful wrapped “bundle” look.
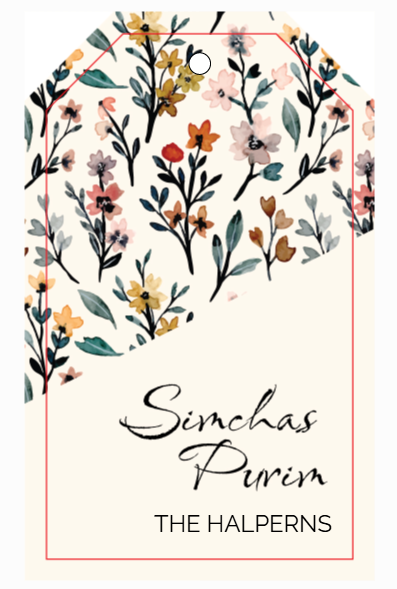
Step 6: Finish With Ribbon + Tag
To make it feel complete, add a ribbon around the knot and attach a tag or label.
This is the detail that makes it look gift-ready and polished.
Photography and styling by Chay Berger
Labels by Leah – [email protected]
This article originally appeared in Family First