


Shaping Sourdough With Love: A Beautiful Flower Loaf for Every Occasion
Here at EstherO, we love finding meaningful and creative ways to shape bread and challah for different occasions. A flower shape bread is perfect for a Shavuos challah or anytime of the year. There is something so special about turning a simple dough into a centerpiece that brings beauty and warmth to the table.
Many of you may remember the wonderful guest post a few months ago featuring Hudi Greenberger from JustDabbl.com, where he showed us how to create playful sourdough faces for Purim. The response was incredible, and we loved seeing so many of you try it yourselves.
Now Hudi is back with another inspiring idea — transforming sourdough into a stunning flower-shaped loaf that is perfect for Shavuos, Shabbos, spring gatherings, or any special meal.
And now, we’ll hear from Hudi.
How to Shape a Sourdough Flower Loaf
By Hudi Greenberger
There is something magical about baking bread that looks as beautiful as it tastes. This flower-shaped sourdough loaf may seem intricate, but with a few simple shaping techniques, you can create an elegant design that will wow everyone at the table.
Why I Love Decorative Sourdough
One of the things I enjoy most about sourdough baking is how creative it can be. Dough is like a blank canvas — with a little patience and imagination, you can shape it into something truly memorableI absolutly love hacks that make insanely gorgeous results with minimal effort.
And this sourdough style did not disapoint!
It’s an absolute show stopper, so simple, and perfect for Shavuos!
If you don’t already know how to make sourdough, you should deifniltey check out my course on JustDabbl.com
Once you’re there you and your teens can learn a bajillion other awesome things also, but I did the sourdough course and its SO simple to follow.
Supplies:


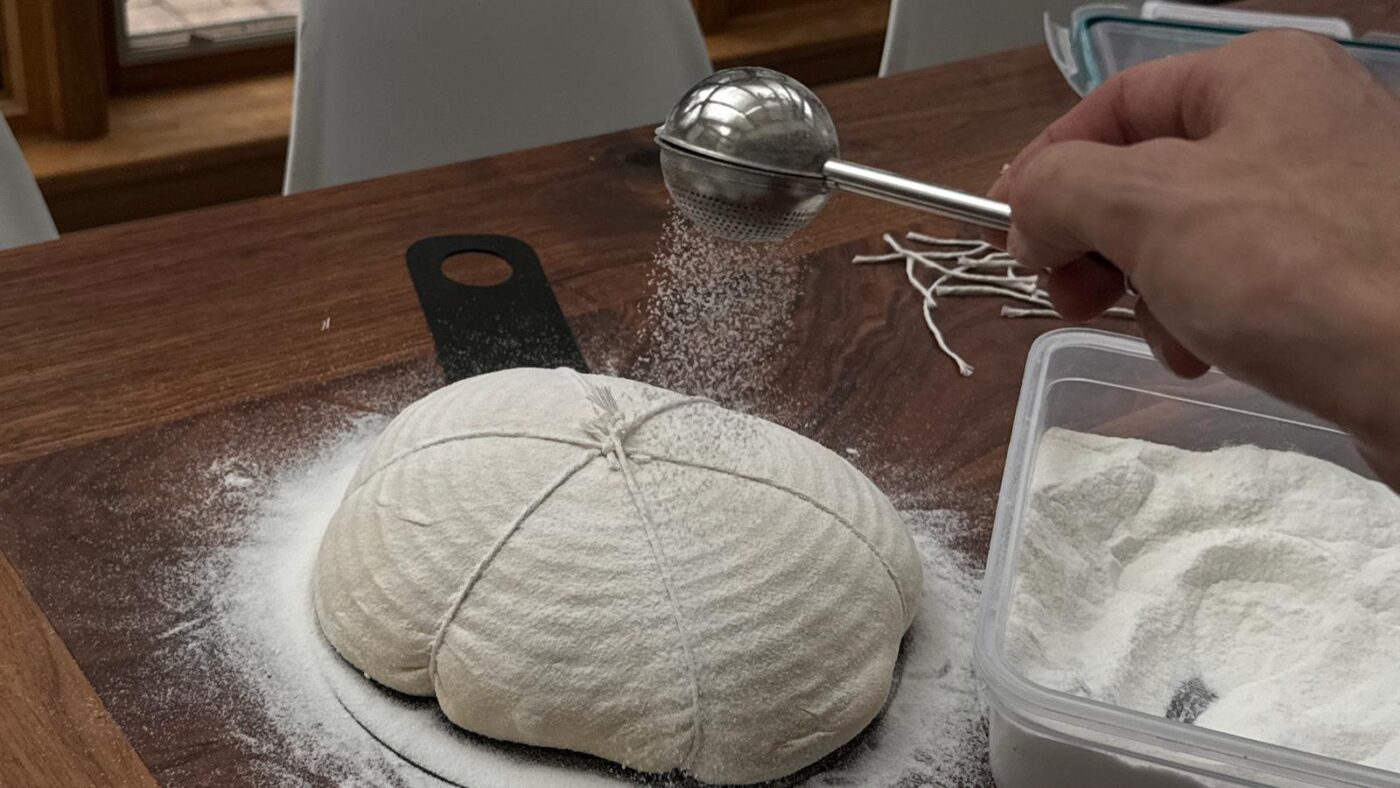
To create these stunning flower-shaped boules, all you need is a few pieces of standard kitchen twine!
Directions:
- Prepare your sourdough dough as you normally would.
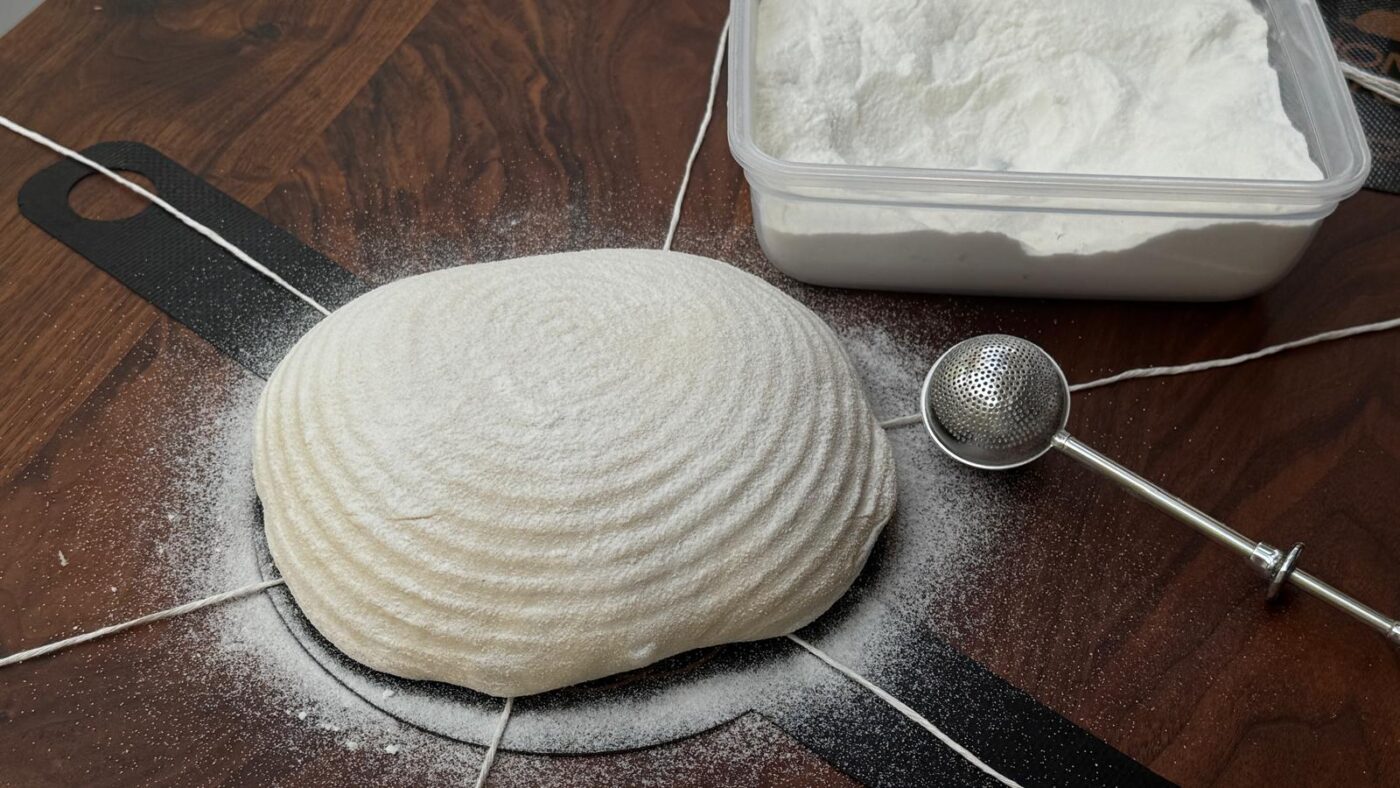
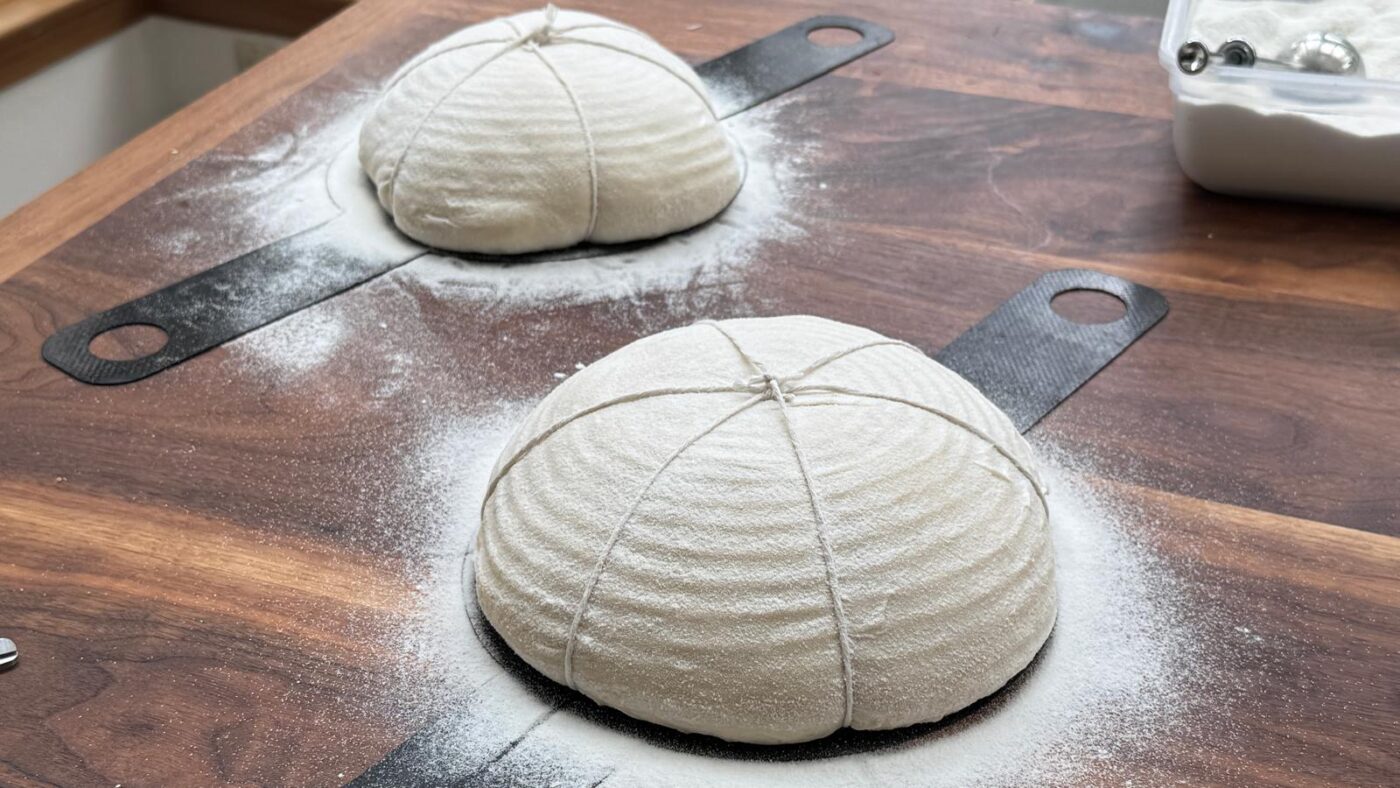
- Cut three 18-inch pieces of kitchen twine and arrange them on your transfer mat or work surface as shown.

3. Carefully turn your dough out from the banneton onto the center of the transfer mat or parchment paper, making sure it stays as centered as possible.
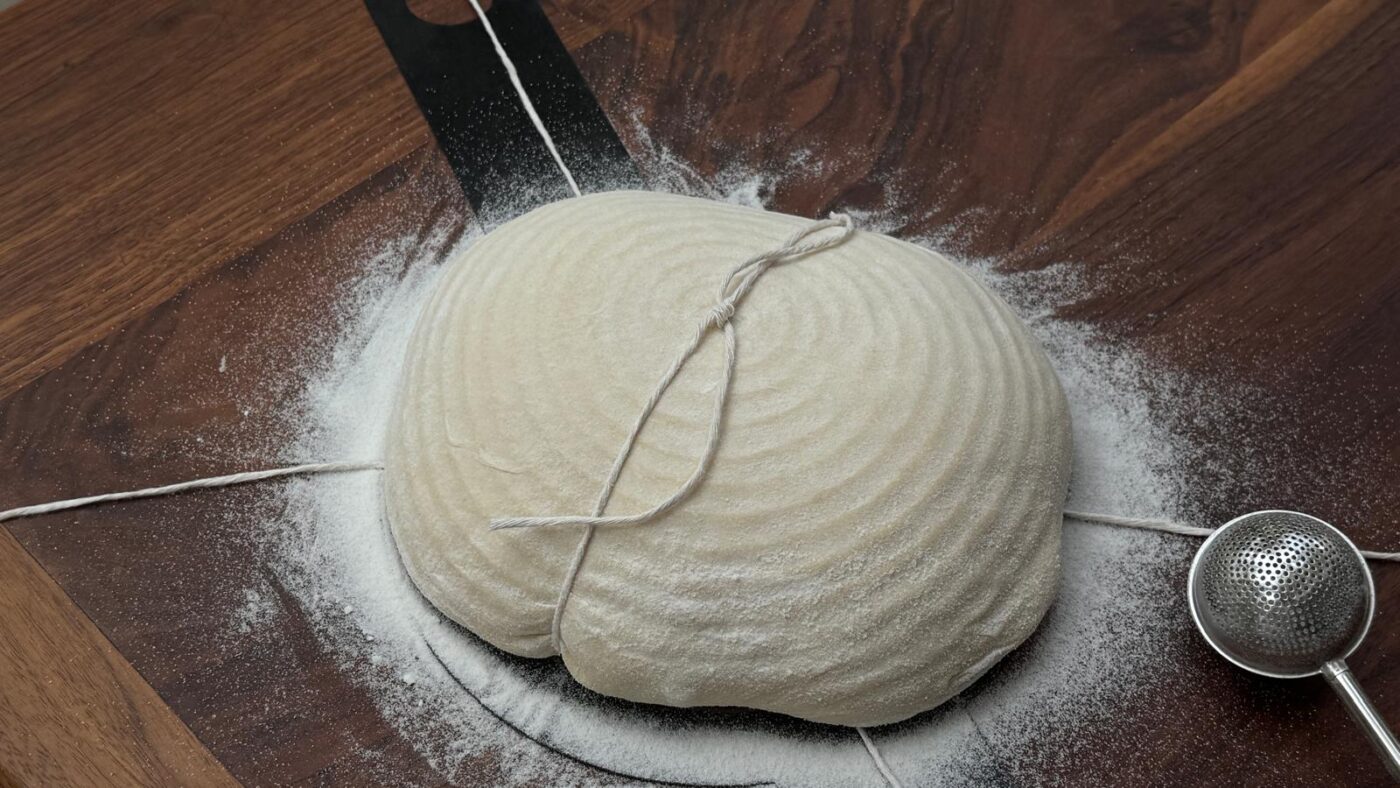
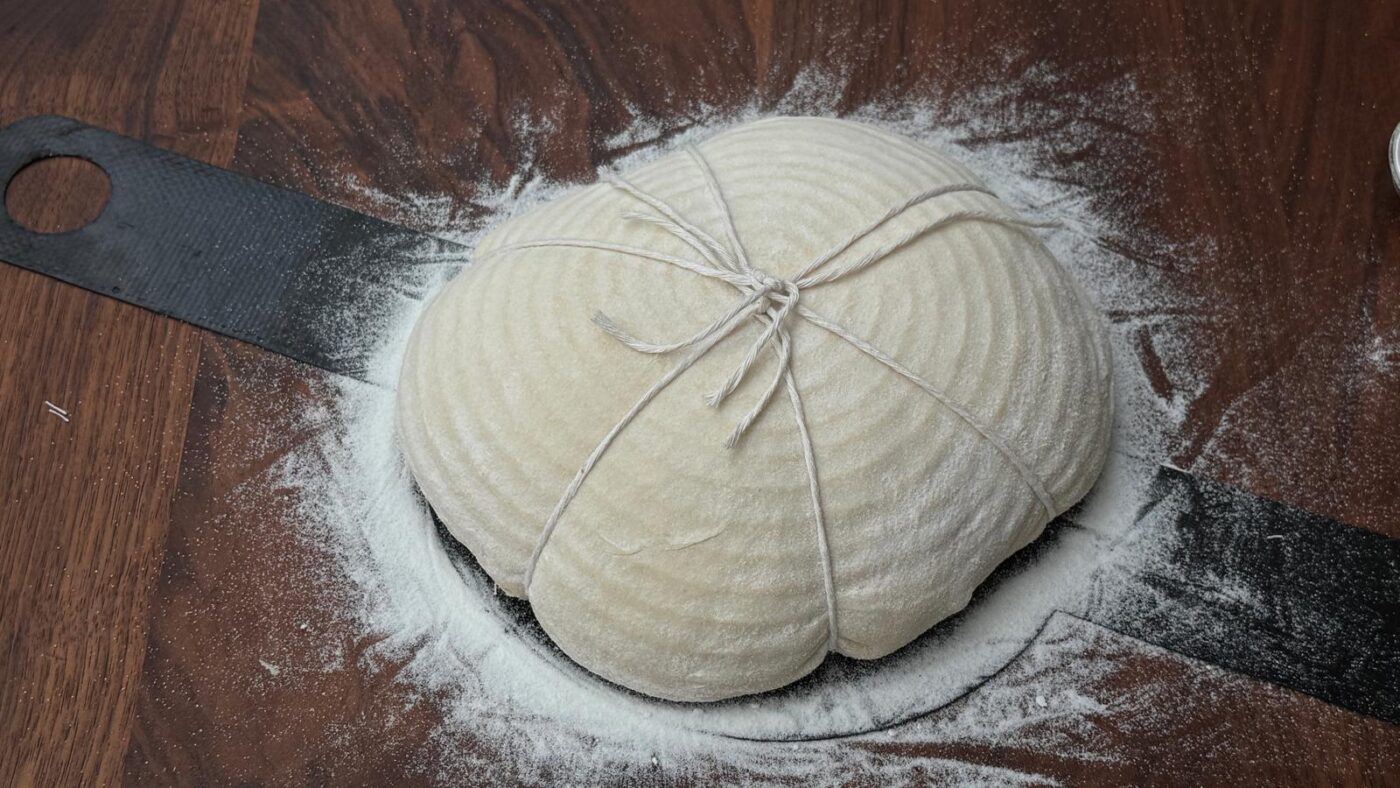
3. Working one strand at a time, bring the twine up and tie it gently over the top of the dough. Try your best to divide the loaf into six even sections. Honestly, this is the trickiest part! As you can probably tell from my finished loaves, mine weren’t perfectly even either — lol!
Pro Tip
Don’t tie the twine too tightly. You don’t want it cutting into the dough at this stage. The twine should be loose enough that you can slide it slightly if needed, but snug enough that it stays in place on its own.


4 Responses
Gorgeous! I am so excited to try this.
Thank you Rachel!
Enjoy!
I just made this and it came out gorgeous! the instructions were clear and easy to follow. Thank you for enhancing our yom tov table once again!
Thank you so much! We’re thrilled to hear that!