


From Crafts to Crust: A Purim Sourdough Collaboration
If you’ve been around Esthero for a while, you know we love a good DIY. Our website is basically overflowing with crafts, creative projects, and hands-on fun. So when we heard about JustDabbl, we were genuinely excited.
It’s really unreal what teaching a child a skill — and letting them truly own it — can do for them. The confidence. The independence. The pride of saying, “I made this.” There’s something so powerful about giving children the space to dive deep into what they love and actually become good at it.
It’s the only Jewish platform that gives kids the opportunity to really learn what they love — with incredible, well-produced courses taught by talented instructors. Such an amazing concept.
The owner, Hudi Greenberger gives a course on mastering the perfect sourdough.
In honor of Purim, we teamed up for something extra fun — turning sourdough loaves into faces! Because if we can craft it… we probably will. Some faces are actually sour sourdough faces!
And now, we’re going to give Hudi the floor to walk you through exactly how to make these adorable (some happy, some sour) sourdough faces happen!
Hudi-you’re on!
Start with the Right Dough
Prepare and shape your dough as you normally would.
If you followed the Dabbl course, you know the original recipe uses 875g of water for a 2-loaf recipe, creating a higher hydration dough (about 72%). For this design, we recommend cutting that back to 800g of water (roughly 65% hydration) so the dough holds its shape better and gives cleaner facial features.
Also note — if you bake a slightly darker bread (whole wheat or pumpernickel), you’ll achieve beautiful contrast in the design that’s harder to get with a lighter loaf.
That said… we also wanted to enjoy eating the bread 😉
Method 1: The Stencil Cutout Technique
This method gives you crisp, high-contrast designs.
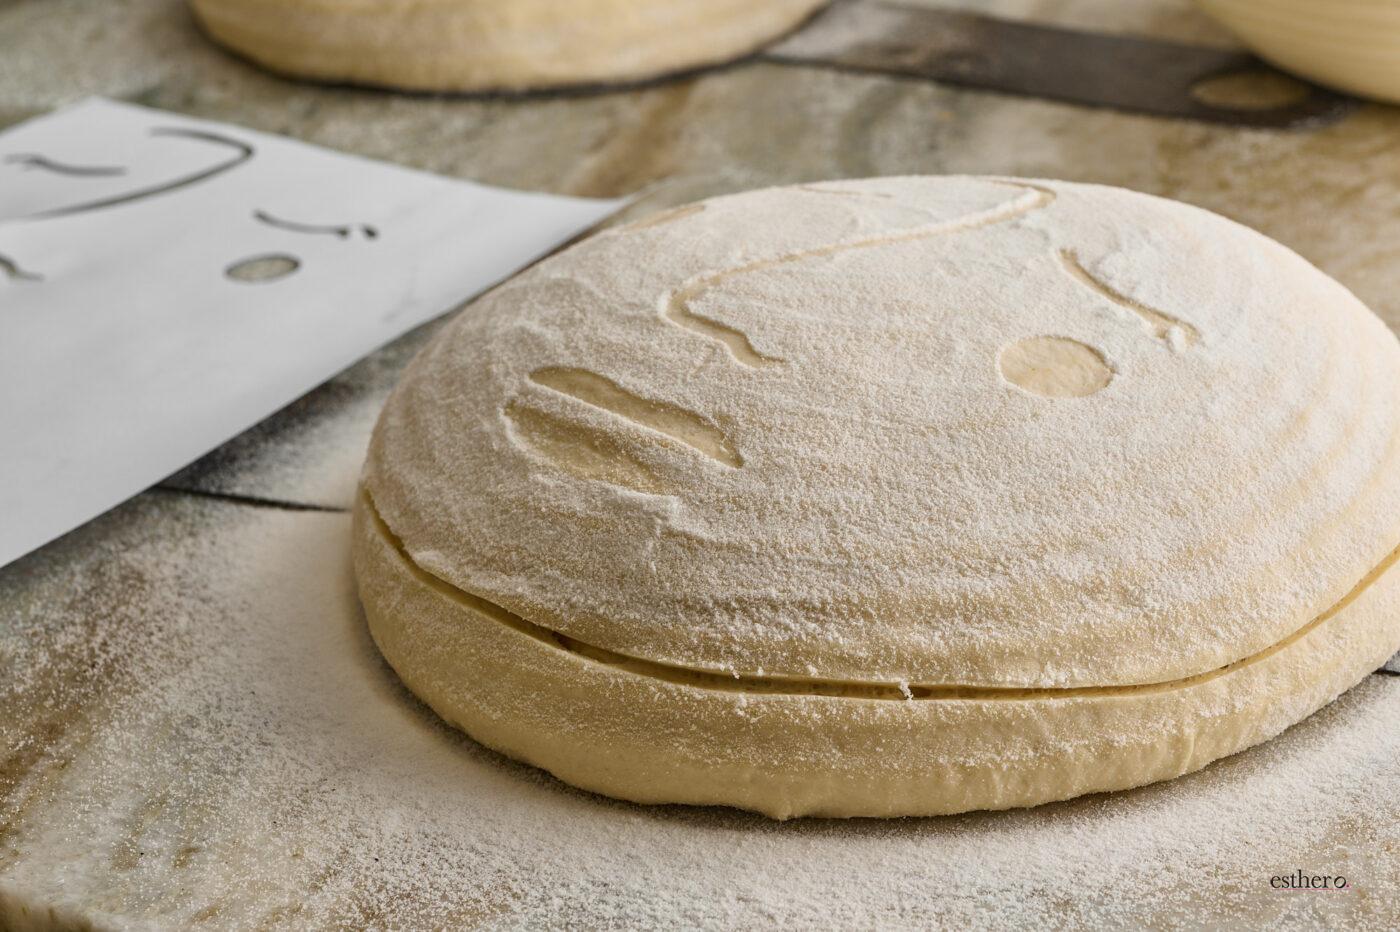
Step 1: Prep the Surface
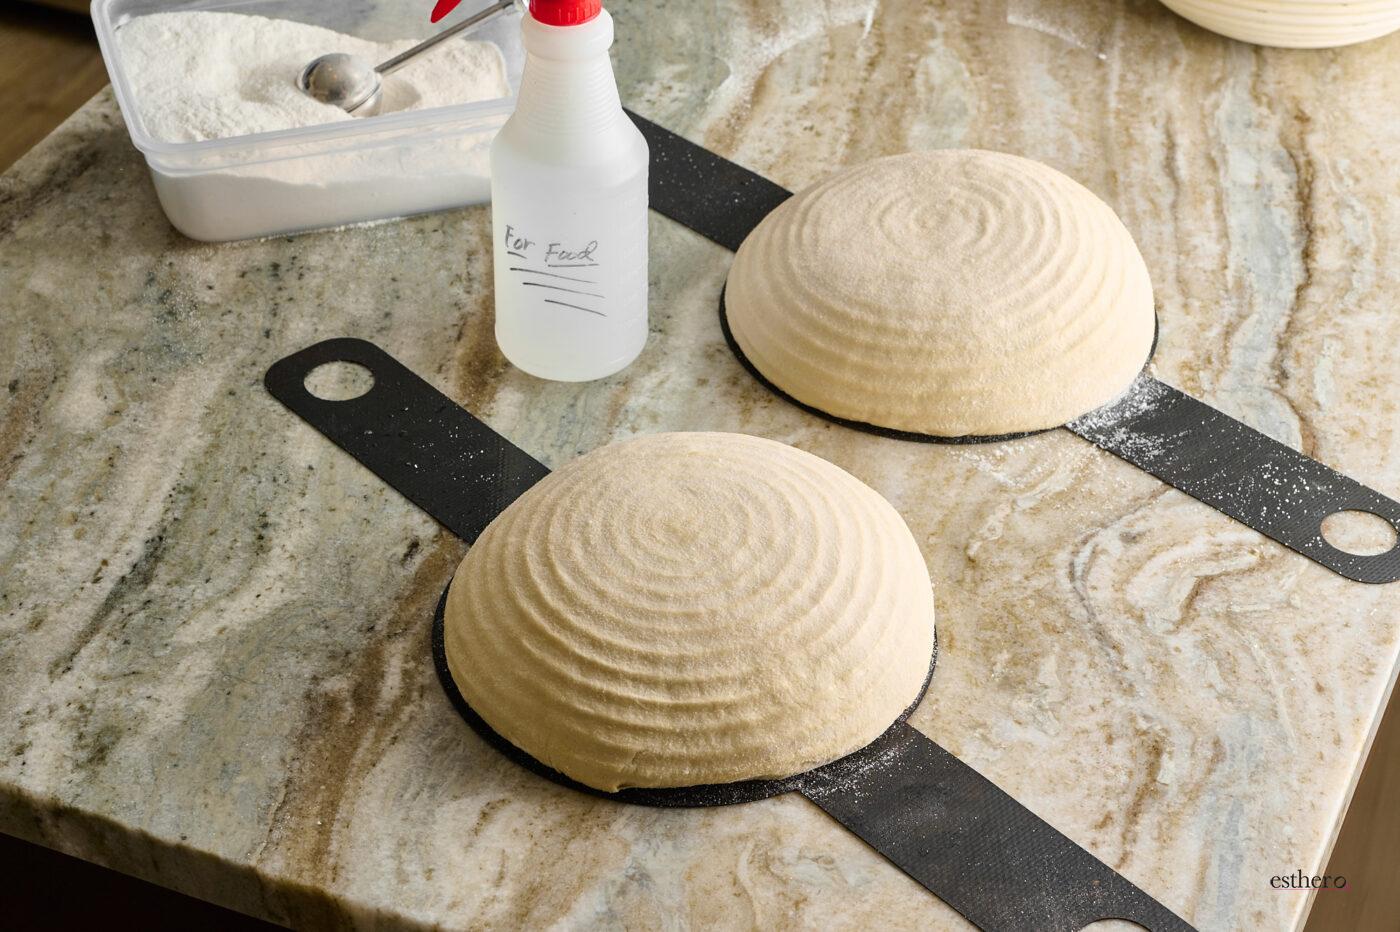
After shaping, wipe away as much excess flour from the top of the loaves as possible.
Lightly spritz with water — just enough to help the stencil stick. Do not over-spritz, or you’ll risk a soggy crust.
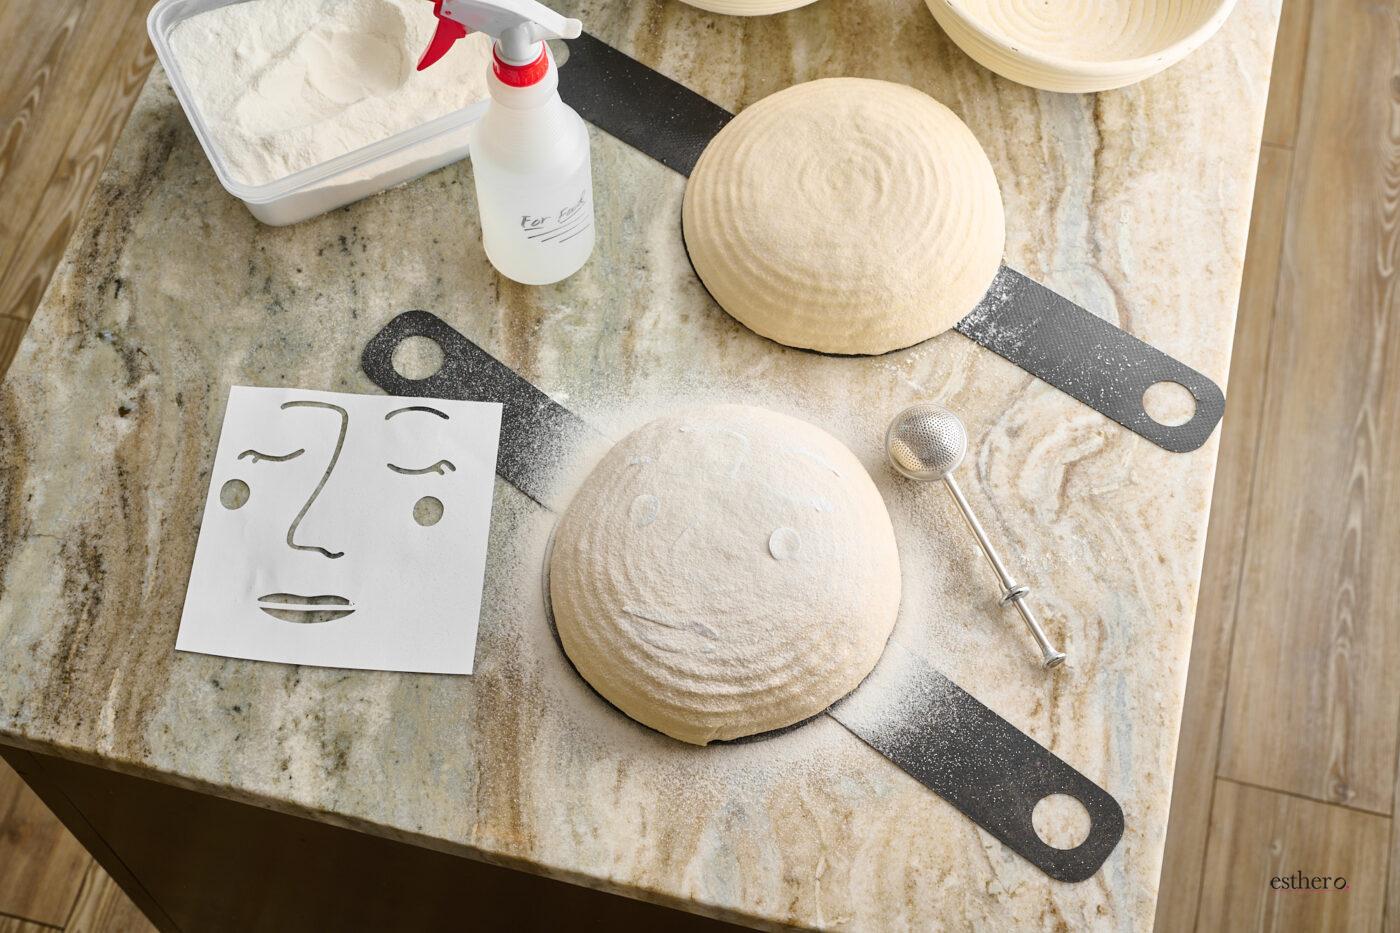
Step 2: Apply the Cutouts

You can create your own face cutouts or use our download.
Size the face cutouts size to fit your loaf.
Download and cut out your stencil designs.
For a very exact cut, download the design onto a cricut and cut. You can also use a razor blade or small sharp scissors to make your stencil.
Place them carefully on the loaf. You may need a tiny extra spritz to secure them, but once wet, they’re very difficult to move.
If necessary, use the edge of your lame to adjust — but try to position them correctly on the first try.
Step 3: Flour Generously
Heavily and evenly flour the entire top of the dough.
Using a flour sifter helps create an even layer. I also gently brushed the flour with my hand to ensure full coverage.
Step 4: Remove the Stencil
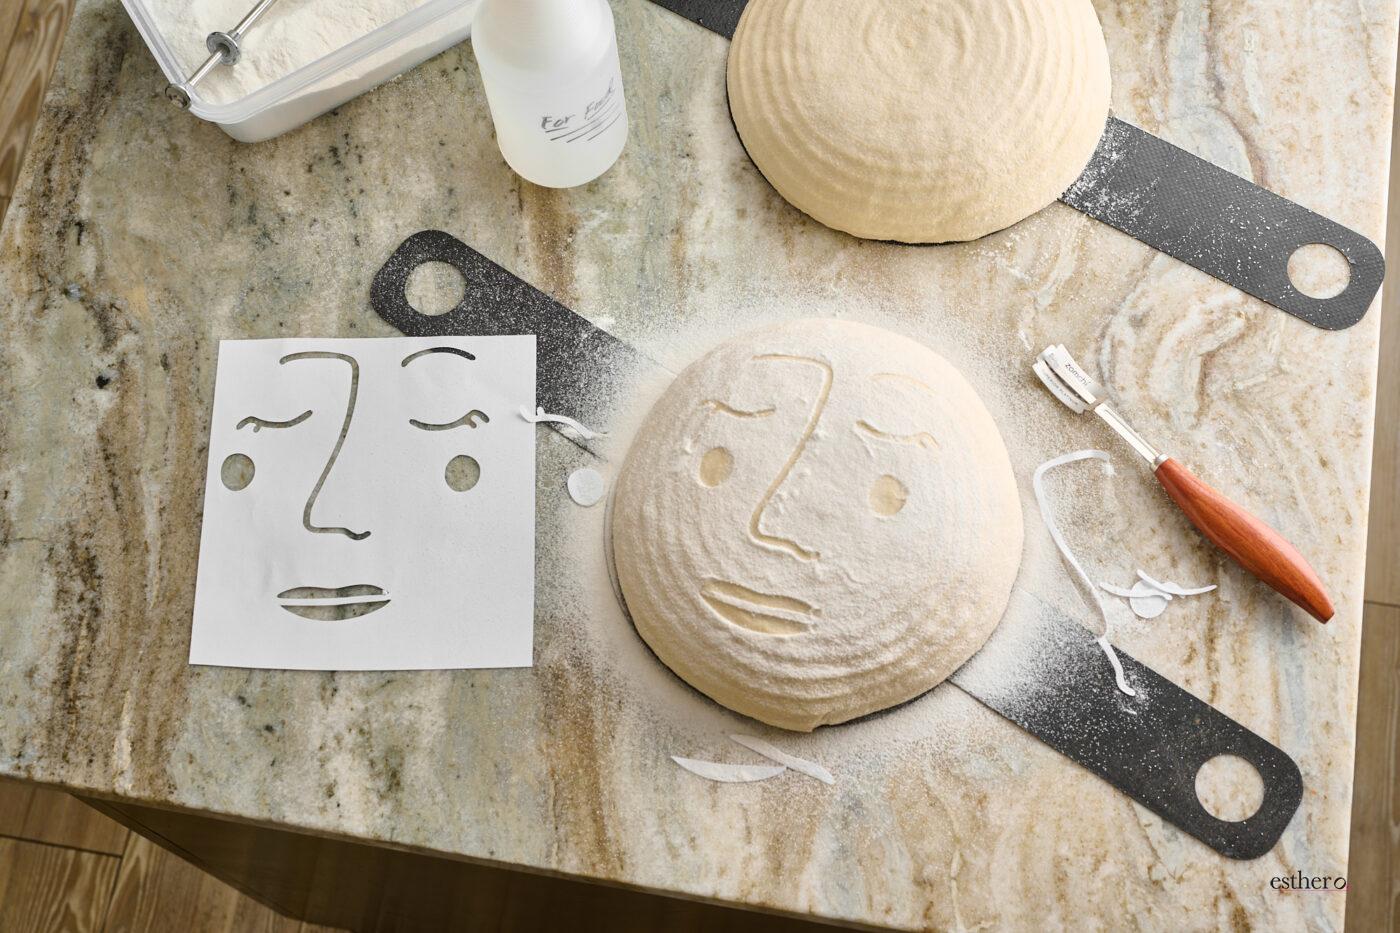
Carefully lift the paper pieces with the edge of your lame.
Be careful not to spill flour from the stencil into the exposed dough — that will blur your design.
Step 5: Score the Perimeter
Score along the sides/perimeter of the loaf to allow proper expansion.
I like to:
Bake 8 minutes covered
Remove and rescore the perimeter
Return for 12 more minutes covered
Then bake 20–22 minutes uncovered
This creates beautiful oven spring and a great ear.
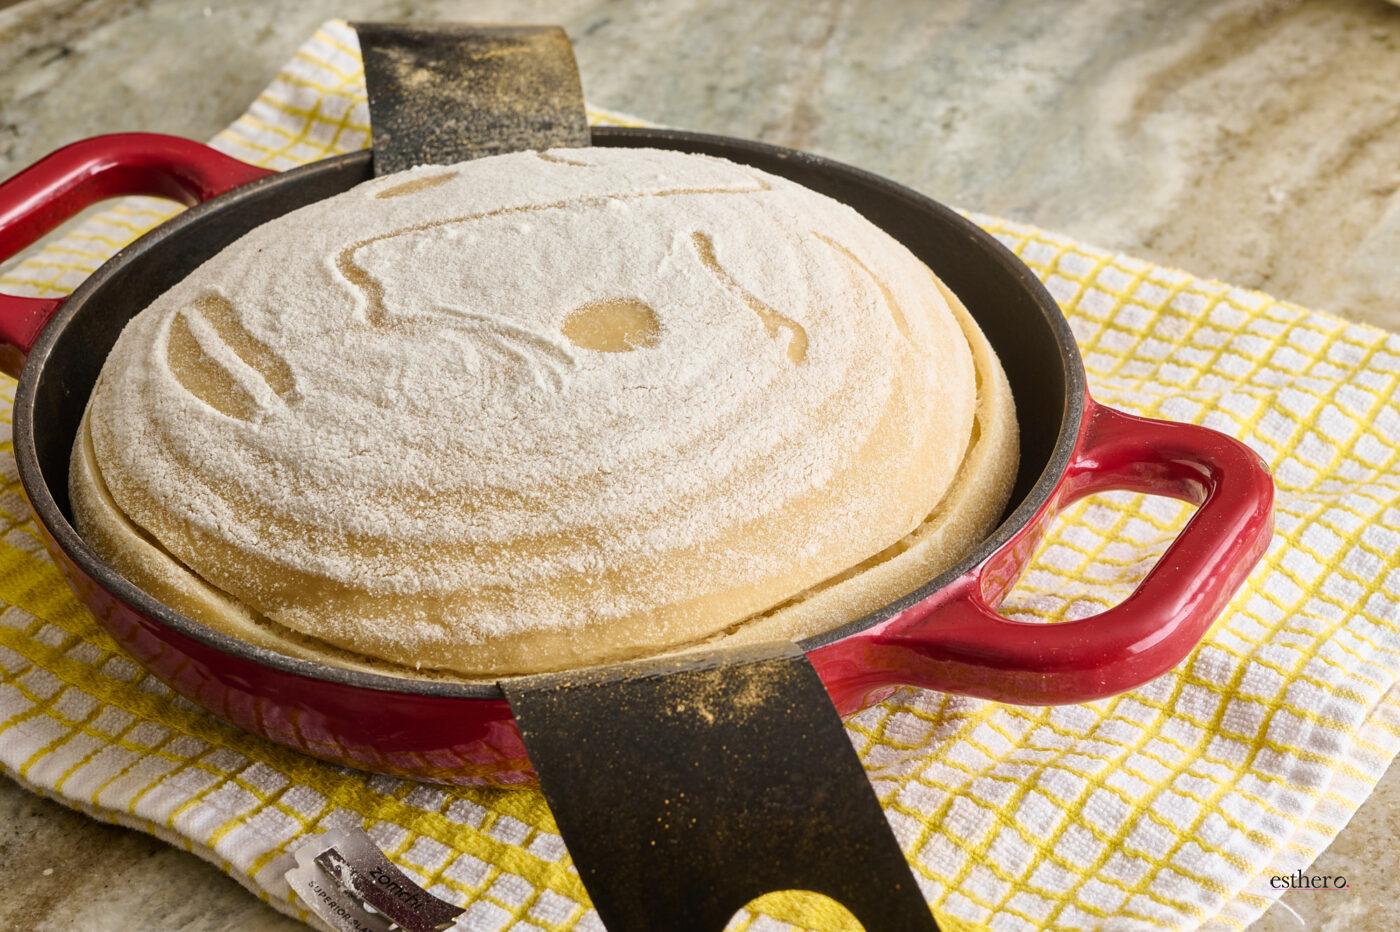
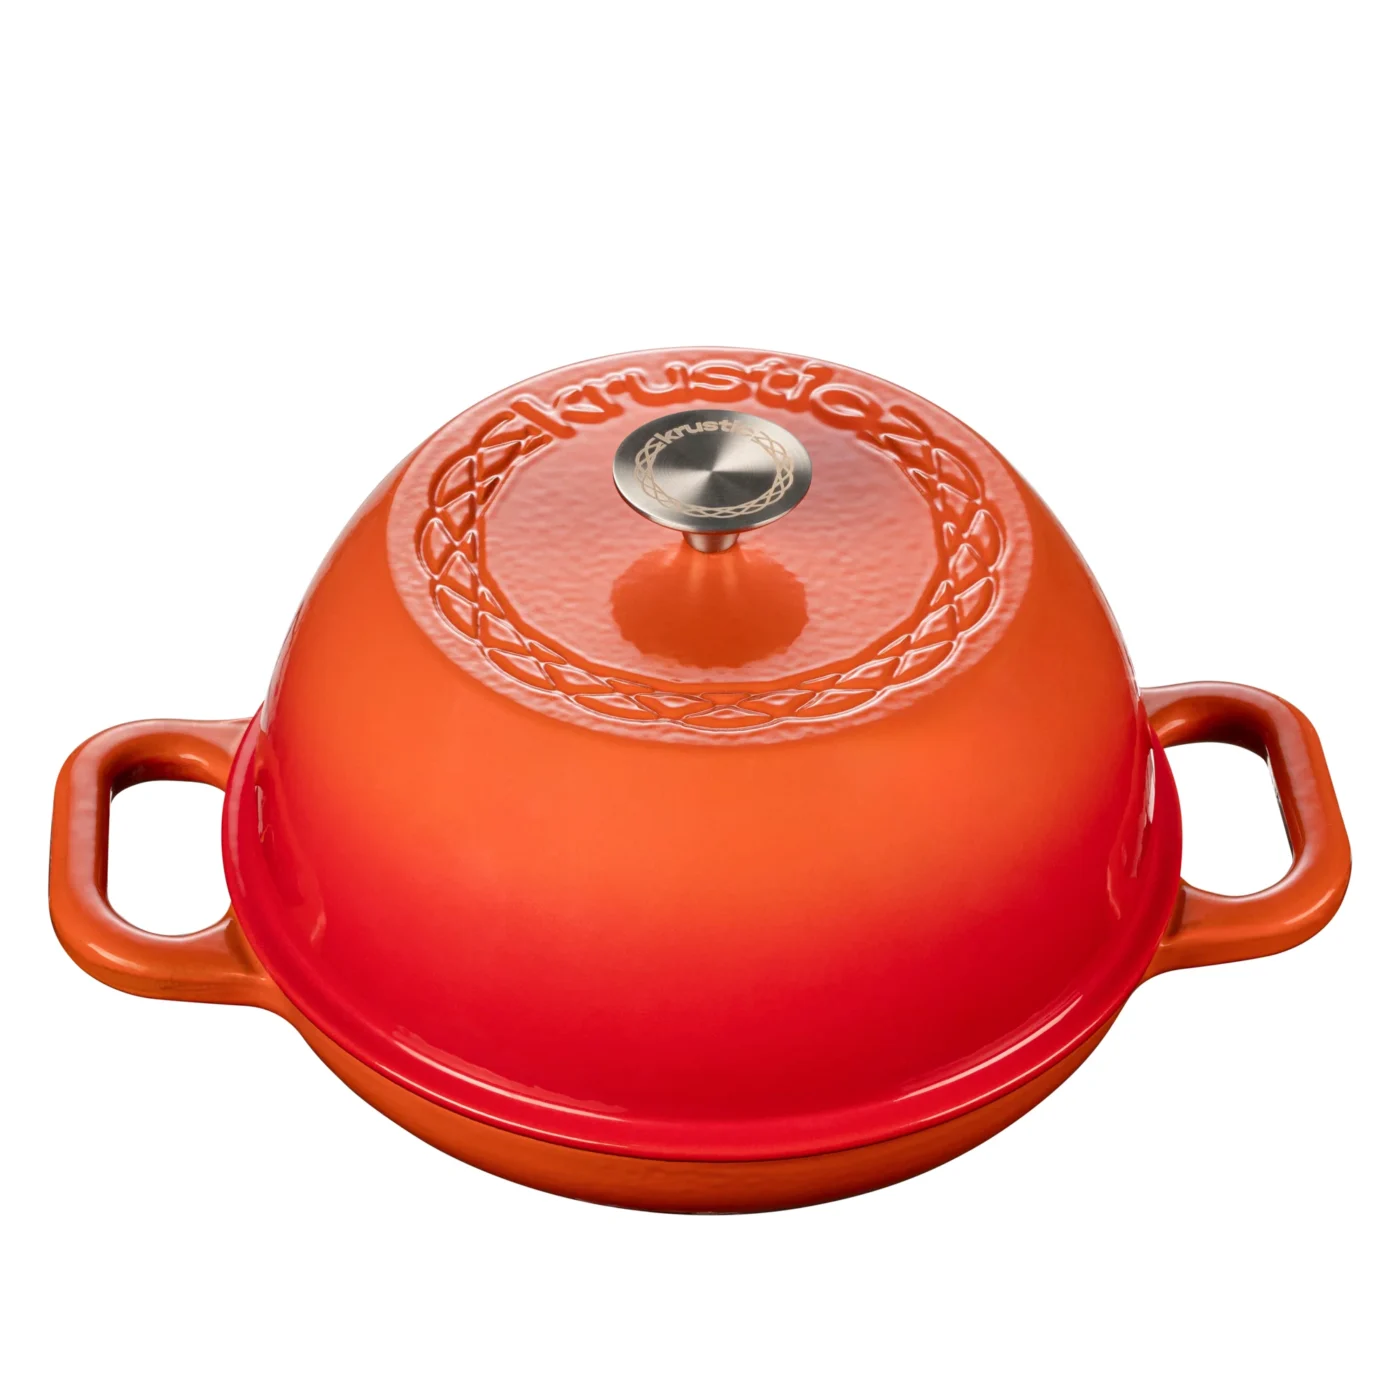
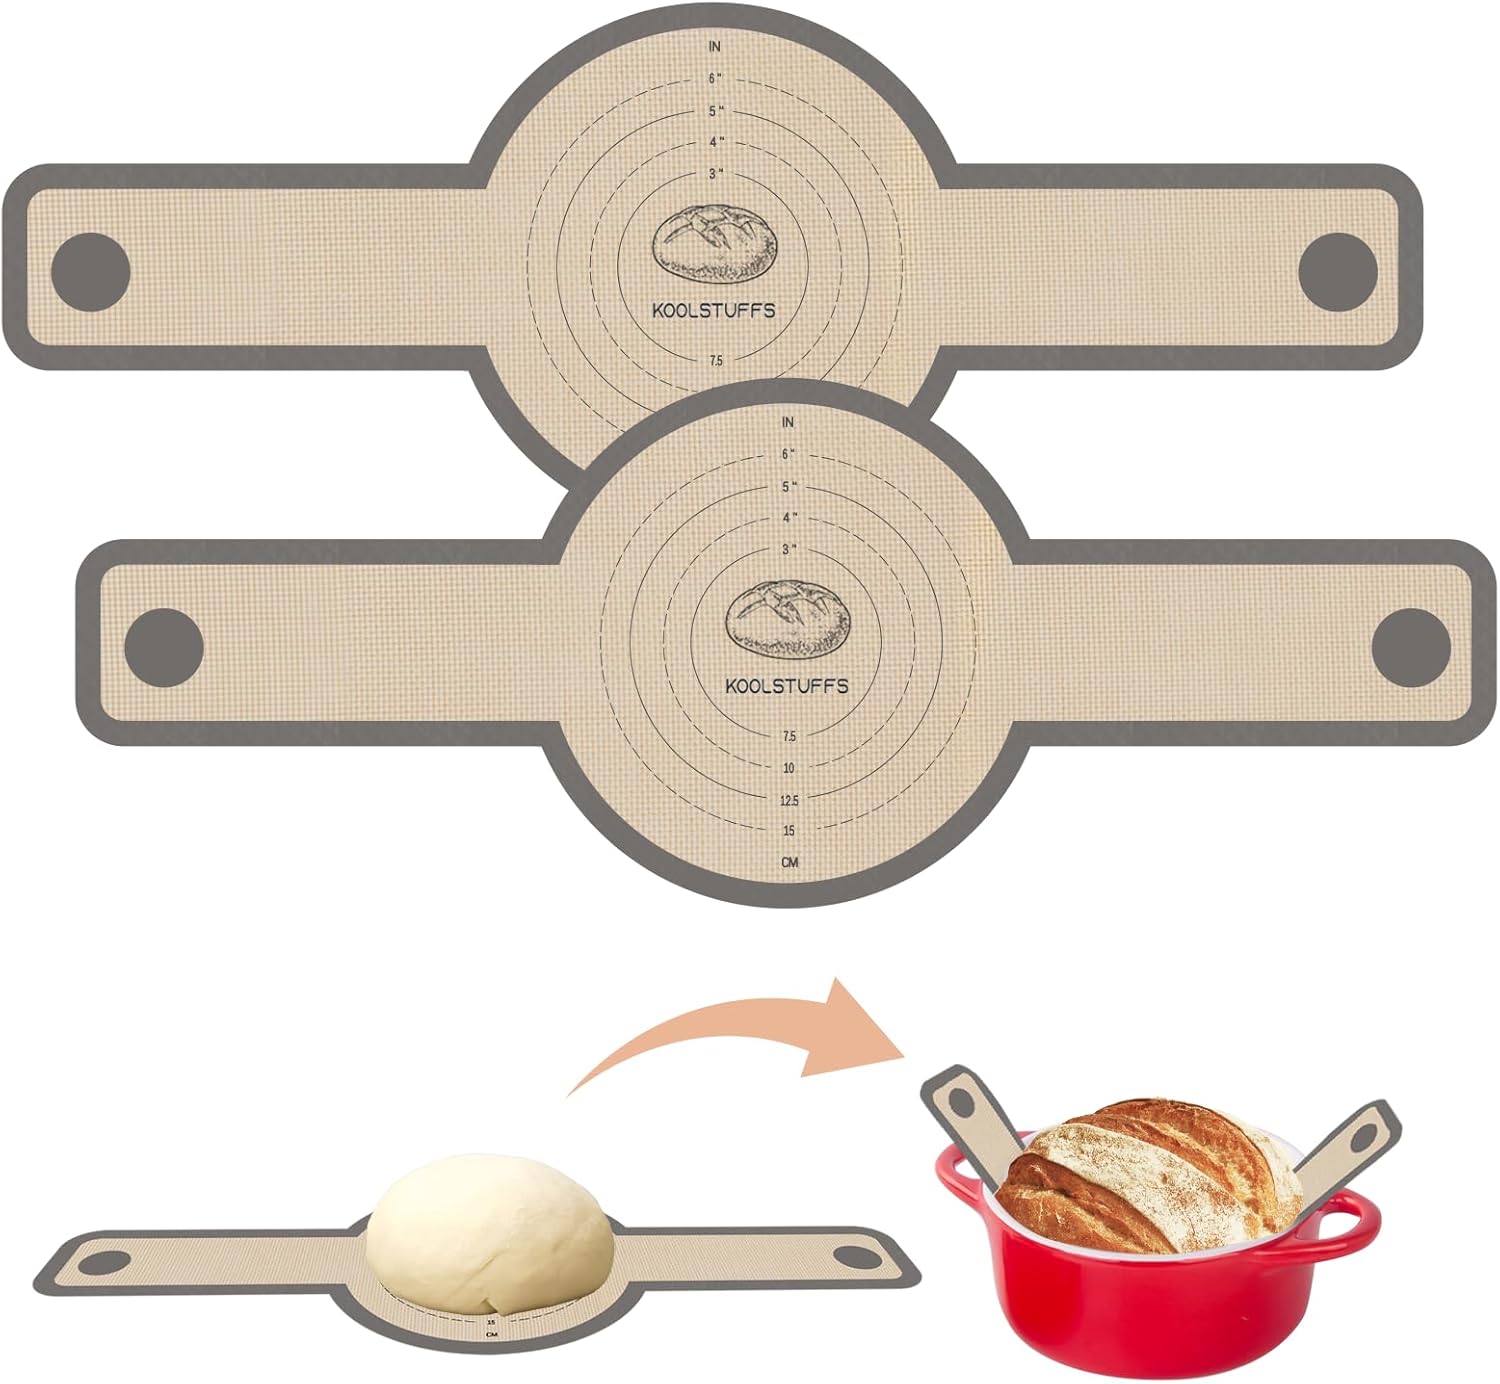
A Note on Dutch Ovens
Using this Dutch oven makes this method much easier.
It’s essentially an upside-down Dutch oven — a shallow base with a deep lid instead of a deep pot with flat lid. It’s easier to score, easier to load the loaf, and produces an incredible crust.
Worth every penny. And they come in great colors!
Method 2: The Scoring Technique
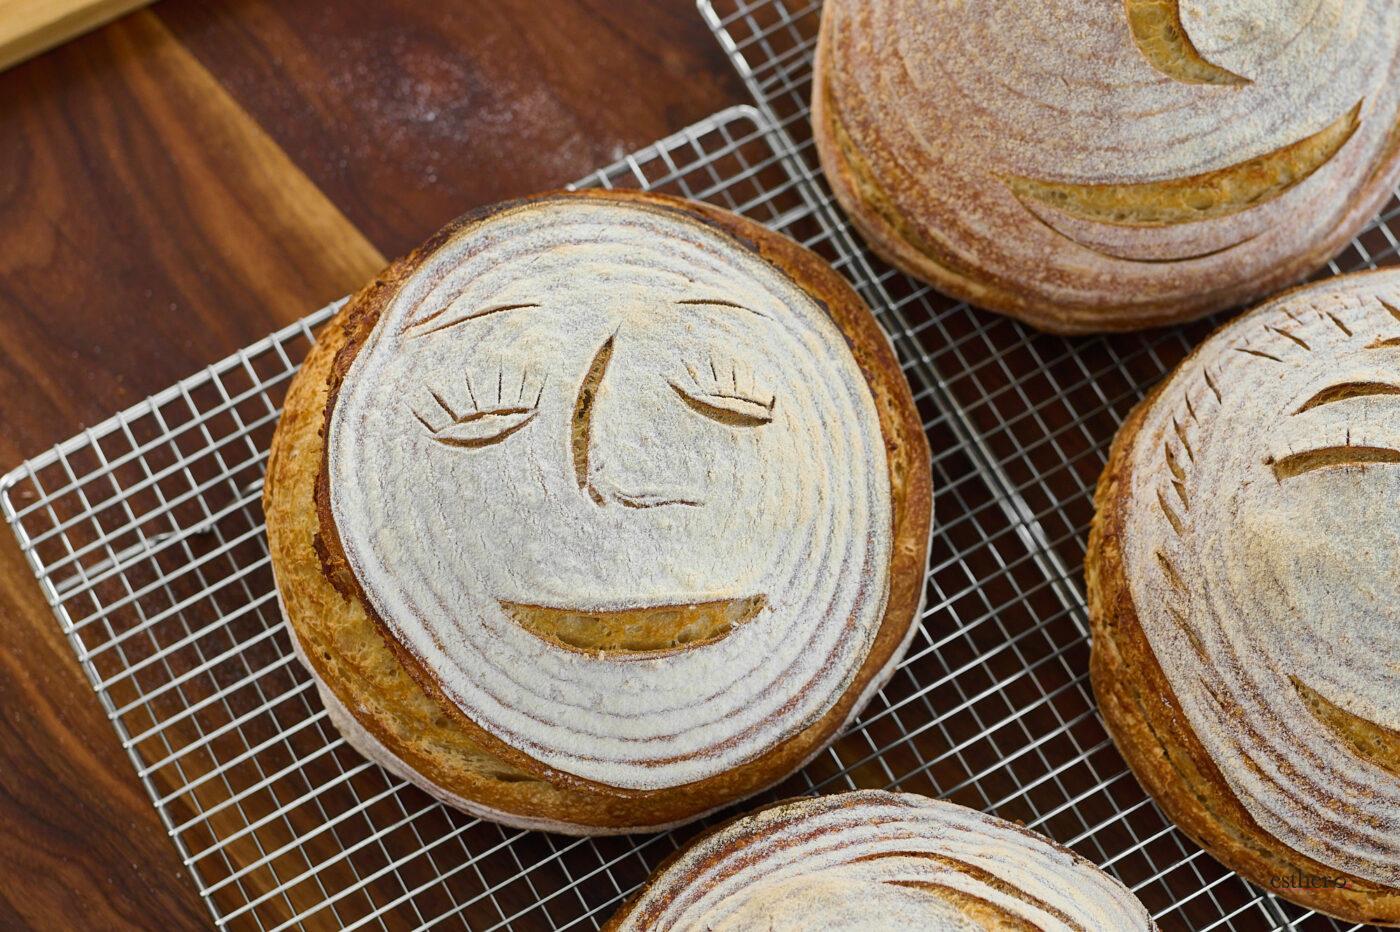
This method creates a more organic, expressive look.
Step 1: Flour First
Once out of the bannetons, heavily and evenly flour the tops.
Step 2: Score the Perimeter Only
Score around the edges.
⚠️ Do NOT score the facial features yet.
If you score them now, they’ll expand unpredictably. This method requires scoring the faces 8 minutes into the bake.
(BTW — this is also the secret to perfect wheat shapes. You’re welcome 😉)
Step 3: Initial Bake
Bake covered for 8 minutes.
Step 4: Score the Face
Remove and score your facial features.
Keep in mind:
Deeper scores spread wider
Start light → go deeper in the middle → end light for nice oval eyes or open mouths
Use lighter scores for eyebrows, lashes, and noses
Rescore the perimeter before returning to the oven.
Step 5: Finish Baking
12 minutes covered
20–22 minutes uncovered
Bringing Joy to the Table
This collaboration was such a fun way to combine creativity and baking — perfectly fitting for Purim.
Don’t judge my faces — I’m sure you’ll do better than I did! Drawing was never my strong point 😄
Whether you use stencils or scoring, these playful sourdough faces are guaranteed to bring personality, laughter, and a little extra simcha to your table.
Happy baking!
Click here to learn more about Dabbl.


