


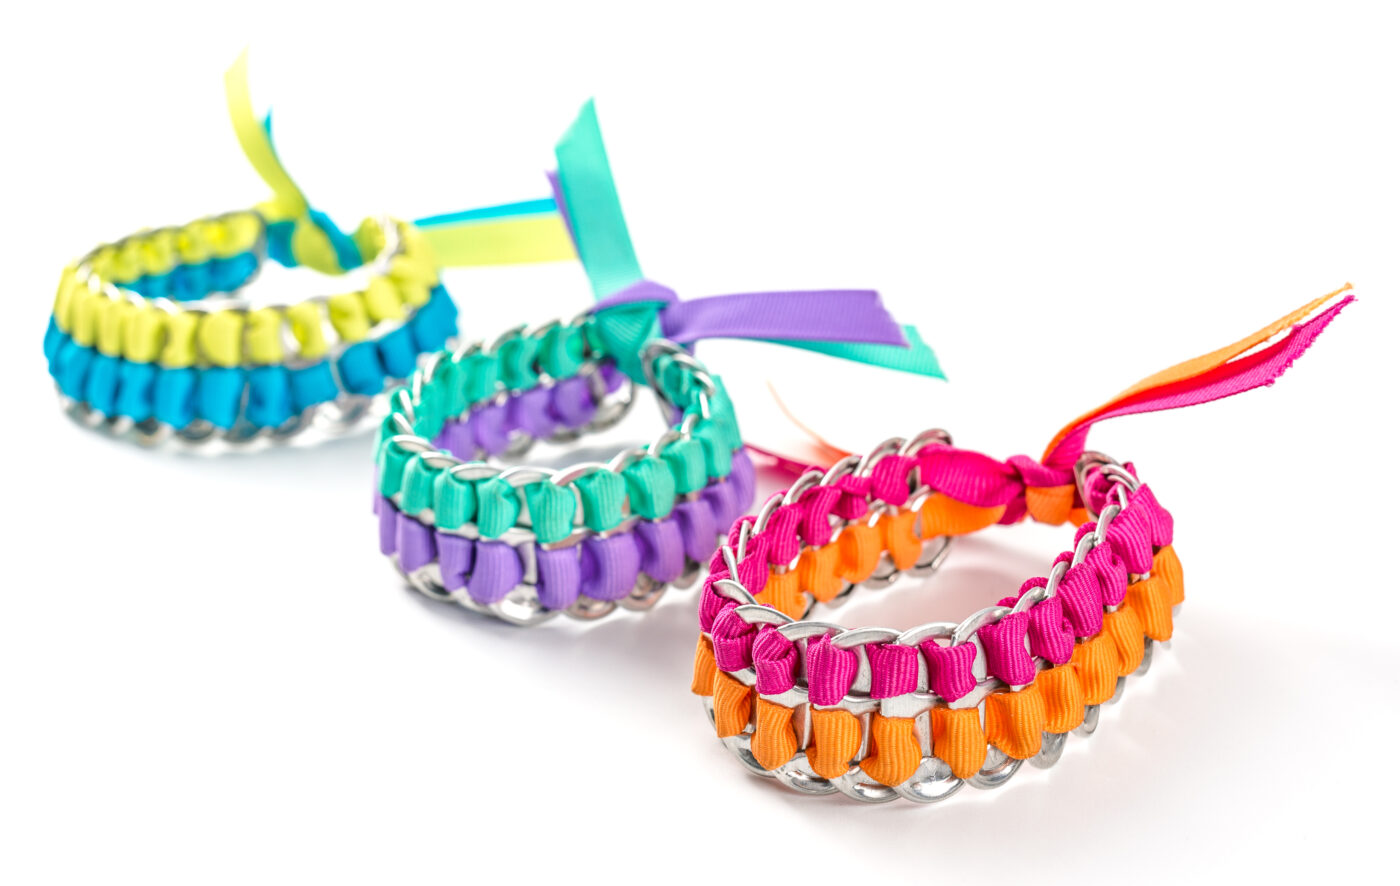
Turn Trash into Treasure: How to Make Stylish Soda Tab Bracelets
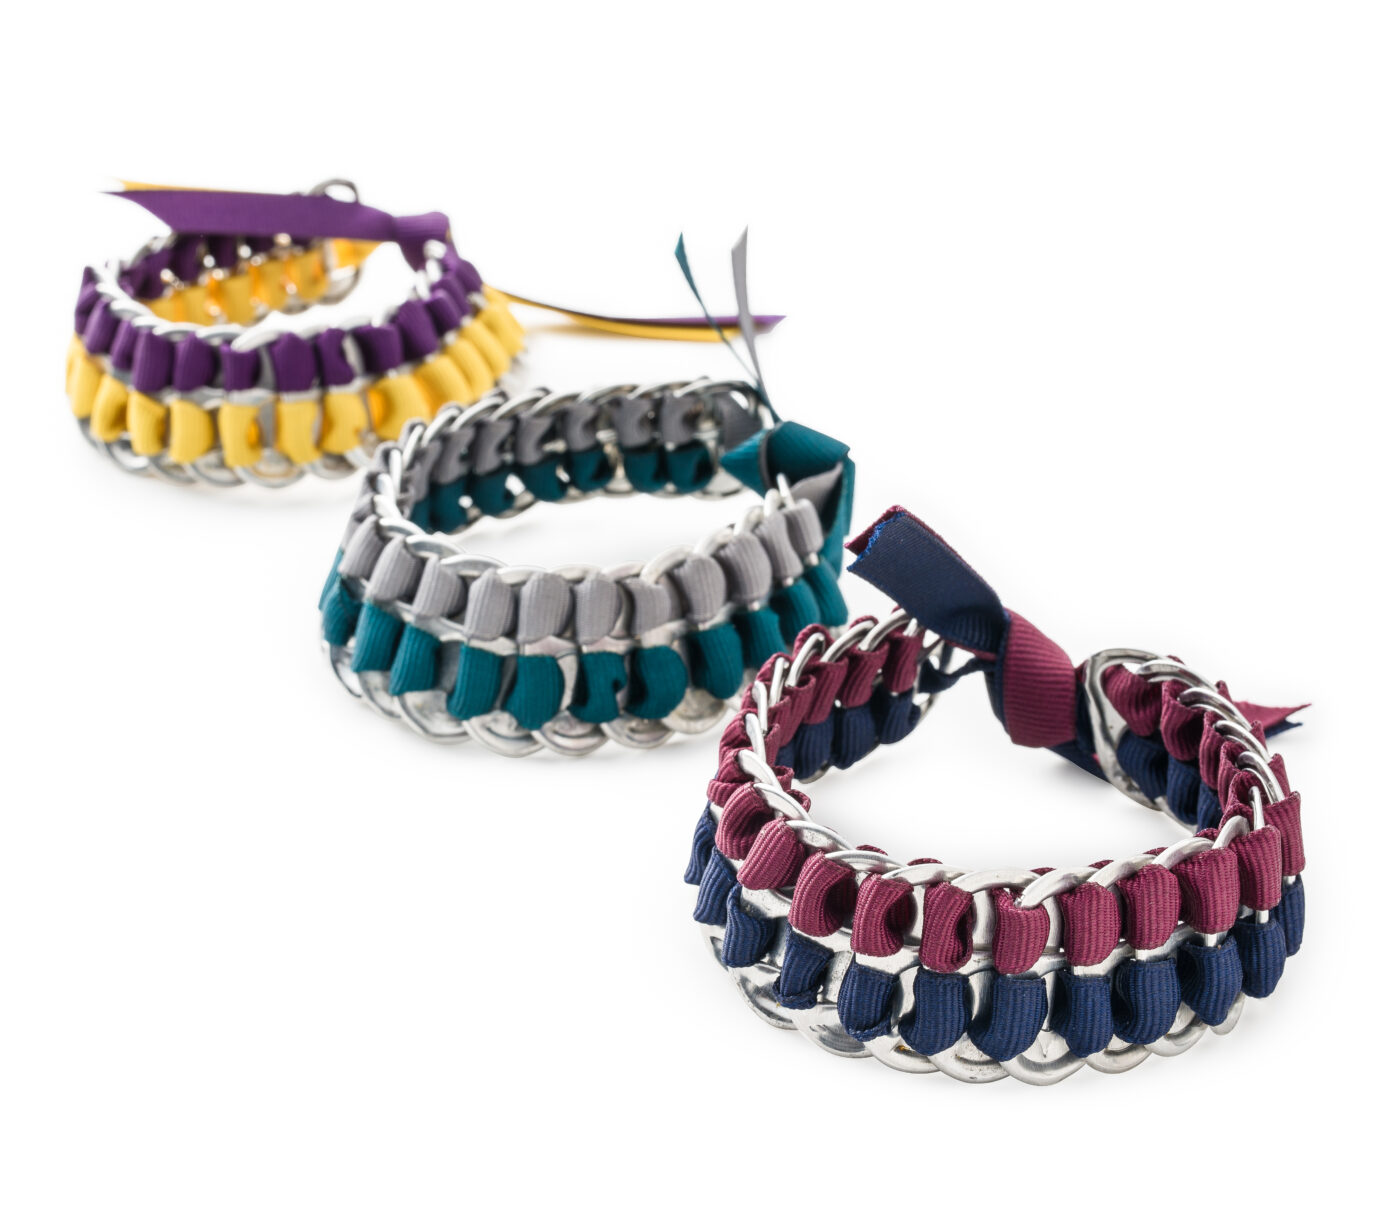
Looking for a fun, eco-friendly craft that transforms everyday waste into wearable art? Soda tab bracelets are the perfect upcycled accessory! Made with soda can tabs and colorful ribbon, these bracelets are creative, budget-friendly, and kind to the planet — and best of all, they’re easy and fun to make.
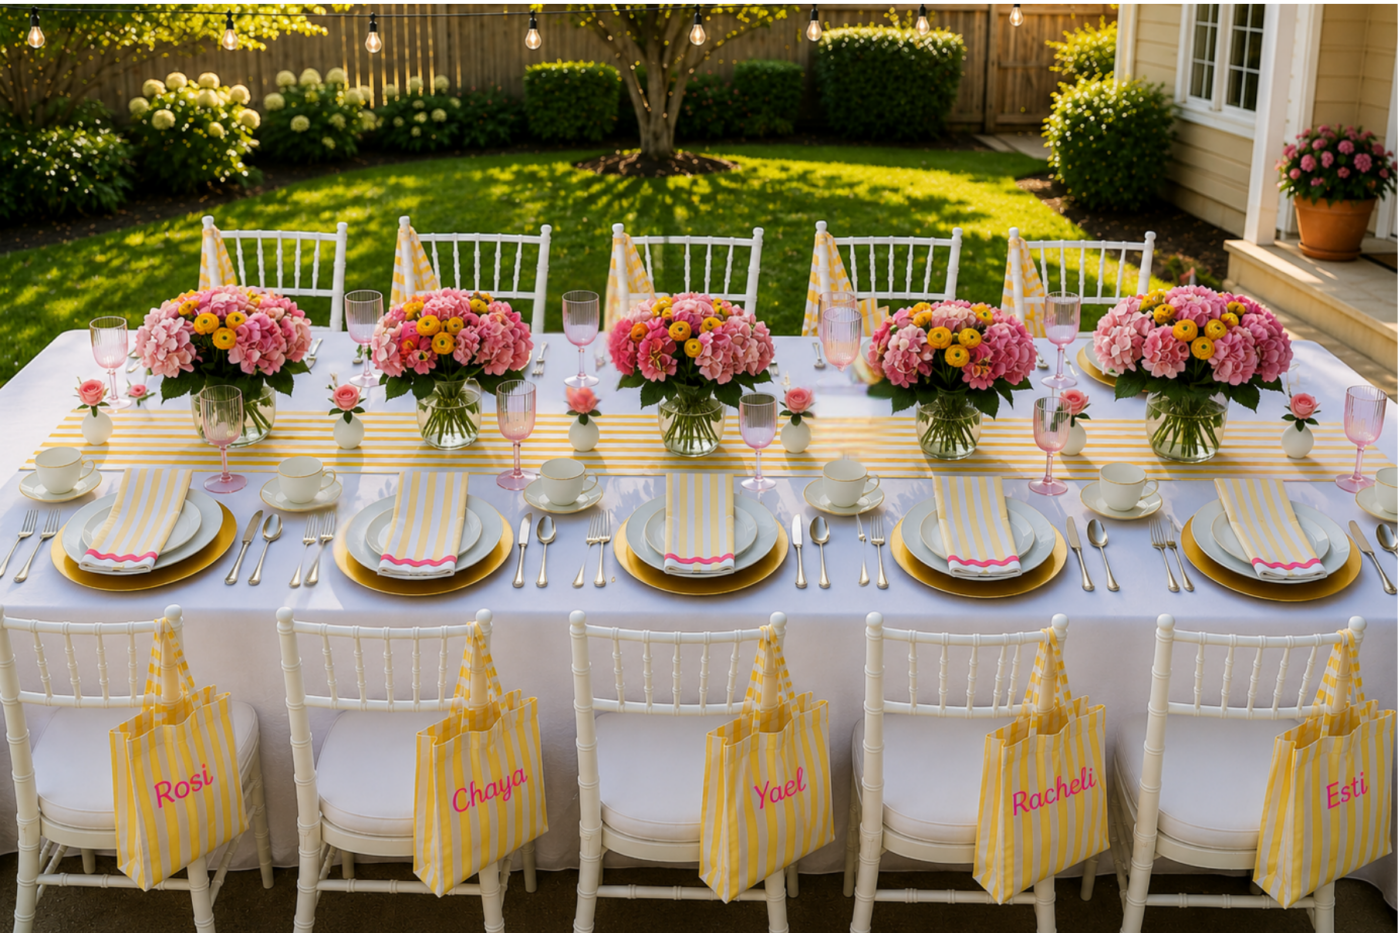
You can customize them in different colors to match any wardrobe, theme, or occasion. Think team spirit colors, favorite outfits, or holiday hues — the possibilities are endless! They make a great hands-on activity for Bat Mitzvahs, Chanukah parties, school contests, or any girl-focused gathering. A fun twist? Use soda tabs as prizes or rewards throughout a school challenge, then let the girls turn their collected tabs into stylish bracelets at the end.
Need extra tabs? No problem — you can buy clean, ready-to-use soda tabs on Amazon in bulk.
Whether you’re crafting solo or leading a party activity, this project is simple, stylish, and totally sustainable. In the step-by-step tutorial below, we’ll show you exactly how to make your own soda tab bracelet — no special tools or jewelry-making experience needed!
You will need:
20–22 soda tabs
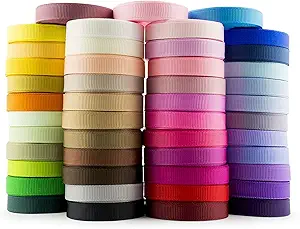
two 1-yard lengths of 3/8″ ribbon per bracelet, in different colors
2 safety pins
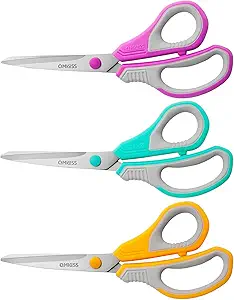
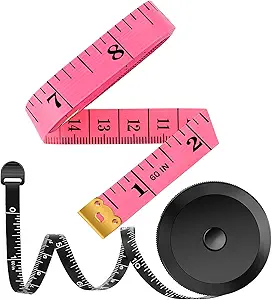
scissors and tape measure


Directions:
Step 1:
Prepare the Ribbons
Attach Safety Pins:
Fasten a safety pin to the end of each ribbon. This will make it easier to guide the ribbons through the holes in the soda tabs as you assemble the bracelet.
Step 2:
Position the First Tab:
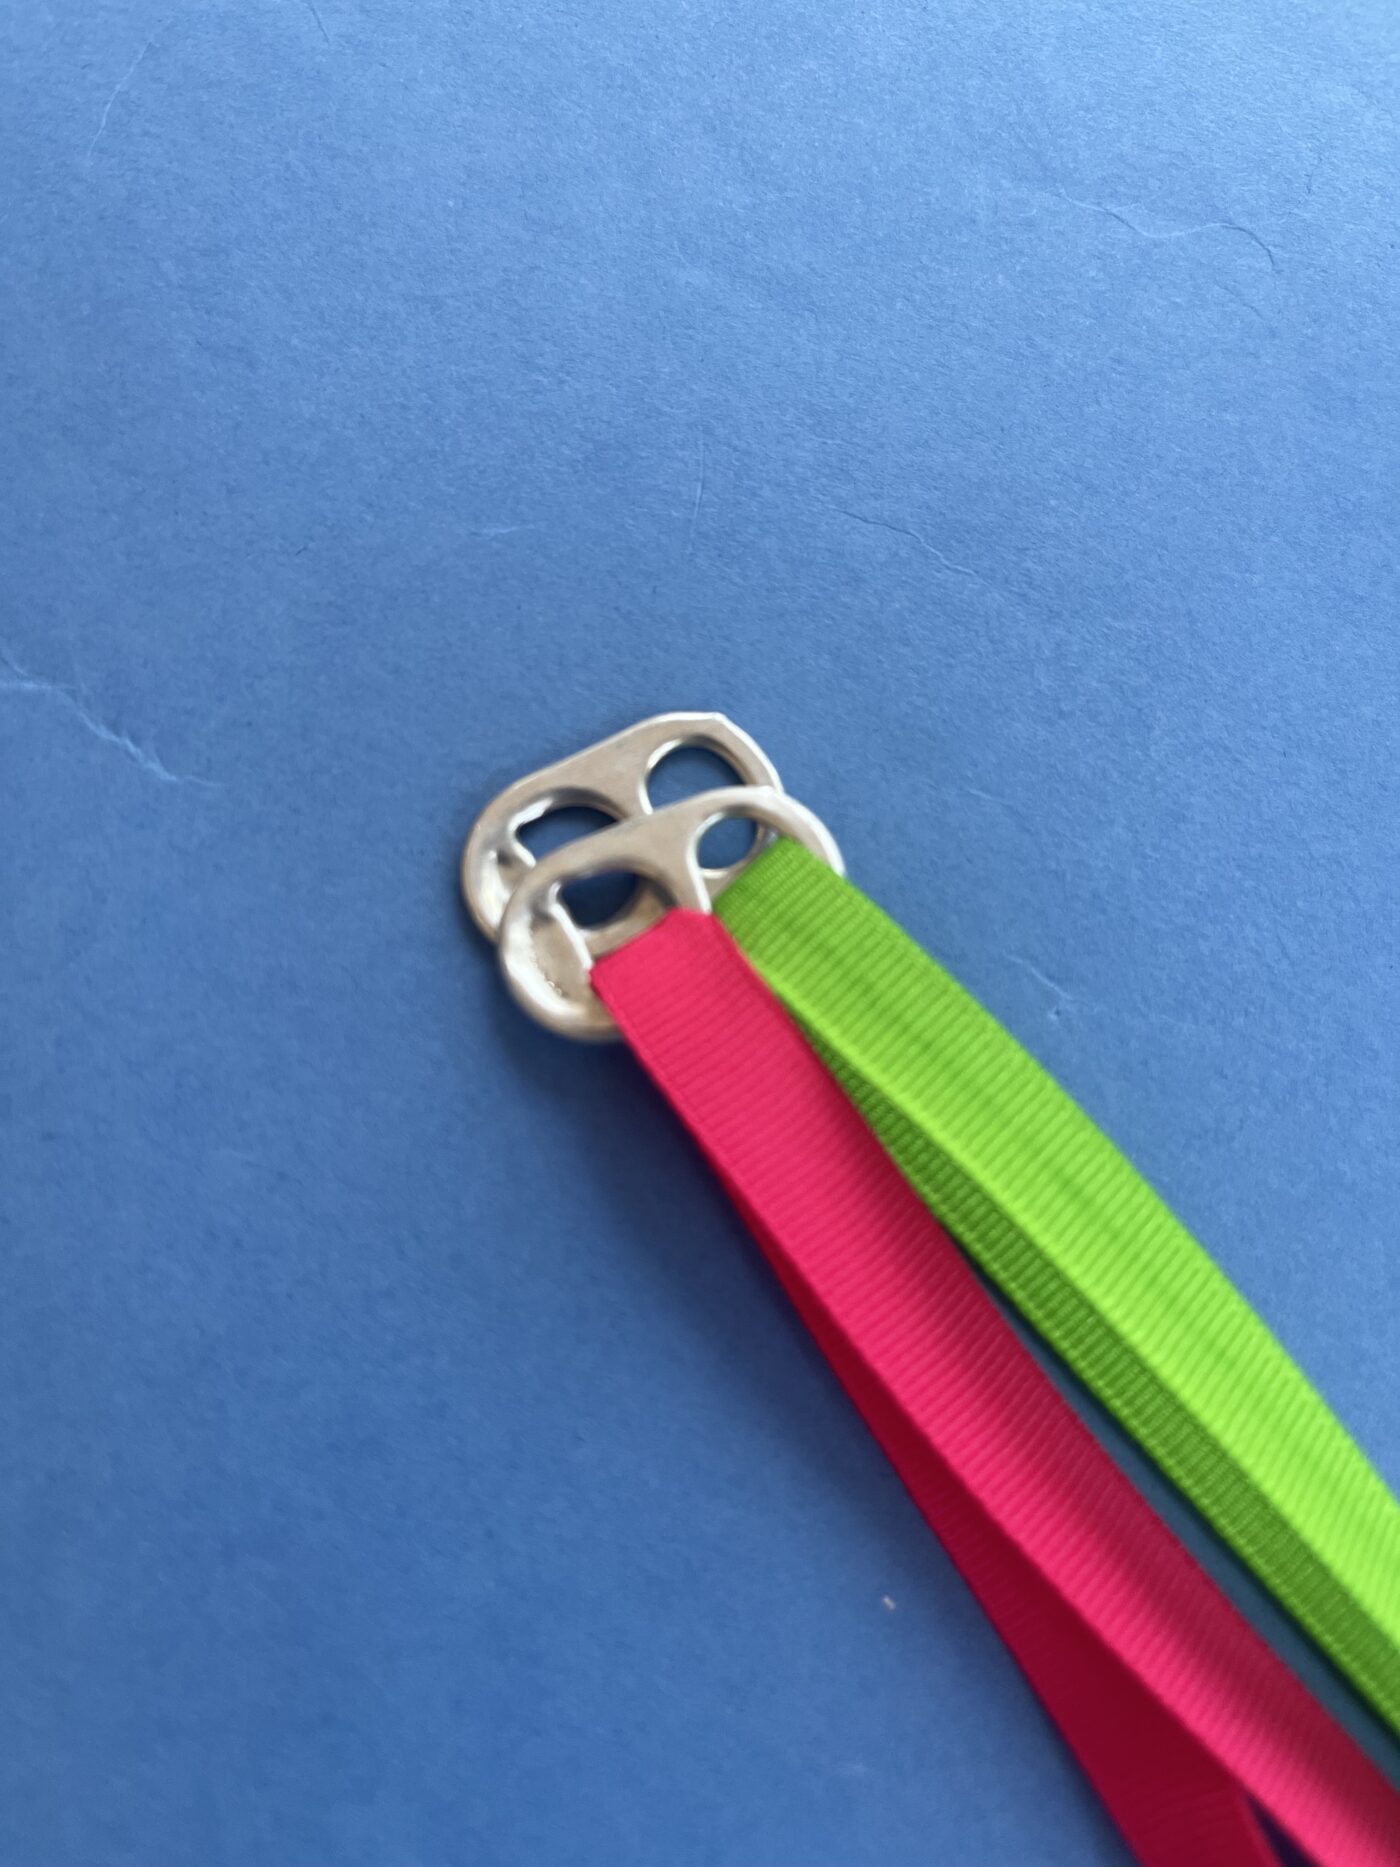
Take one soda tab and place it in front of you horizontally, with the smooth side facing up.
Insert the Ribbons:
Take the safety-pinned ends of your two ribbons and insert one into each of the two holes of the tab, coming from the top (smooth side).
Pull Through:
Gently pull the ribbons through the holes until you have about six inches of ribbon remaining on the far side. This extra length will be used later to tie the bracelet.
Step 4:
Secure the Second Tab
Thread the Right Ribbon:
Using the safety pin end, thread the right ribbon upward through the newly aligned hole on the right side of the second tab. This step secures the two tabs together.
Continue Threading:
Now, thread the same right ribbon downward through the next hole on the right side of the second tab (the third hole overall in your pattern).
Repeat on the Left Side:
Using the left ribbon, repeat the same process on the left side:
– Thread upward through the new aligned hole to connect the tabs.
– Then thread downward through the next hole on the left side.
This step is easier now that the tabs are already held in place.
Step 5:
Complete the Bracelet
Add More Tabs:
Take a third soda tab and repeat Steps 6–9 (layering and threading) with each new tab. Continue this process until you’ve used all 20–22 tabs, depending on your desired bracelet length.
Step 6:
Finish and Tie Off:
Once all tabs are in place, remove the safety pins from the ends of the ribbons. Then, tie the remaining ribbon ends into a secure knot to complete your bracelet. You can tie it in a bow for easy removal or a double knot for a permanent closure.


