


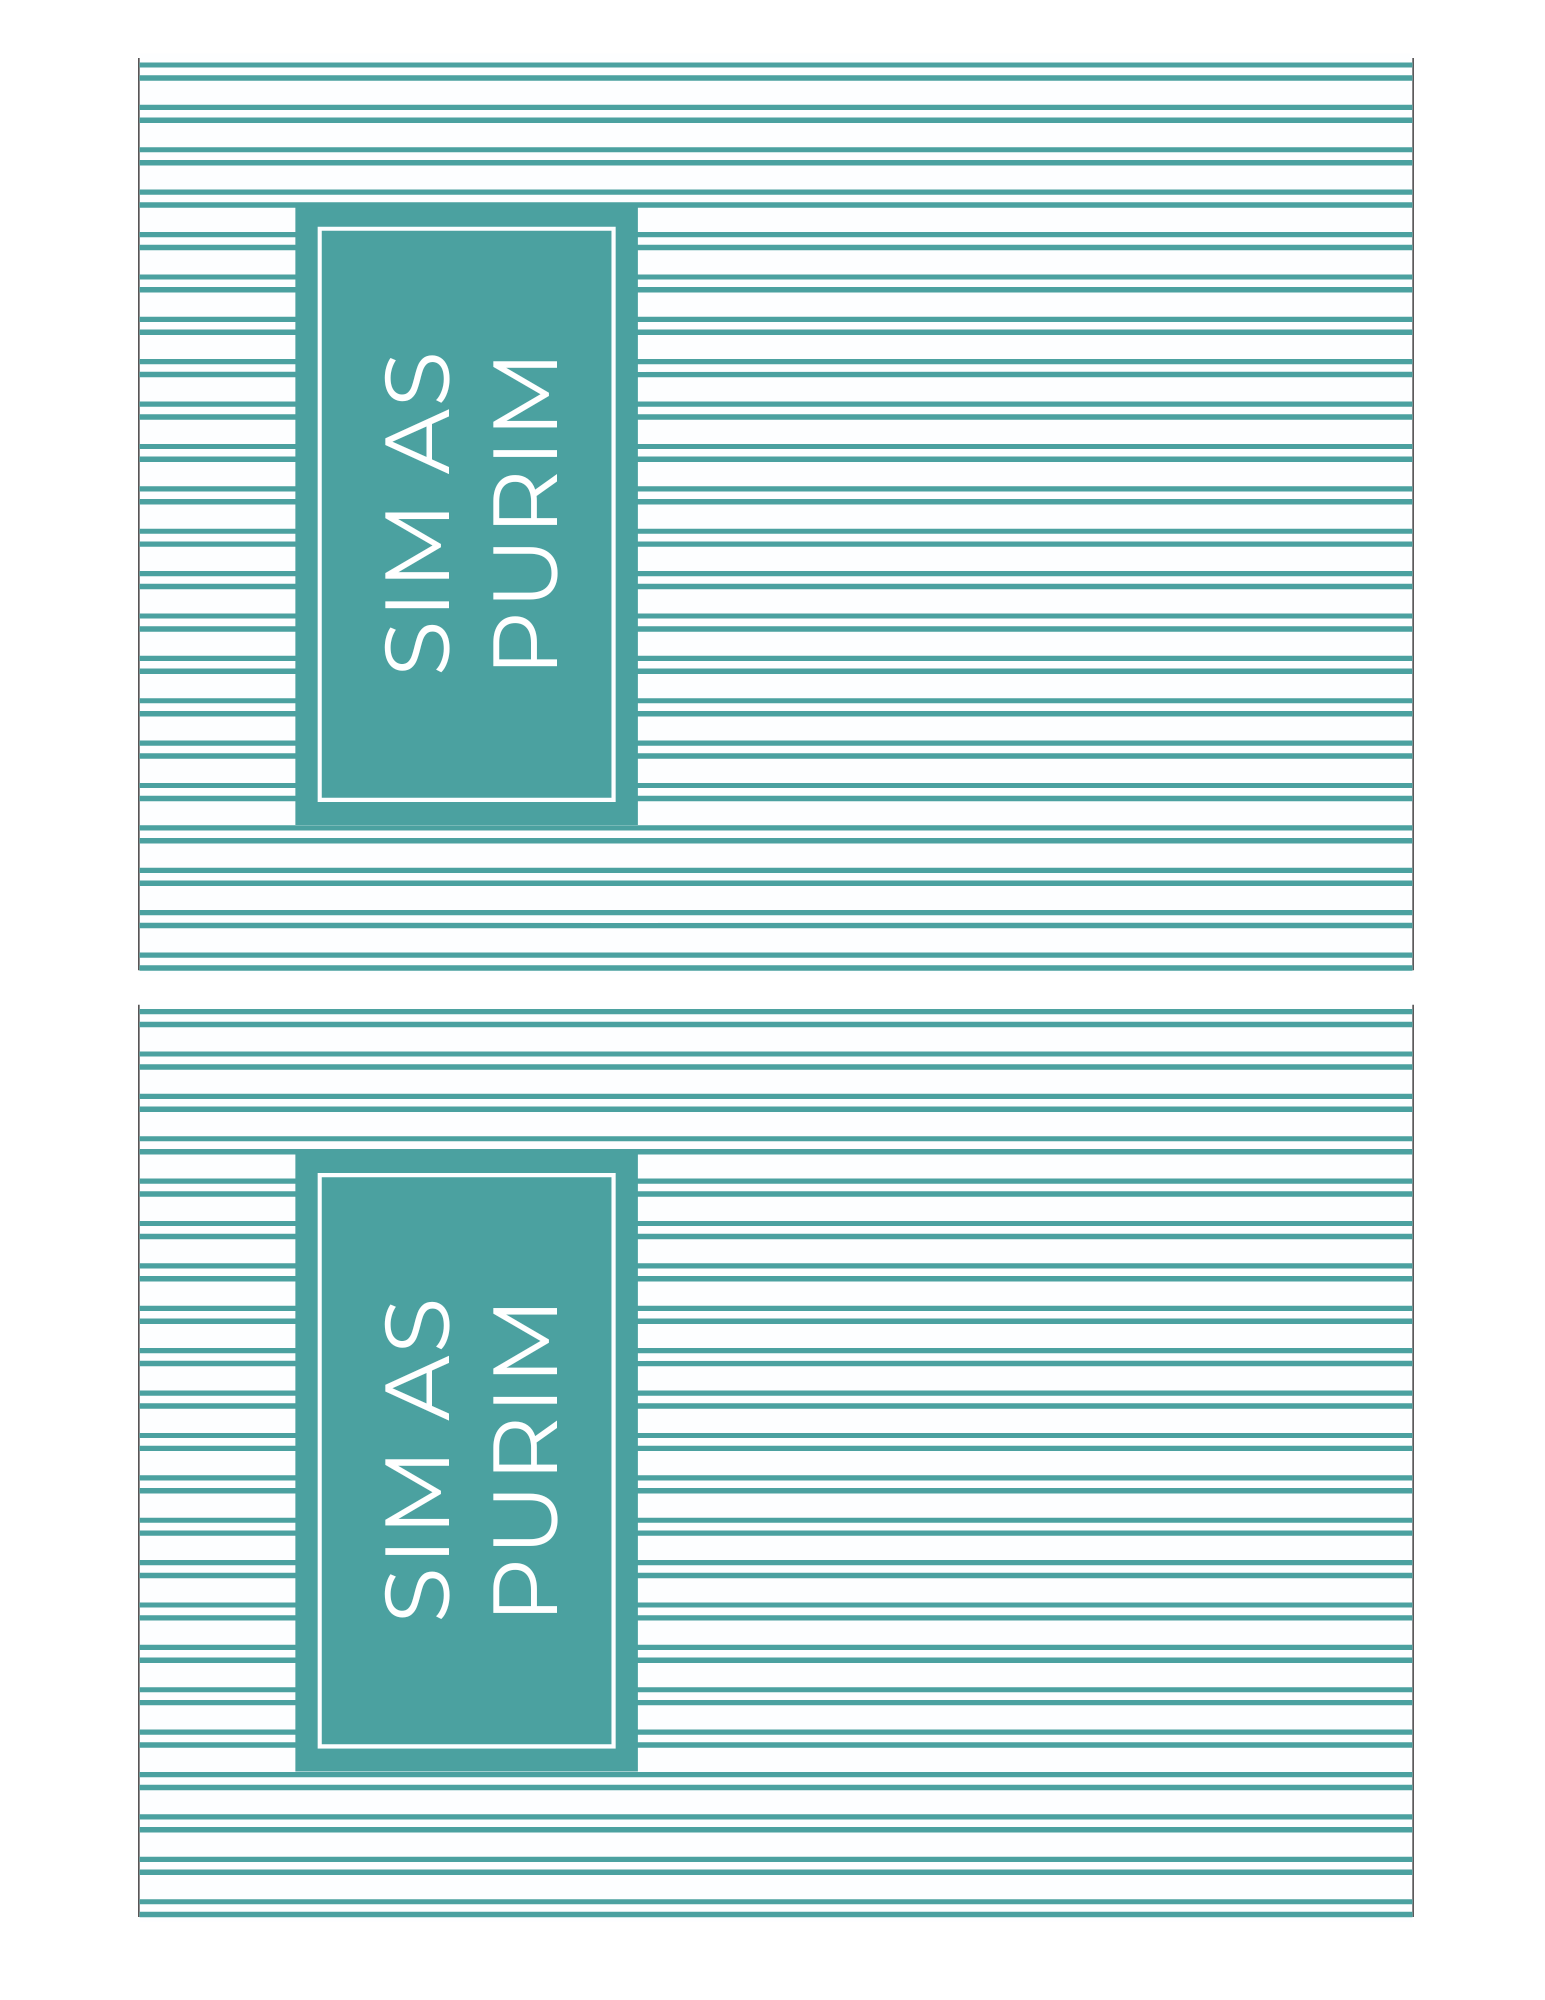
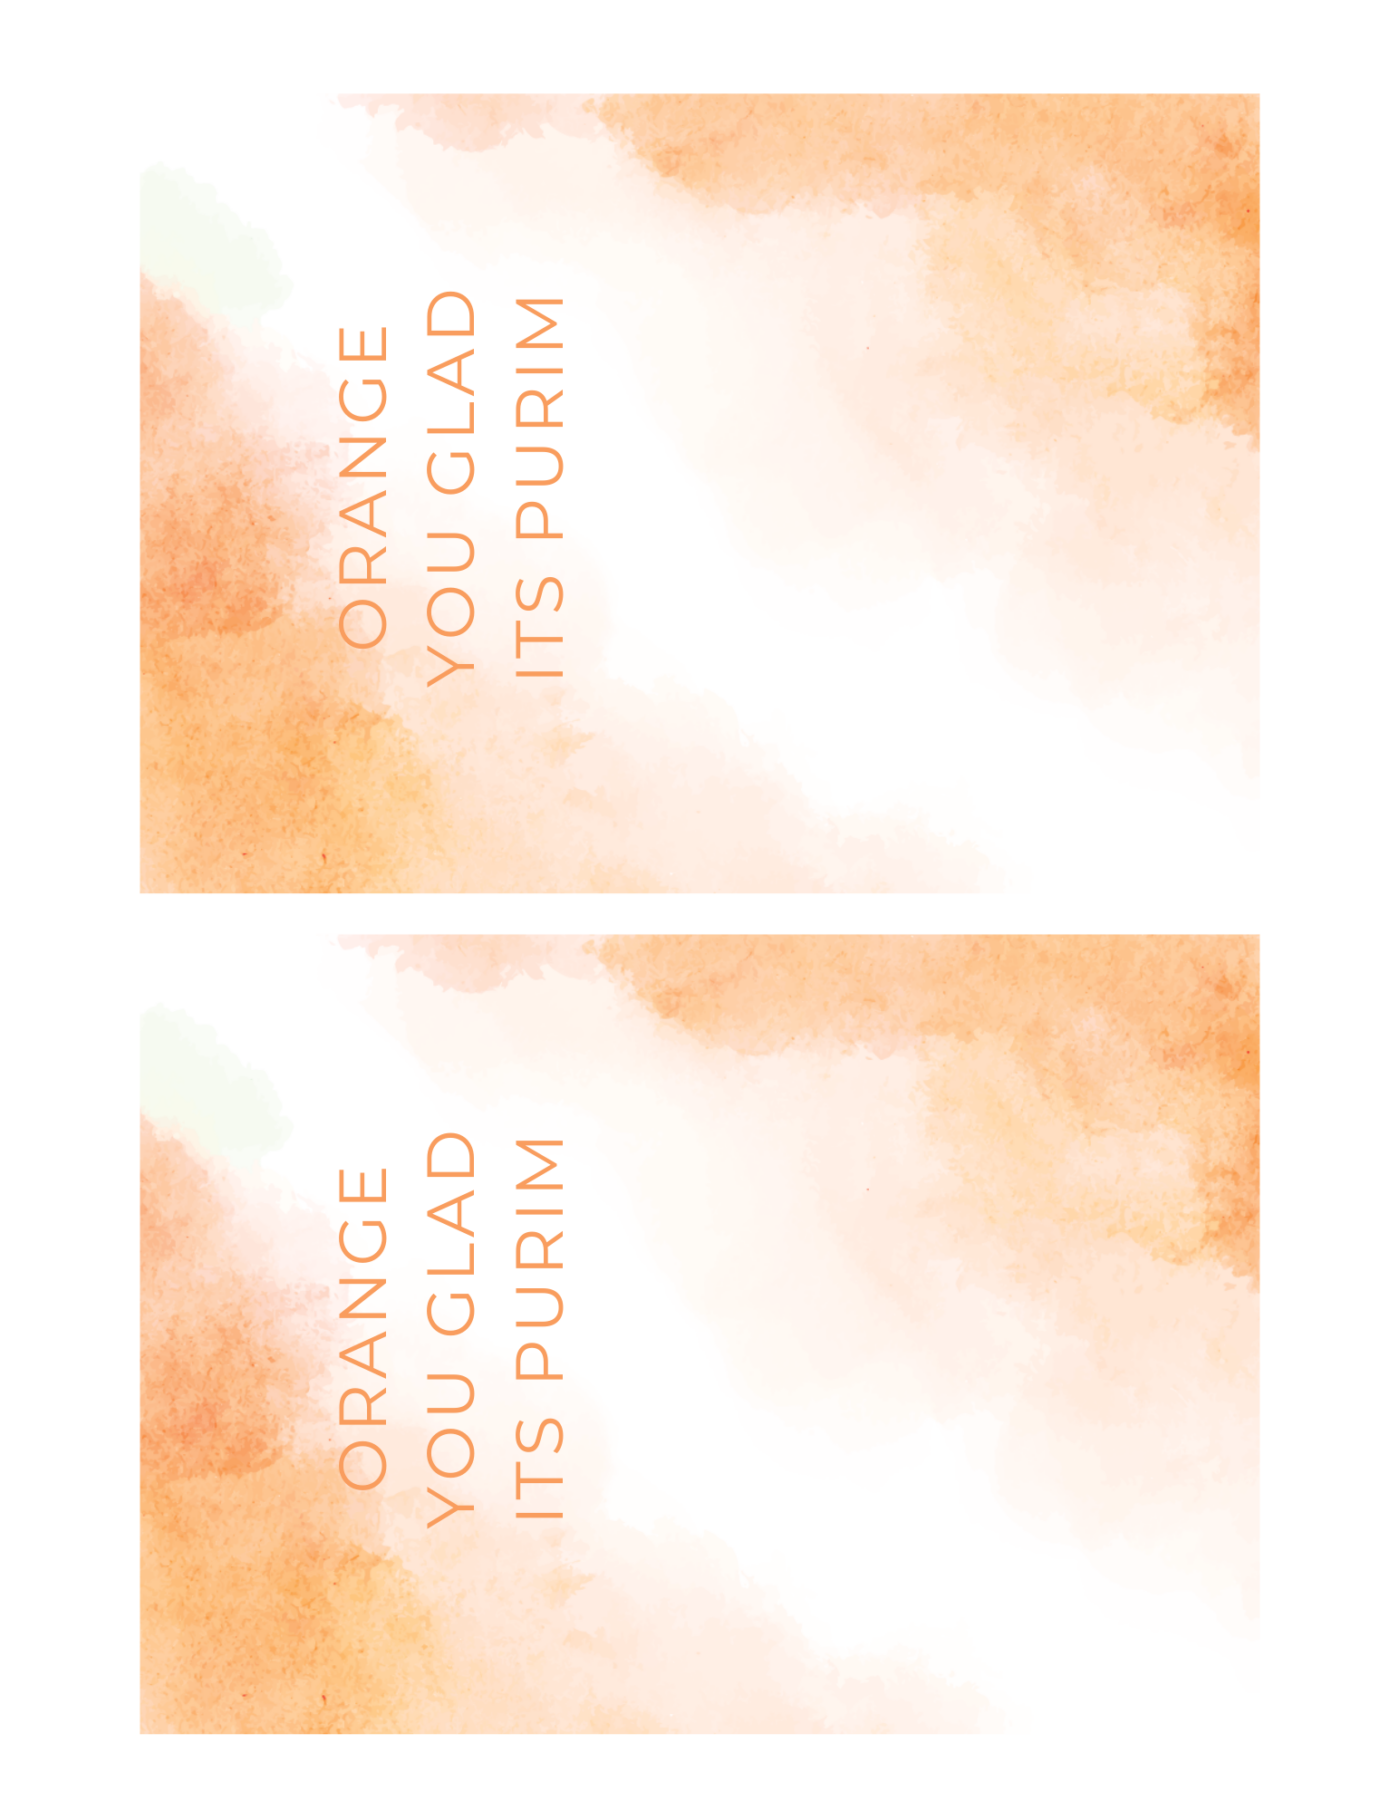
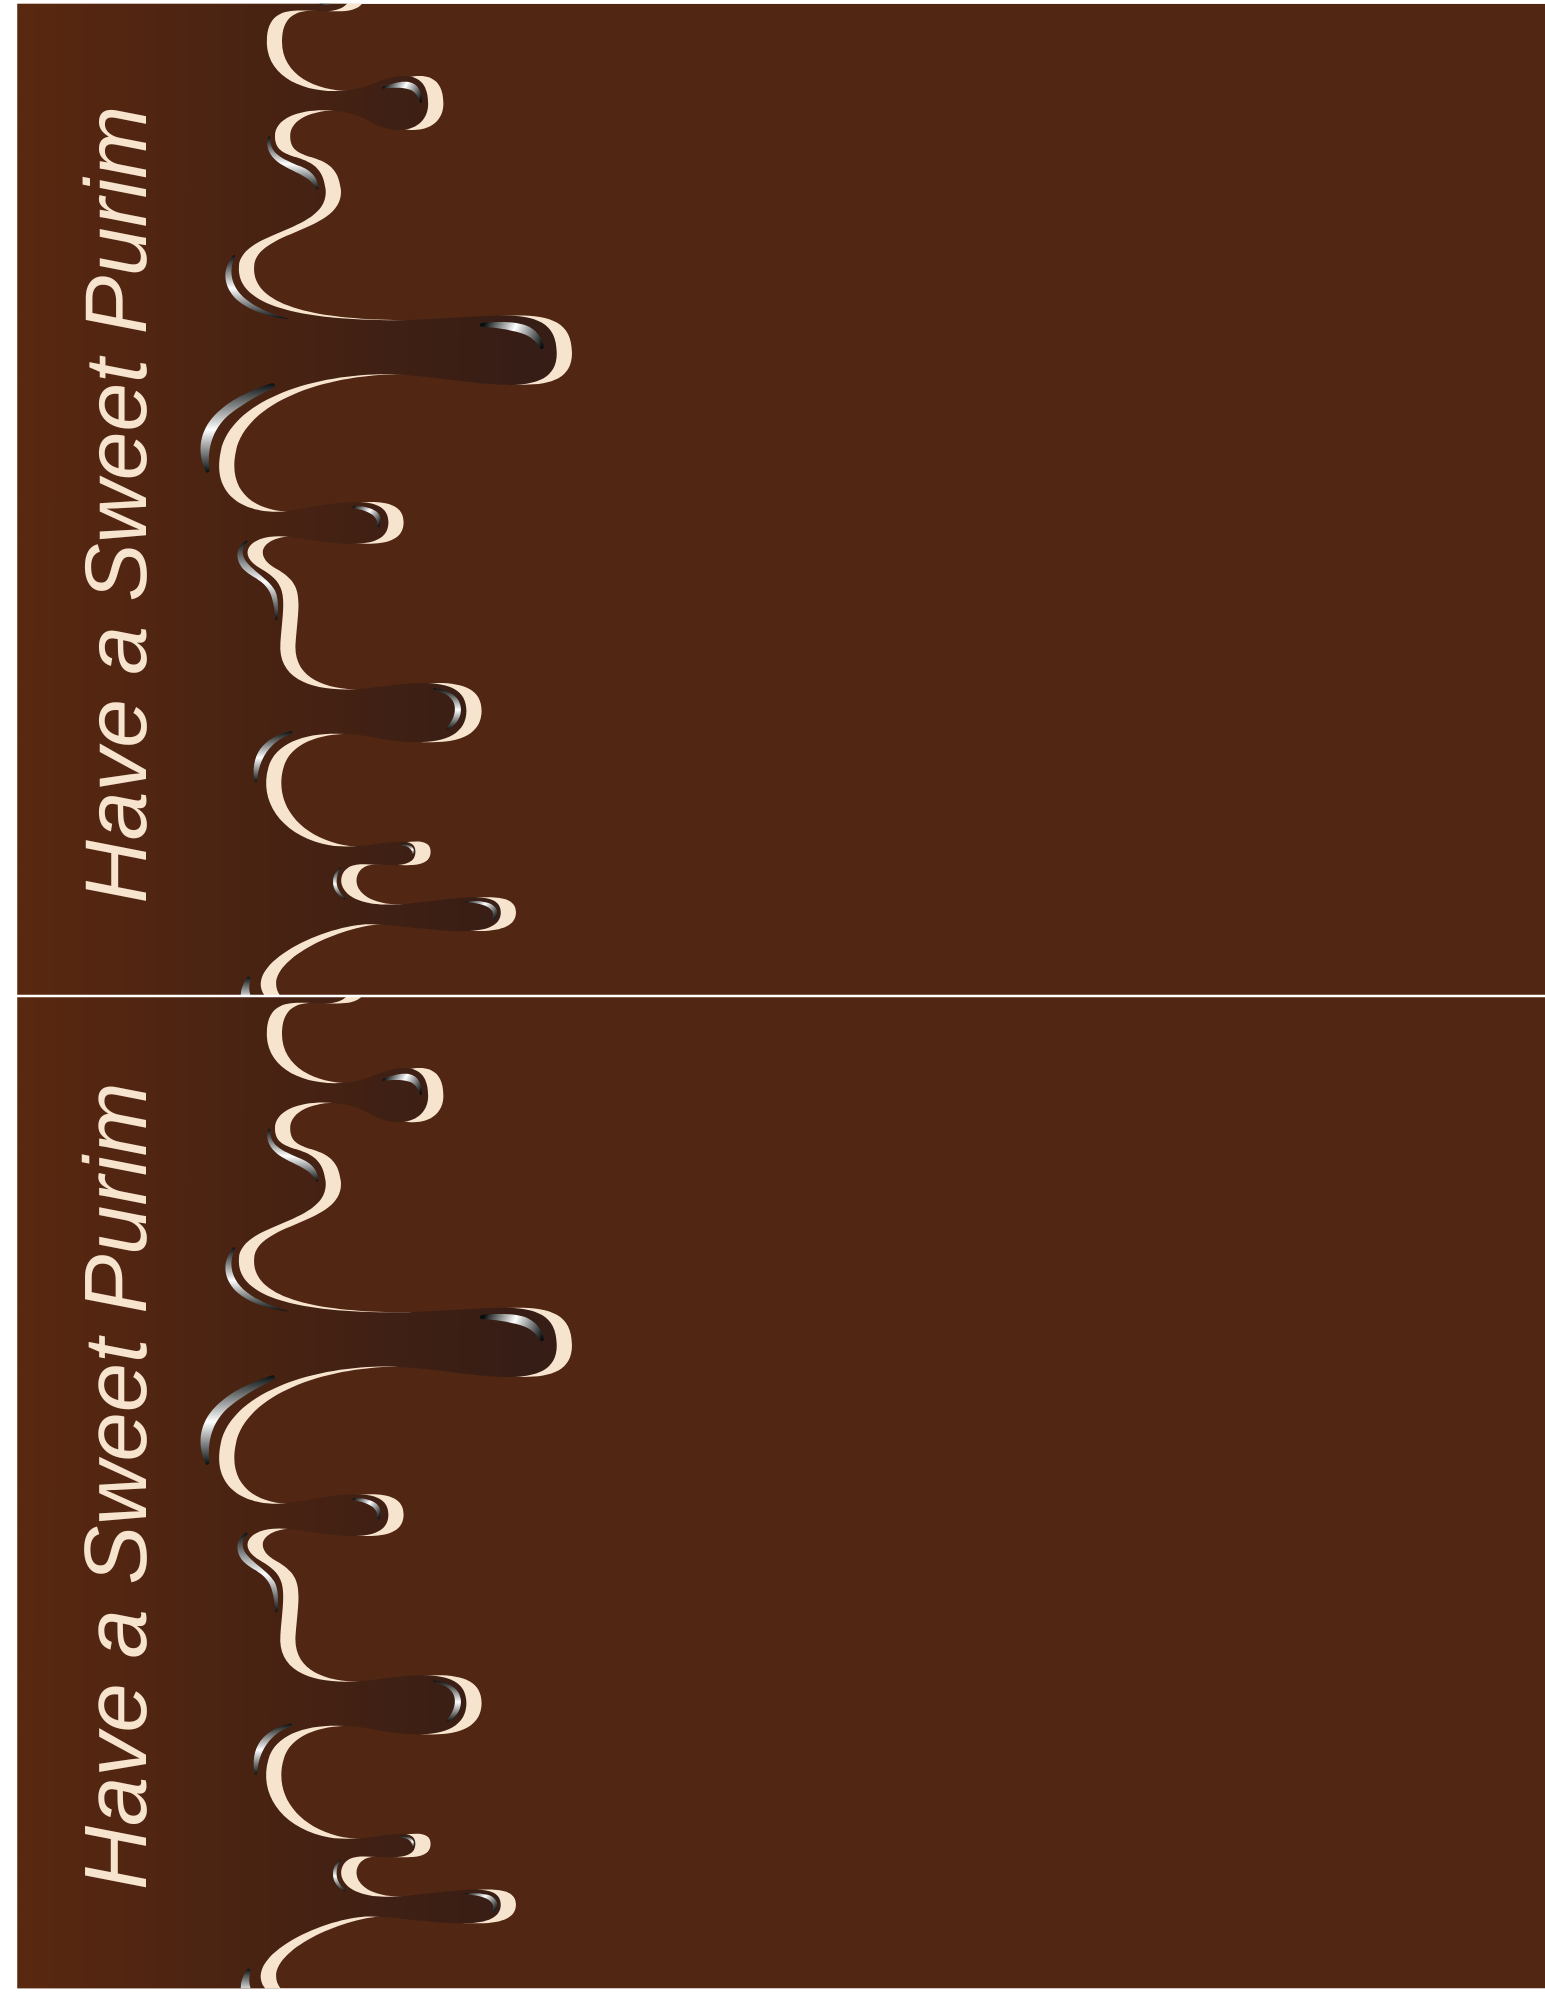
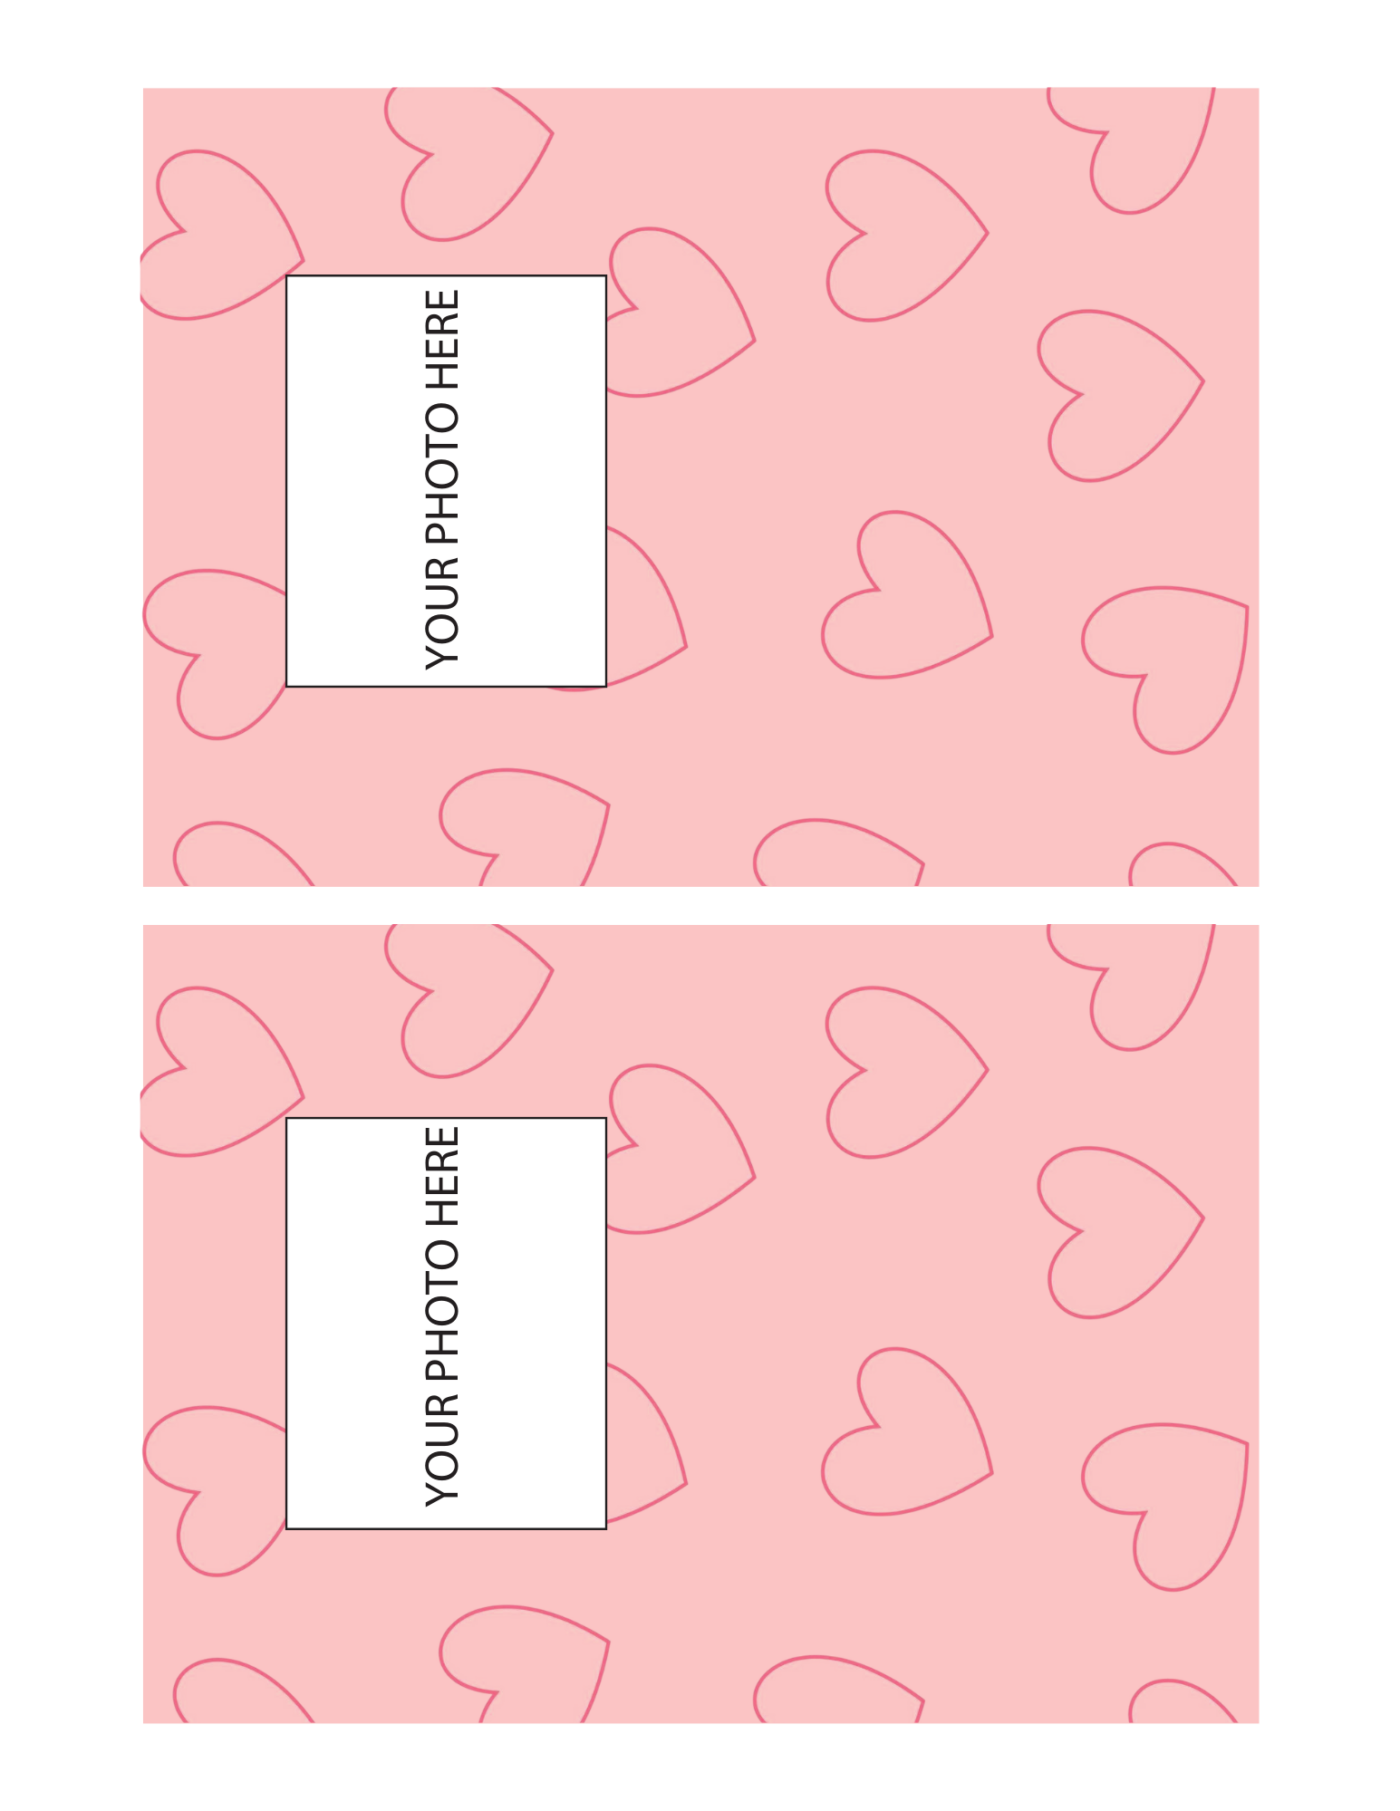
Personalized Treat Boards
A treat board is a fun and creative way to pack Mishloach Manos. By adding personalized graphics, these boards can be tailored to any theme or aesthetic—from fun and whimsical to clean and modern.
What makes this packaging especially appealing is how simple it is. There’s no wrapping, no cellophane, and no ribbons to fuss with — and honestly, that’s a big part of the charm. We know so many of our readers love the satisfaction of a DIY, but still want to keep things clean, streamlined, and easy. This is one of those projects that feels creative and hands-on, but requires minimal effort to pull off.
Everything comes together neatly and quickly, making assembly stress-free and mess-free. The finished boards are sturdy, polished, and easy to transport.
If you’re into this style of simple-but-elevated mishloach manos, be sure to check out our other Minimalist Mishloach Manos.
Choosing the Right Plastic: Covers vs. Boxes
We originally planned to use plastic covers as clamshells, but along the way we decided to test plastic boxes as well—and we’re glad we did.
The plastic boxes were much easier to fill and offered more flexibility with treats of different shapes and sizes. The clamshell covers work beautifully too, but they need to be kept very flat in order to adhere properly to the board. The key is not to overfill them.
Both options have their place—it really depends on the look you’re going for and the treats you’re using.
What You’ll Need:
graphics printed on sticker paper
foam boards
plastic covers or plastic boxes
candy or treats
glue gun
double-sided tape
Size & Material Notes
If you want to use the same sizes we did:
Clamshell Version
Foam board: 5½ × 8½ inches (14 × 21½ cm)
Plastic cover: 4 × 5½ inches (10 × 14 cm)
(We used a cover from an aluminum pan.)
Box Version
Foam board: 5 × 7 inches (13 × 18 cm)
Plastic box: 3⅓ × 3⅓ × 1½ inches (8⅓ × 8⅓ × 4 cm)
You can use the plastic boxes on the larger size board too.
Love this idea? See more Mishloach Manos posts for every style and budget.


Directions for printables:
- Edit the labels. Add personalization if you want.
- Size the graphics so that it measures up correctly with your board and with the labels. You can use a full sticker or half sheet labels depending on which size you go with.
- Print on label paper.
- Trim foam board or labels if needed.
A basic understanding of Canva is needed to make edits.
Directions for assembly:
- Stick the graphics onto the foam board, removing a small portion of the backing at a time to help the sticker lay smoothly.
Fill the plastic cover or box with candy.
If using a plastic box: Glue the box to the board using a LOW TEMP glue gun.
If using a clamshell cover: Attach it to the board using double-sided tape.
Photography and styling by Chay Berger
This article originally appeared in Family First


2 Responses
love this idea! where can i find these strawberry candies?
We found strawberry candies at Confection Collection.