
Original Tablescapes, Crafts & Jewish Holiday Hosting

More results...

Generic selectors
Exact matches only
Search in title
Search in content
Post Type Selectors
post

Eye candy to devour!

Because Creativity

is Contagious!

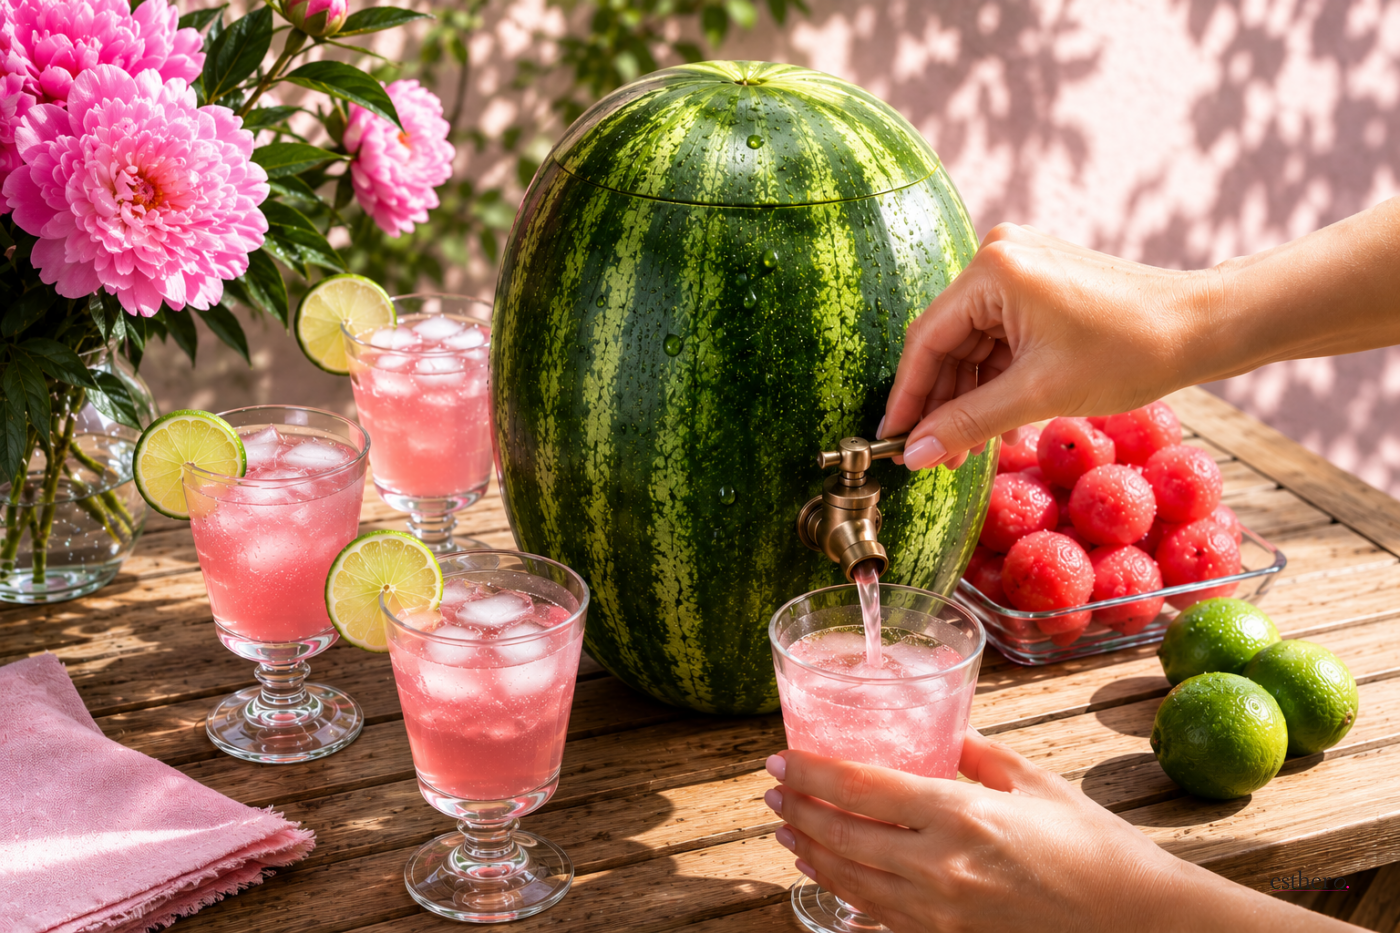
Watermelon Drink Dispenser

DIY Watermelon Drink Dispenser

EstherO Entertainment Picks

SLUSHIE MACHINE
CAMP & PARTY GAMES
TABLECLOTHS ON ROLL

Watermelon Drink Dispenser: The Ultimate Summer Party Showstopper

Looking for a fun and creative way to serve drinks at your next summer gathering? A watermelon drink dispenser is a simple DIY project that instantly becomes the focal point of any party table. Perfect for backyard barbecues, pool parties, bridal showers, and garden celebrations, this fresh and colorful serving idea combines practicality with beautiful presentation.

We featured this idea in the Family First Magazine in 2012.

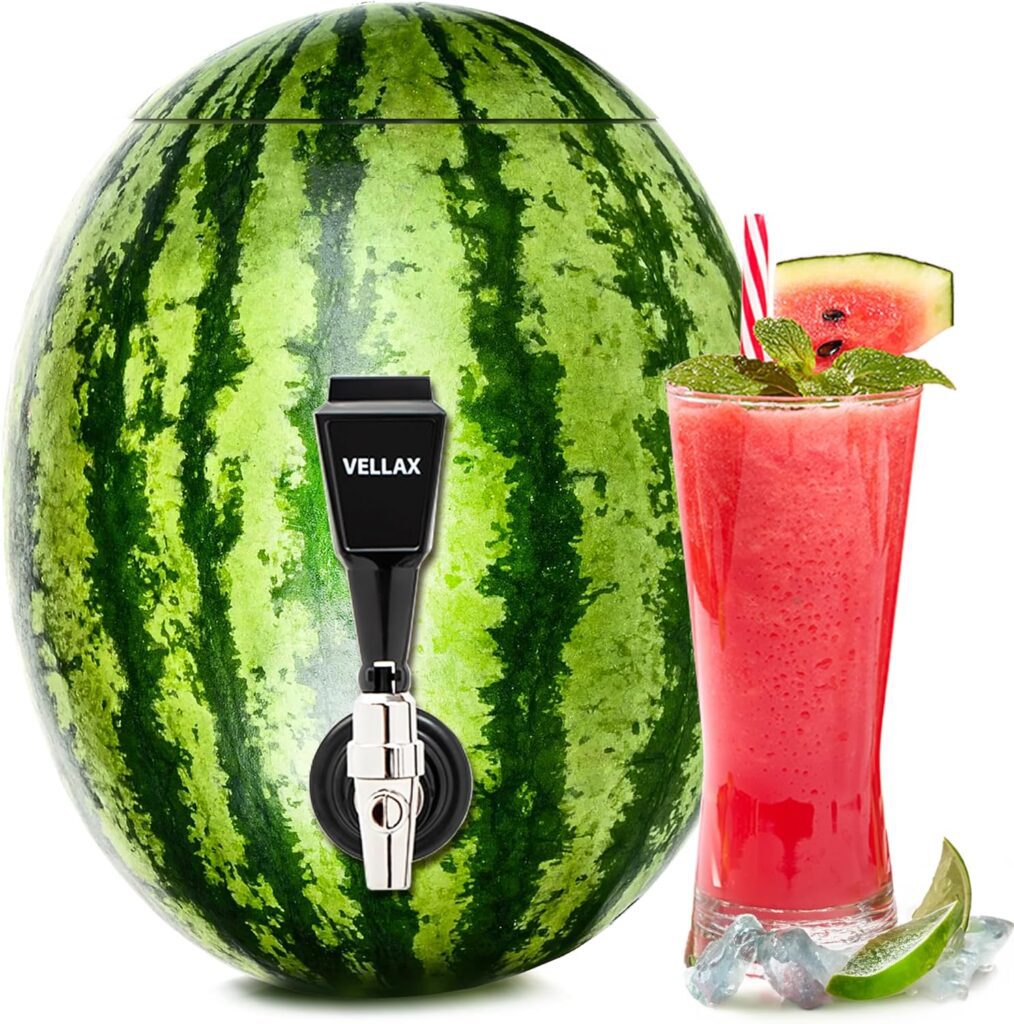
At the time, we requested the help of  an engineer  we know who is as “handy” as they come, to help us figure out how to construct this project. A trip to his favorite store (Home Depot) and a couple of simple instructions later, we had a functional drink dispenser. We purchased a ½ inch hose bibb, a PVC-to-faucet adapter that screwed into the back of the faucet and a rubber O-ring that fit the back of the faucet (a precautionary measure to assure no leakage).But handy or not, this is now a cinch to make with this juice DIY spigot we recently found on Amazon.  

Why Use a Watermelon Drink Dispenser?

  • Creates a stunning party centerpiece
  • Keeps drinks naturally cool
  • Perfect for lemonade, fruit punch, or cocktails
  • Easy to make in under 30 minutes
  • Guests love the unique presentation

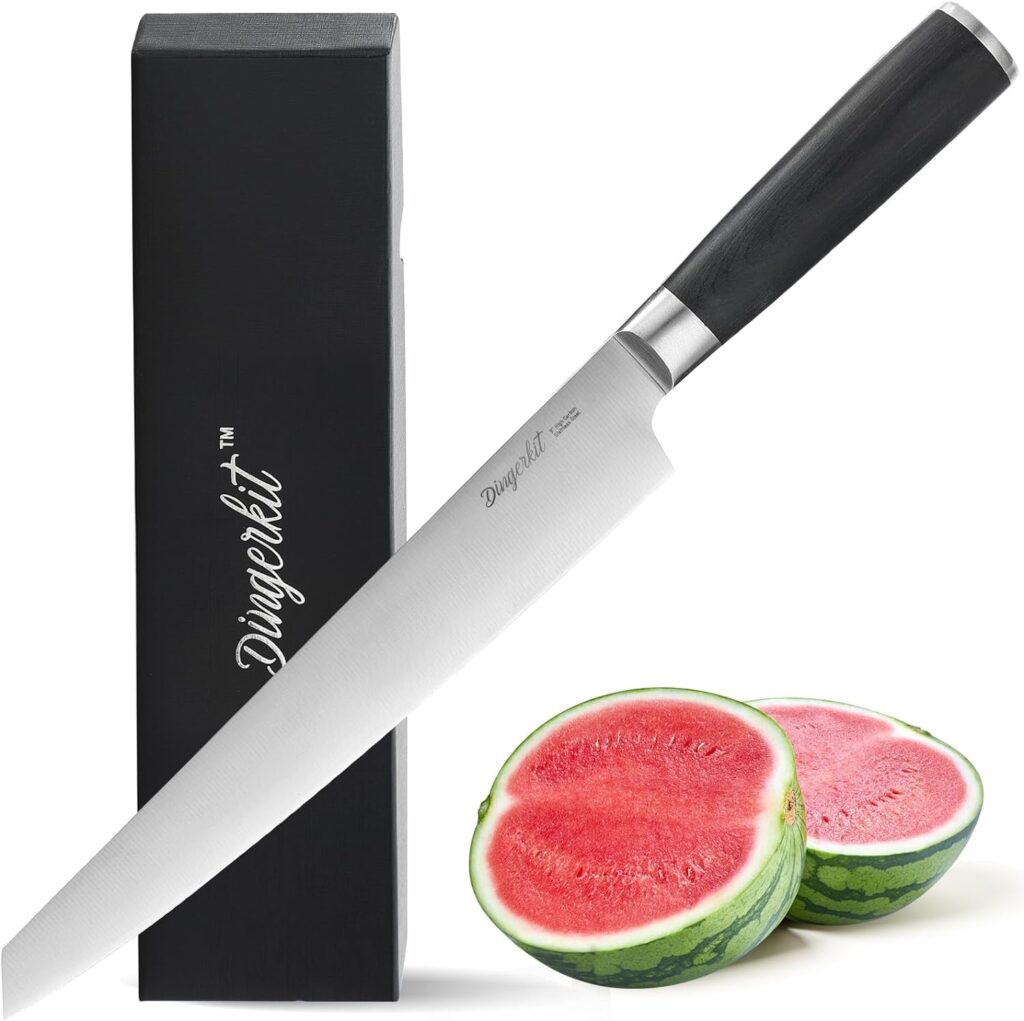
Supplies Needed

Find your supplies here...

Watermelon Knife »
Watermelon Spigot »

Instructions:

  • Fill up “dispenser”  with drink of your choice.

    1. When choosing a watermelon look for one that is (relatively) flat on bottom.
    2. Slice the top of the watermelon, and using a large spoon or melon baller remove the fruit. Pour out any excess juice from the bottom of the melon.
    3. A few inches from the bottom of the watermelon, cut a hole slightly smaller than the spigot.
    4. Gently screw the faucet in the hole.
    5. Inside the melon, carve away a little more fruit from around the back of the faucet (not too thin, or you may go through the rind) to make room for the screwing adapter.
    6. Screw on the adapter (optional – slide the O-ring onto the back of the faucet).
    7. Test for leaks by filling up the melon with water, and turning on the faucet.
    8. Fill up “dispenser”  with drink of your choice.

    You can find more inspo at: ,

    FOR MORE CREATIVE TABLESCAPES, FOOD, CRAFTS, GREAT LINKS AND DEALS MAKE SURE TO JOIN OUR WHATSAPP STATUS.


    WANT UPDATES AND FRESH CONTENT? JOIN OUR WHATSAPP GROUP AND STAY IN THE LOOP.

    EstherO is an Amazon Affiliates Associate and may make a small commission from any purchases made through the links on its website, at no additional cost to you

    Please double-check all kosher certification as there are constant changes.

    Leave a Reply

    Your email address will not be published. Required fields are marked *


    Join the Fun -
    Creativity is Contagious!

    Related Posts

    Latest Posts

    Related Posts

    Signup for Bonuses!

    Download three beautiful and meaningful coloring sheets.

    Skip to content