

Roll, Draw & Color: A Creative Art Game for All Ages
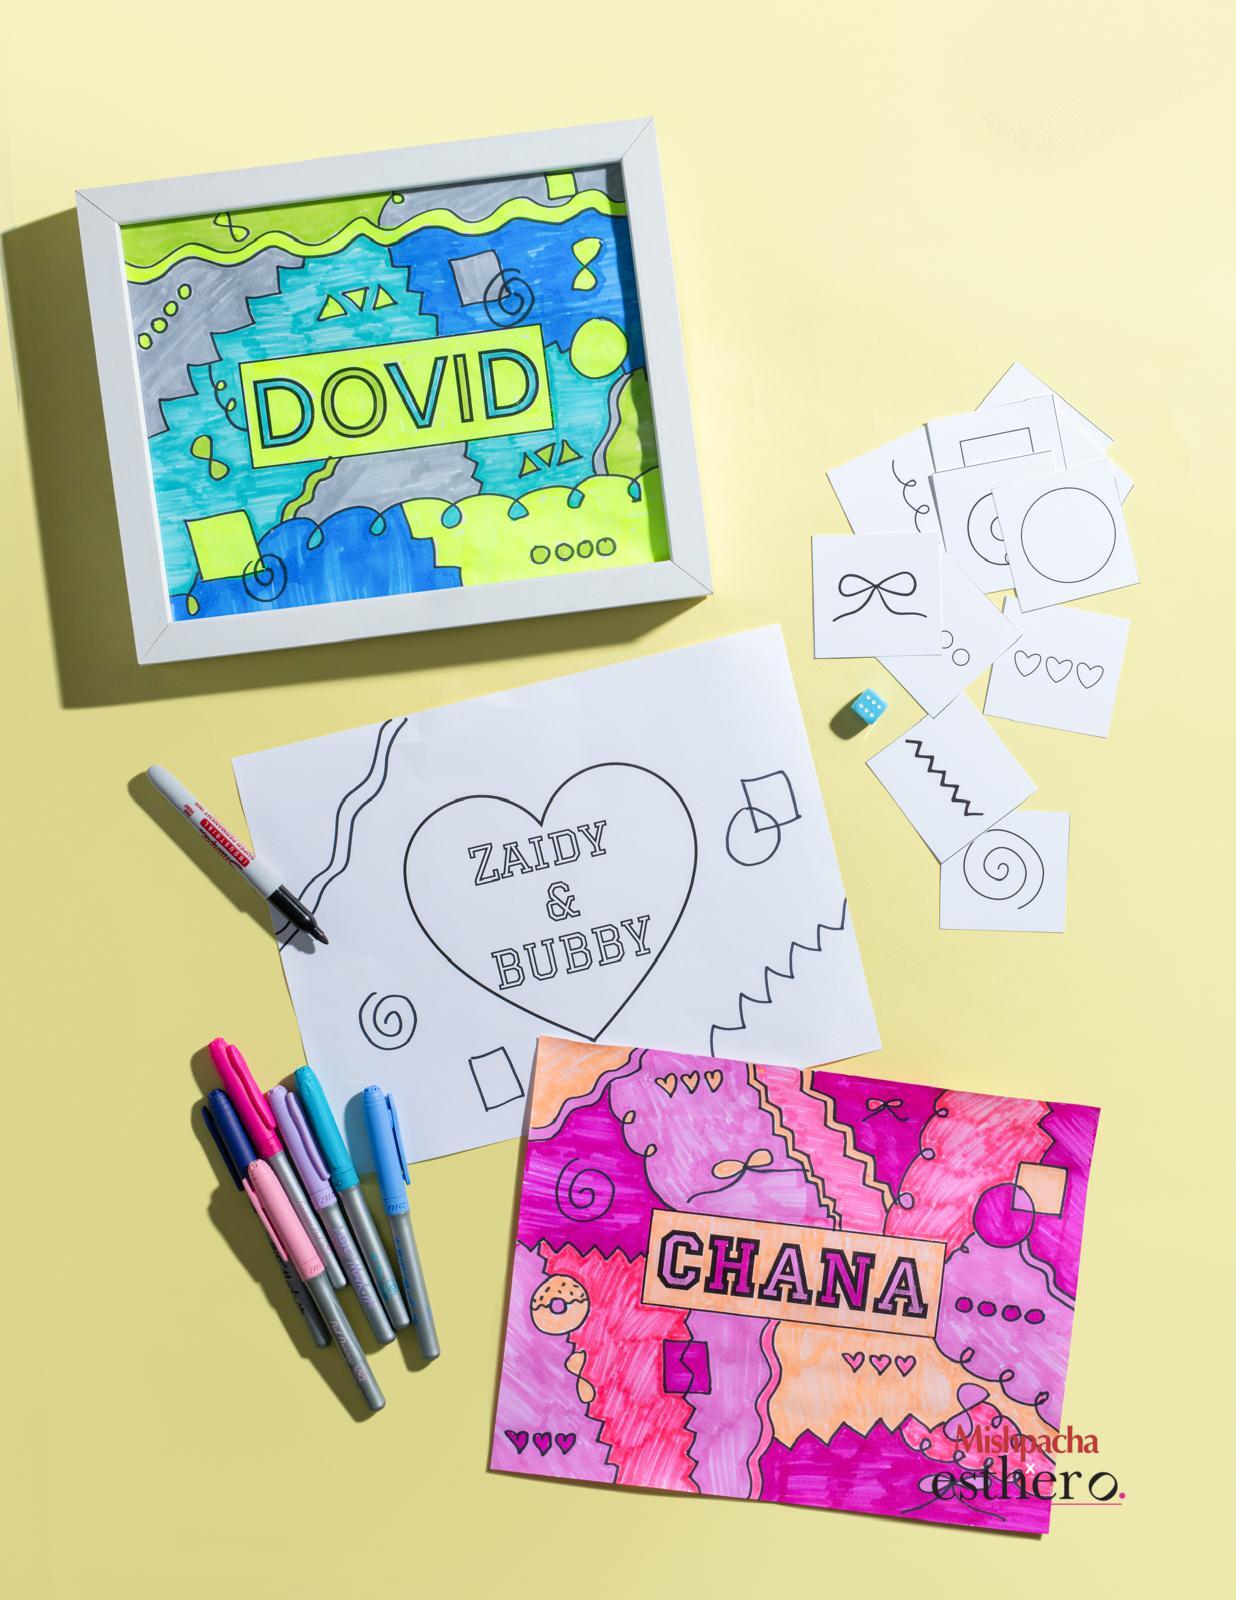
Copy paper, markers, and so many possibilities! This simple art game, featured in this week’s Family First is a fun, creative activity for any age and stage. Play on your own, give everyone their own paper, or work together to create one big piece of art.
Even when everyone follows the same directions, no two pictures look alike! Between the placement of the designs and the colors each person chooses, every finished piece has its own personality.
It’s a great activity for a party, a family gathering, or a Chanukah night at home. You can add a name or special message to make it personal.
One Game, Three Fun Ways to Play
Individual Artwork
Give each participant their own paper. One person rolls the die and chooses a design card for everyone.
Each player draws the same number of designs, but decides where to place them on their own paper.
It’s so much fun to compare the finished pictures and see how differently they turn out, even though everyone followed the exact same instructions!
Group Artwork
Work together to create one large masterpiece!
Take turns rolling the die, choosing a card, and adding designs to a shared sheet of paper.
Once the drawing is complete, everyone can help color it in. This is a great activity for family parties, classrooms, and group gatherings.
Playing Alone
This game is just as enjoyable on your own!
Roll the die, choose your cards, and create your artwork at your own pace. It’s a relaxing way to spend an afternoon making something completely unique.
A Few Helpful Coloring Tips
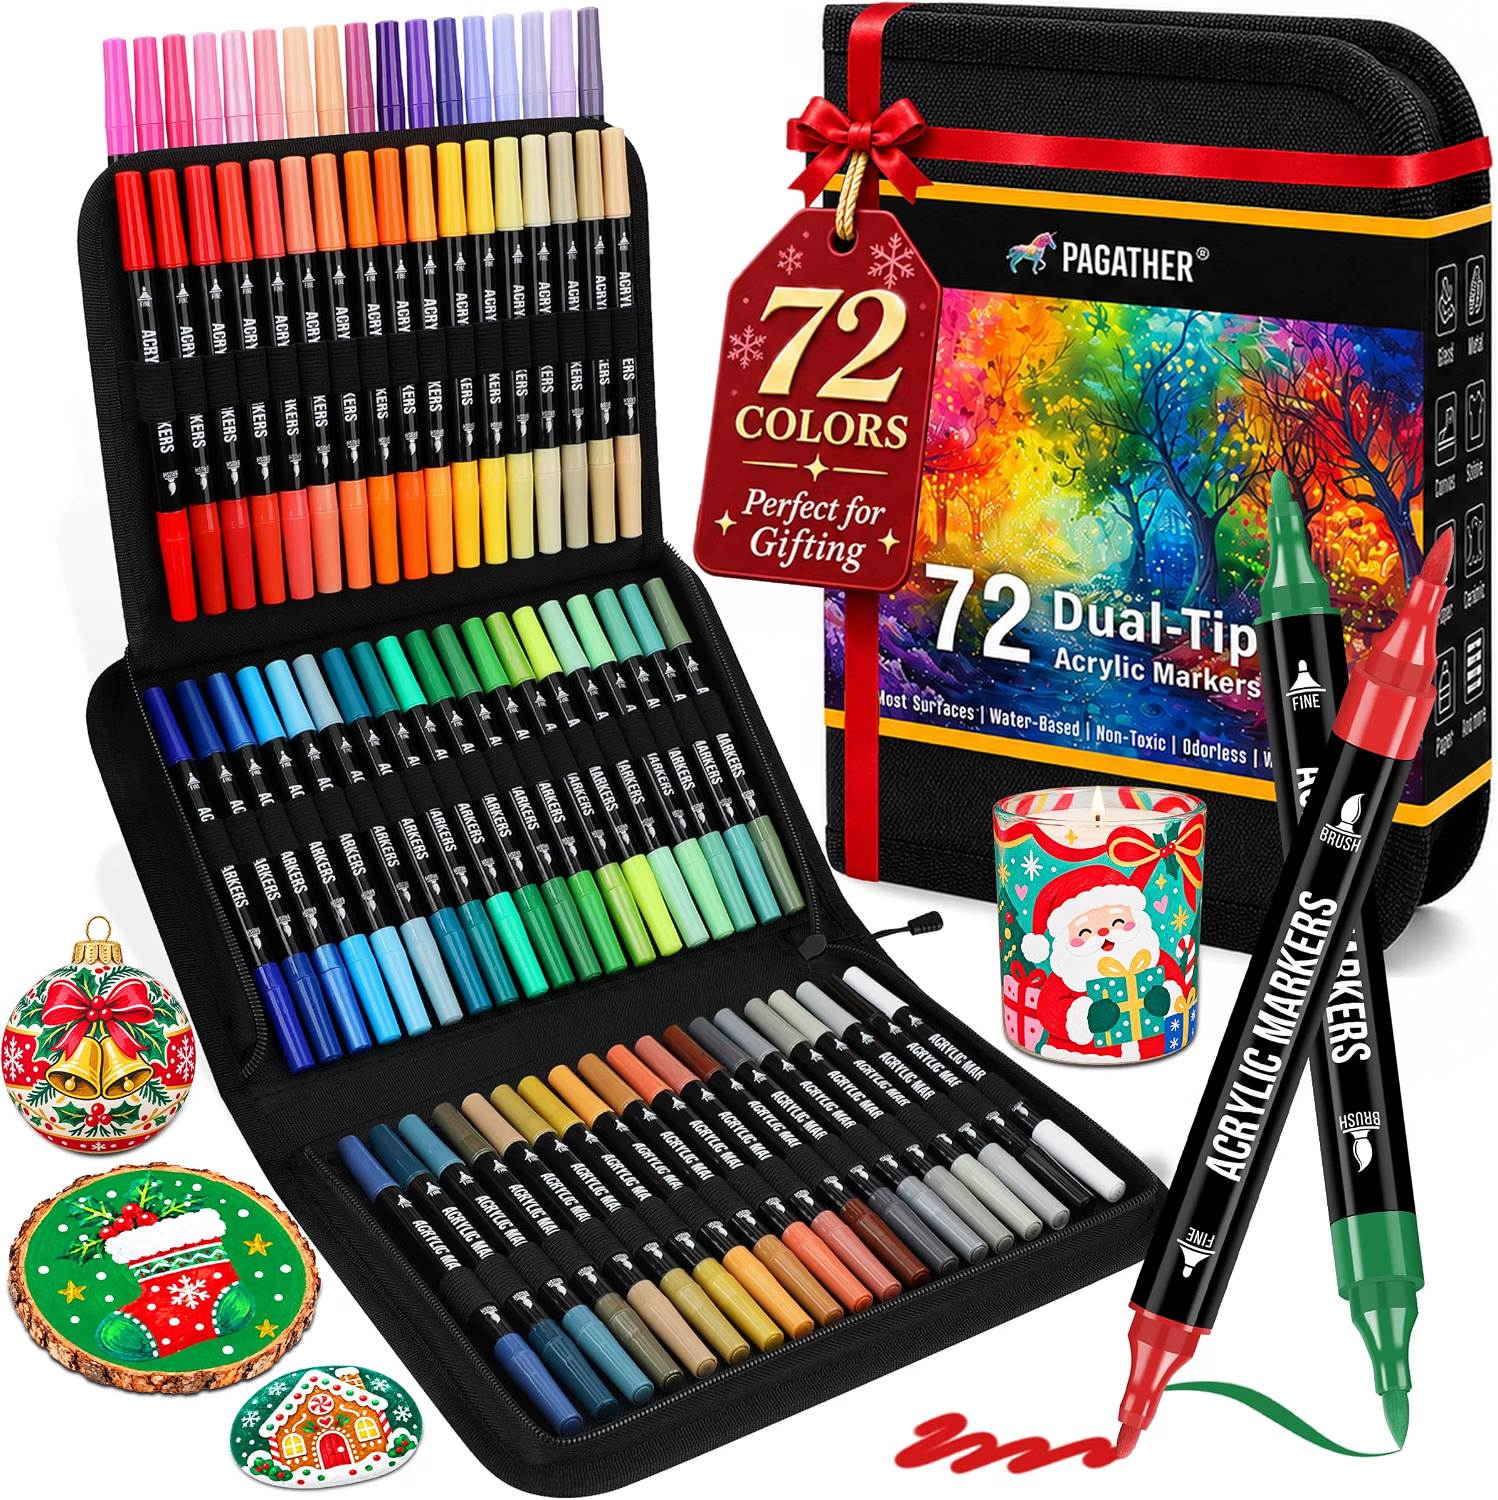
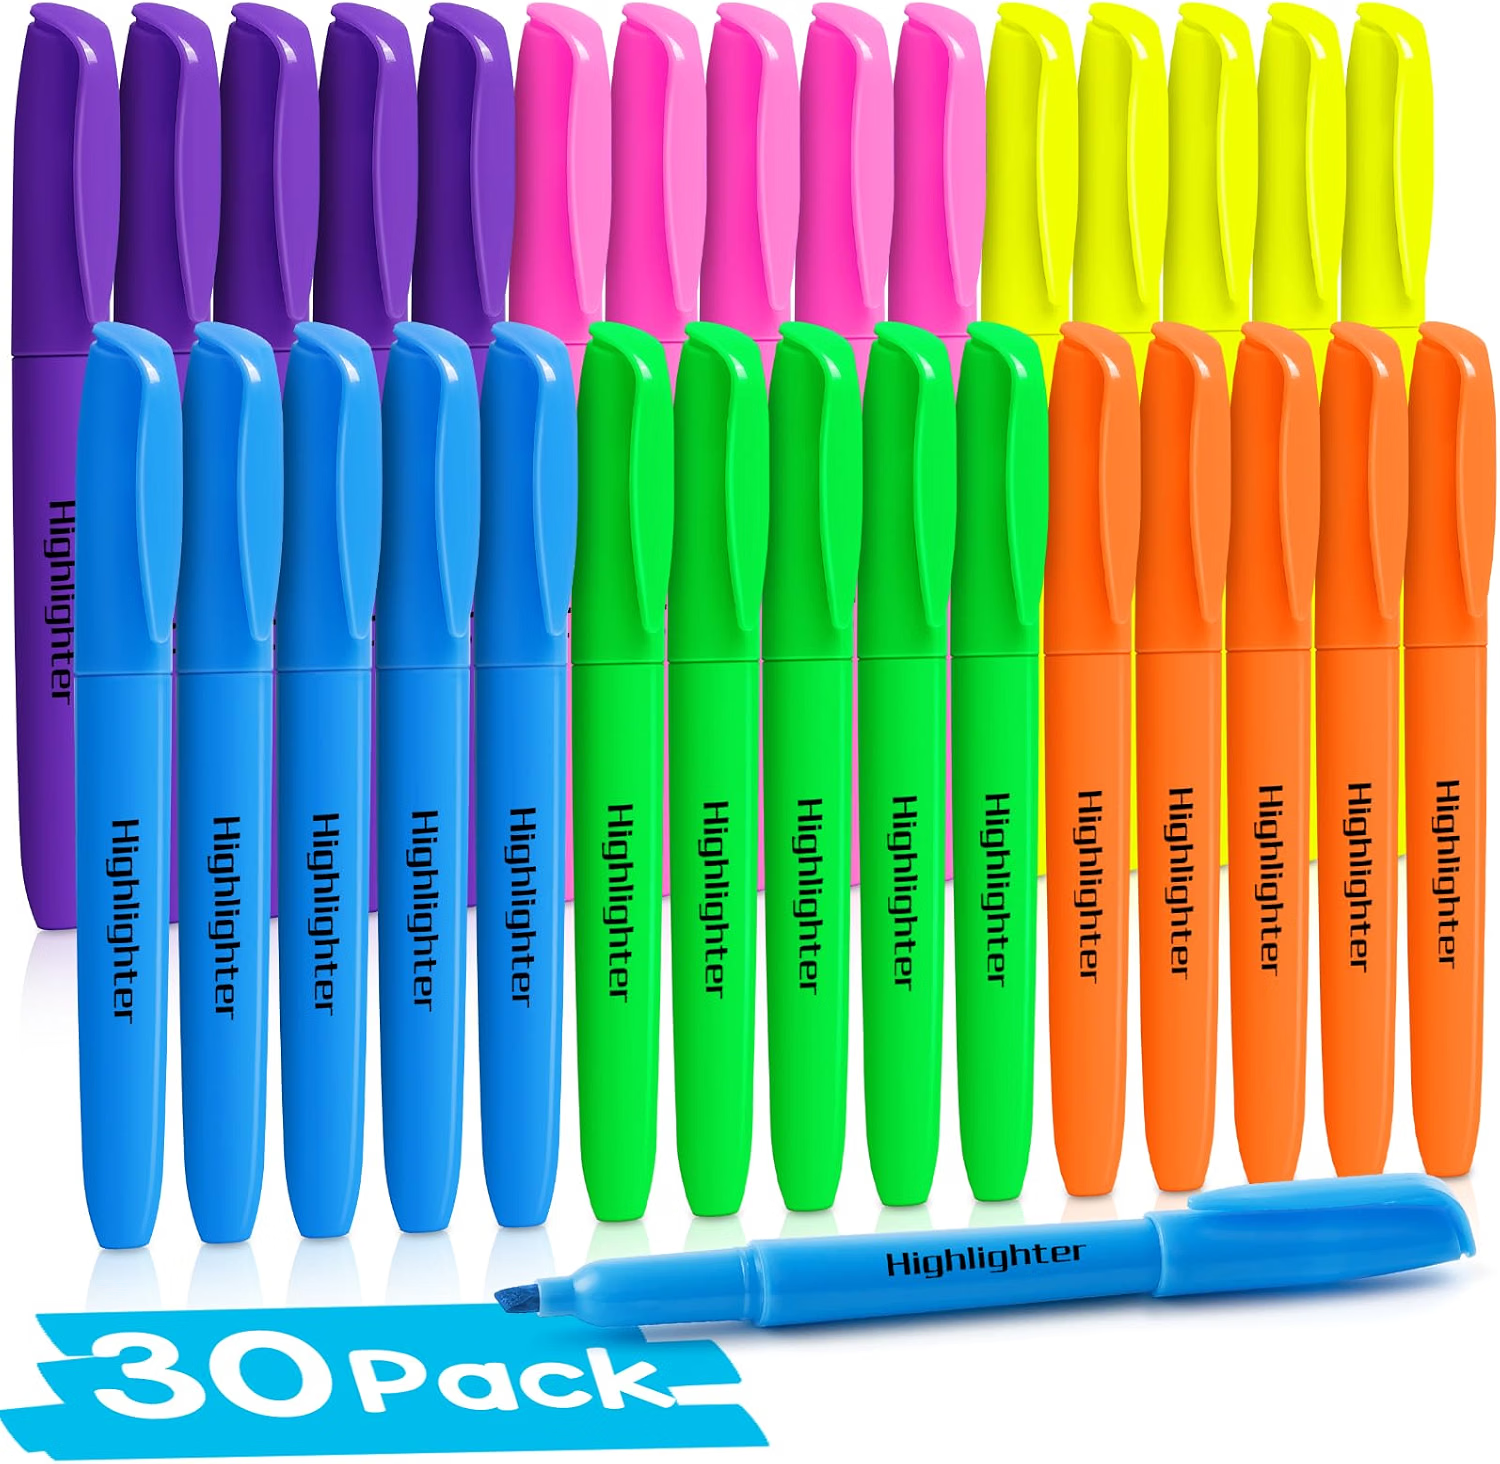
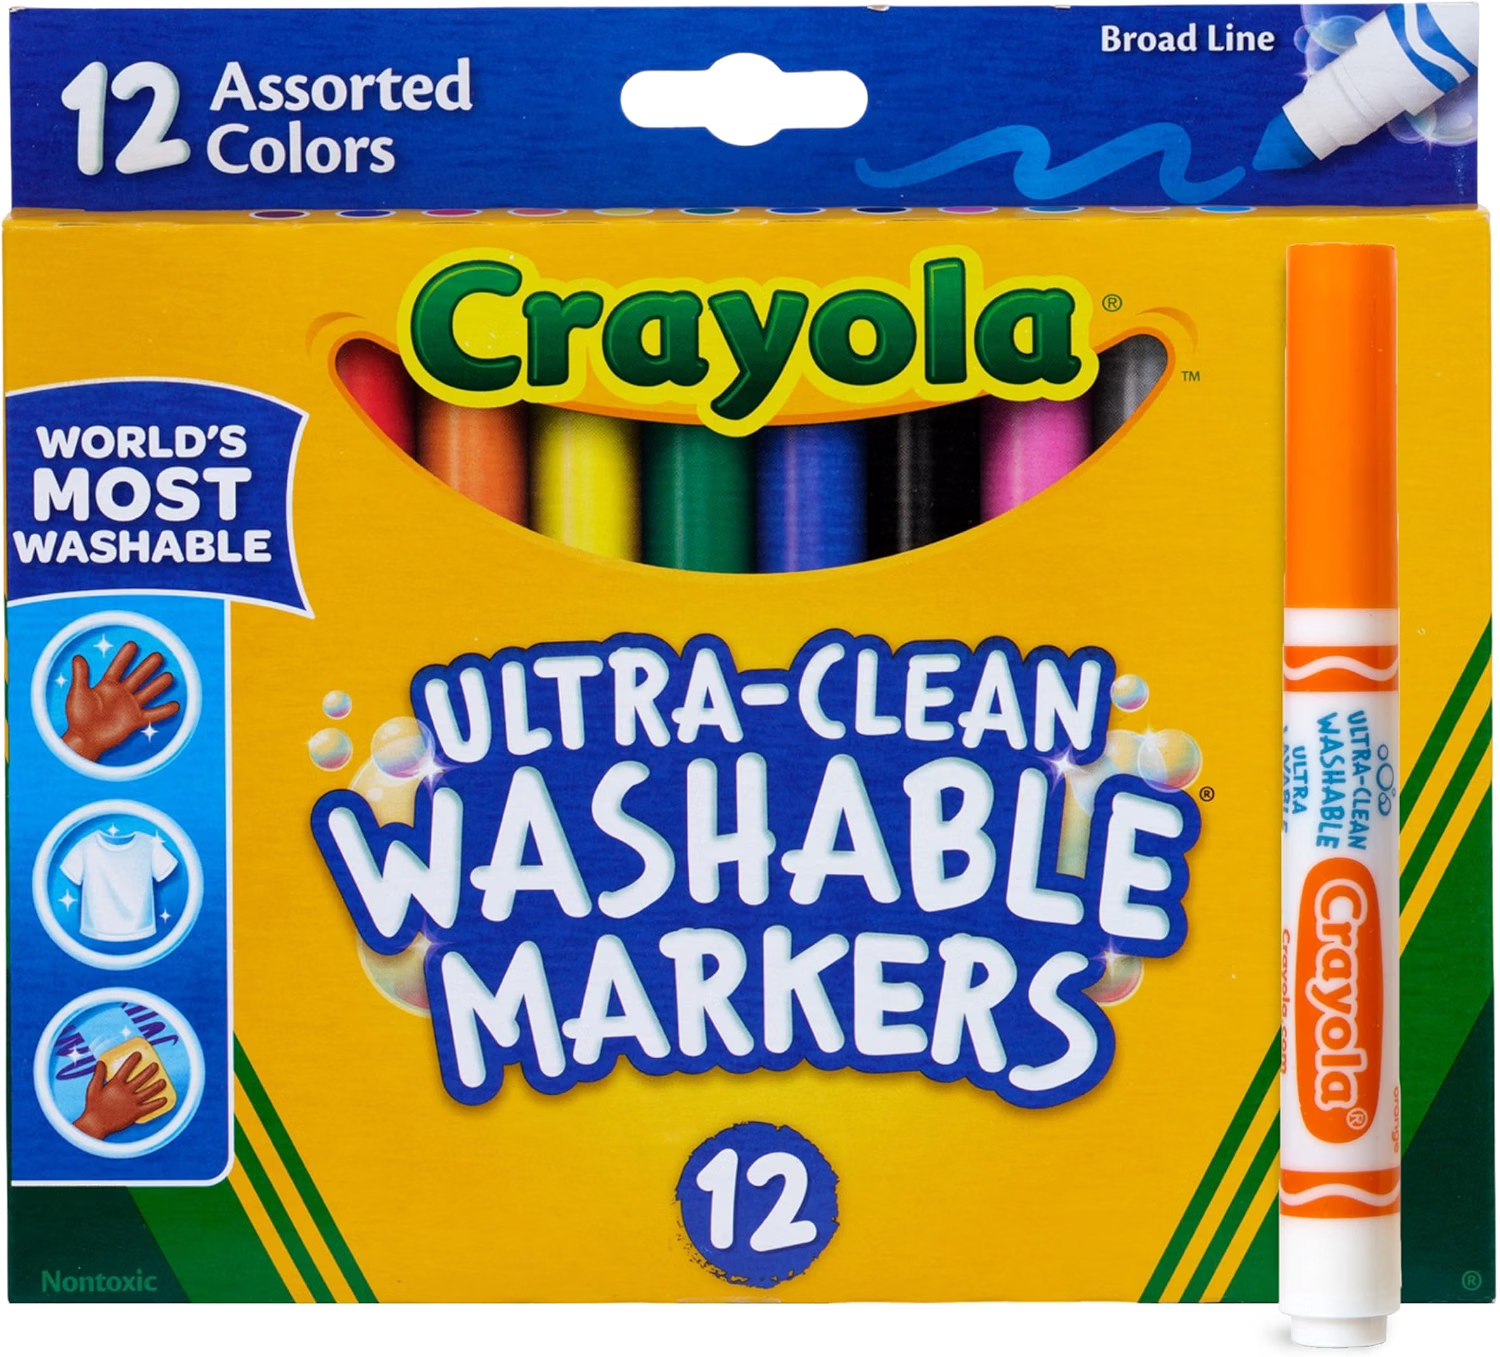
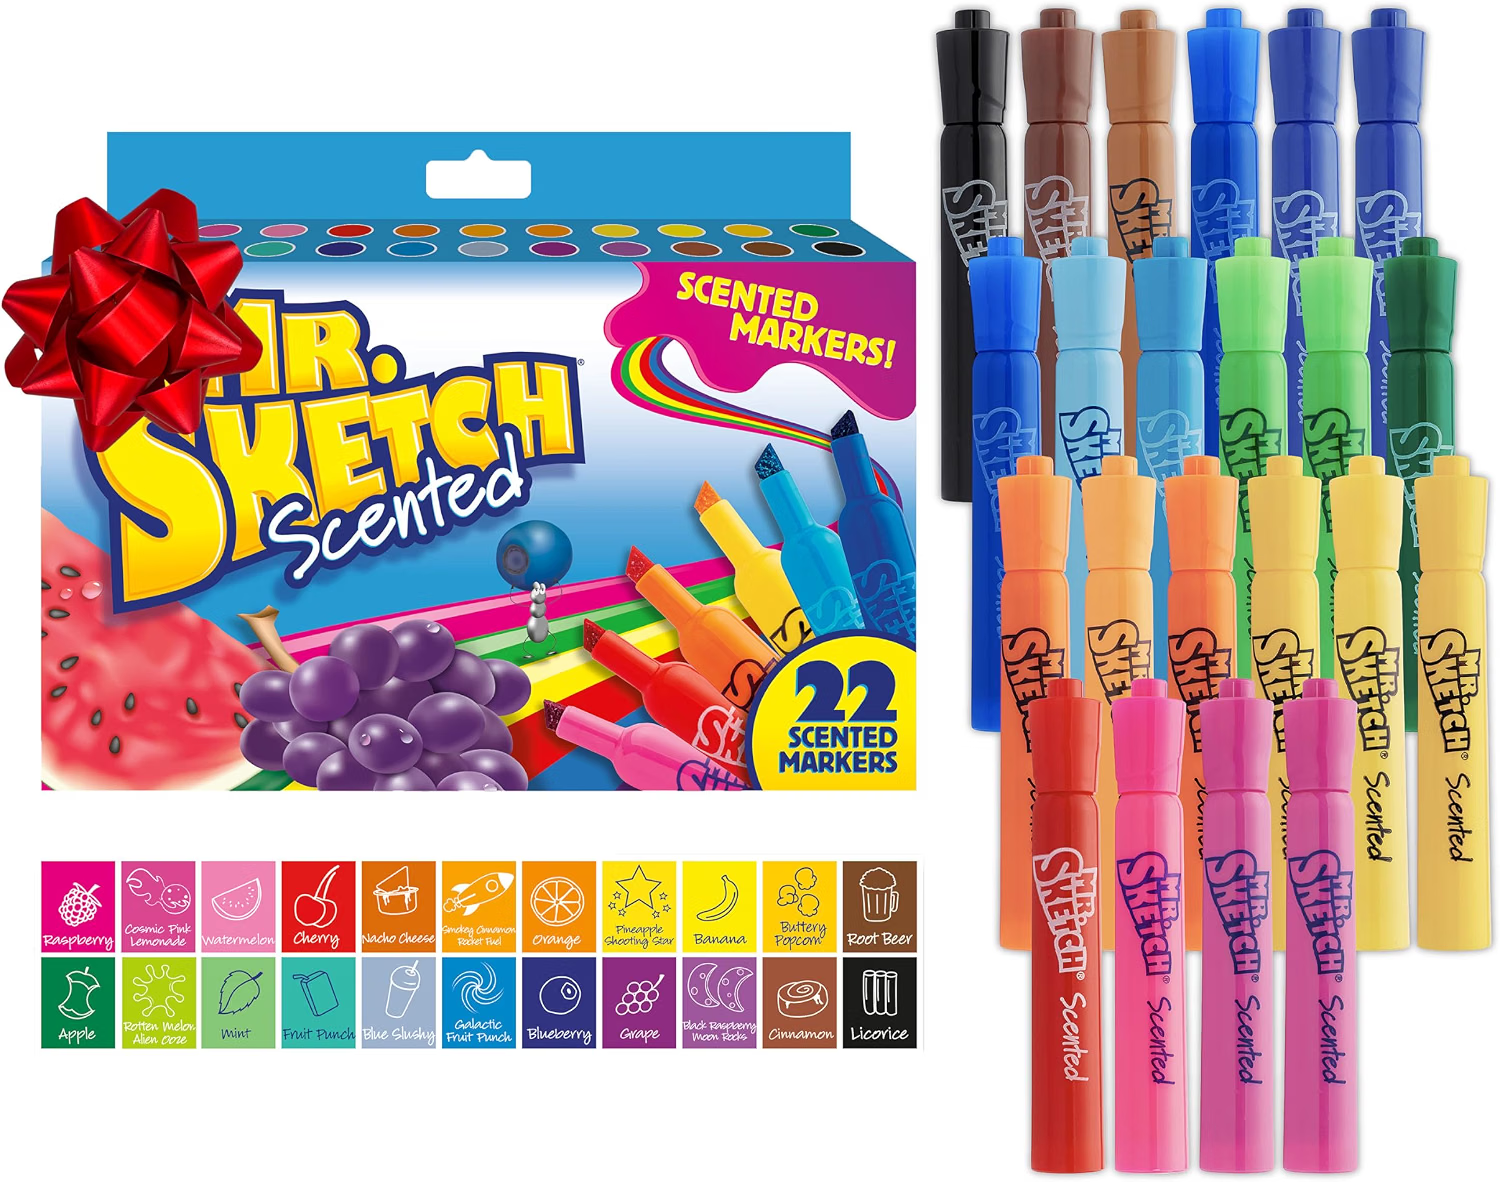
Choose comfortable markers. There’s plenty of coloring involved, so markers that glide smoothly make the process easier. We found that highlighters work especially well for filling larger areas.
Experiment with colors. Try a limited color palette for a coordinated look, or use as many colors as you’d like for a bright, playful design.
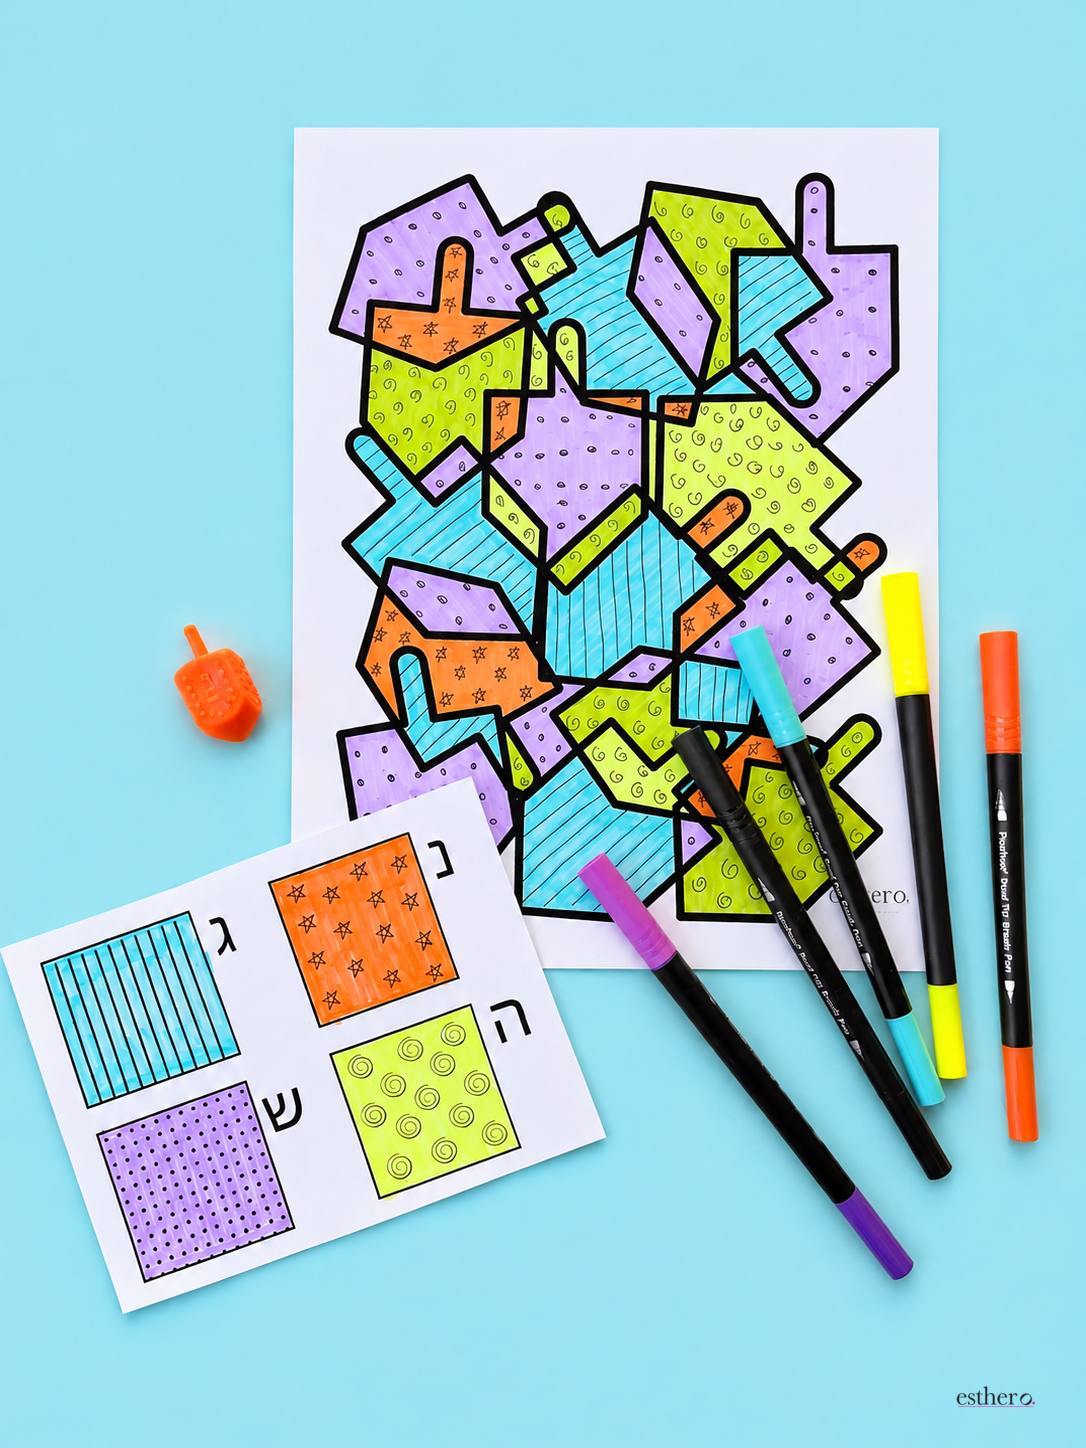
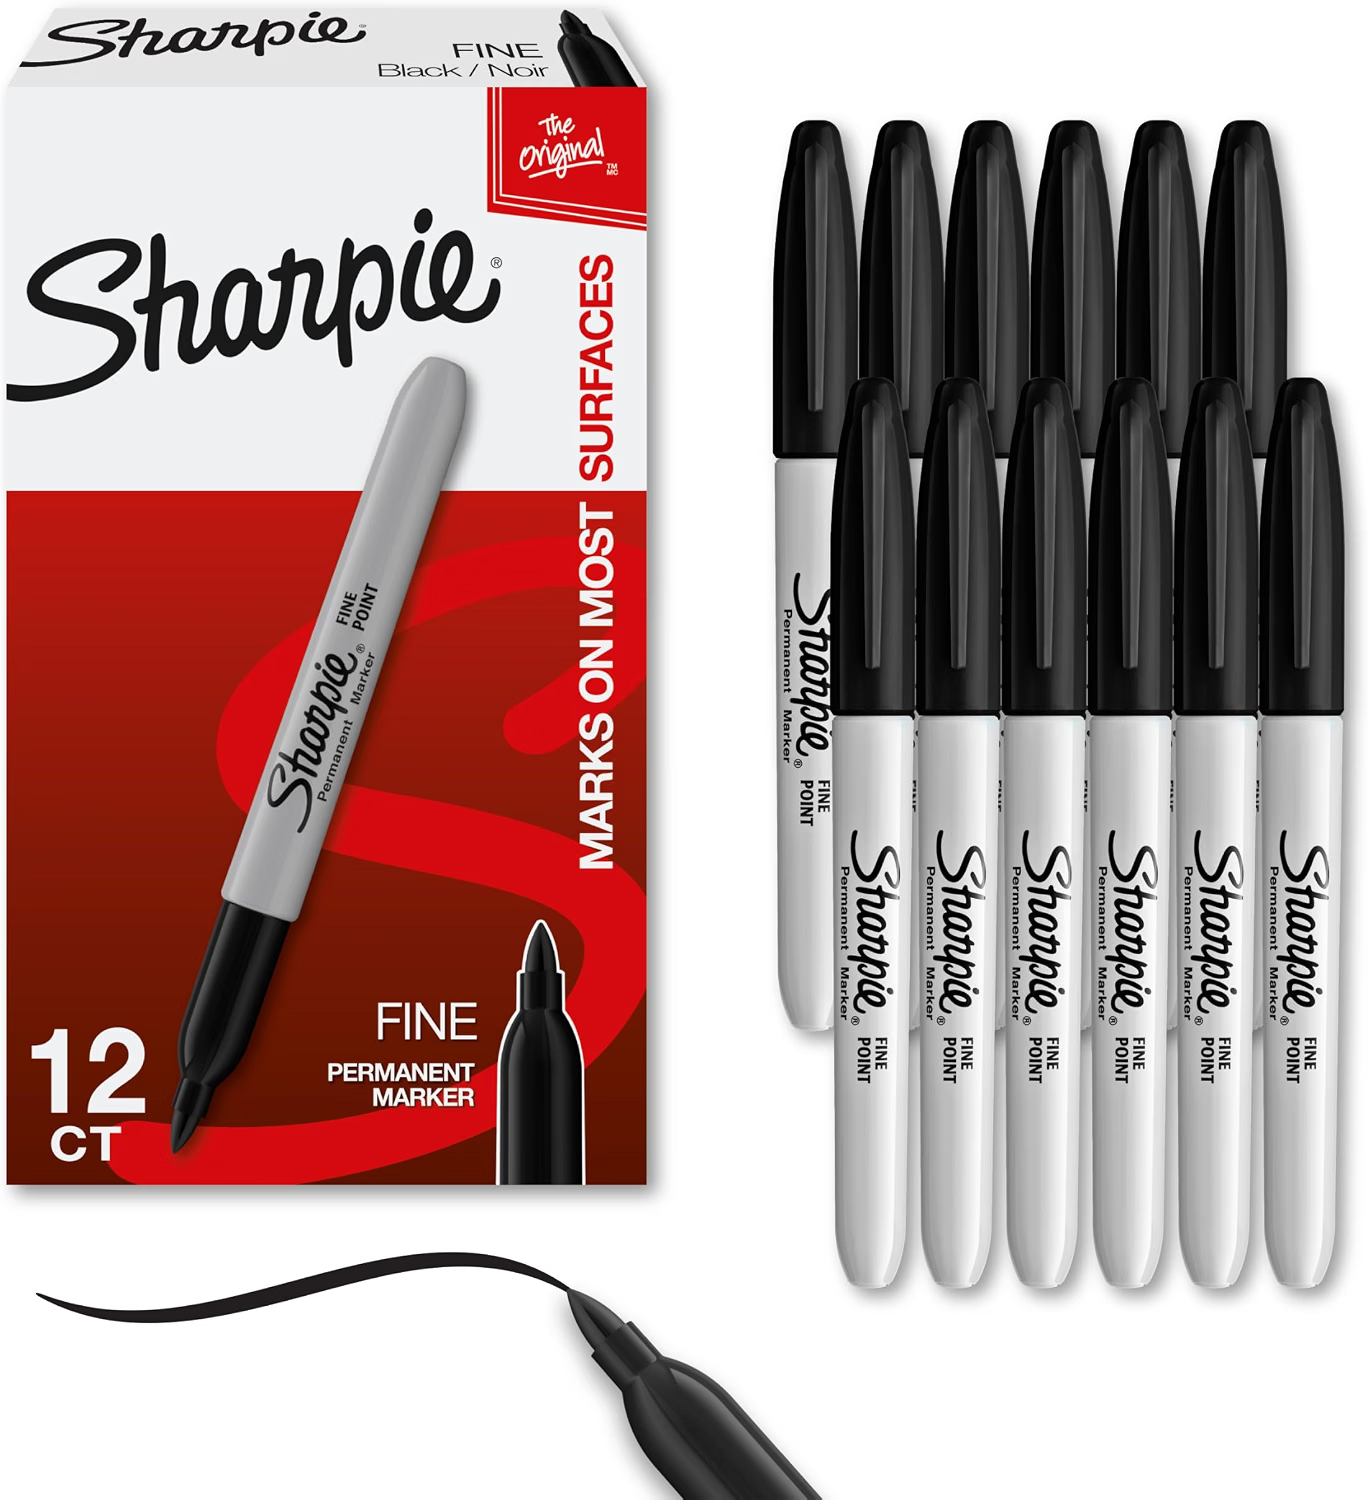
Make the outlines pop. Once you’ve finished coloring, you can go over the designs again with a black Sharpie to darken the outlines and help everything stand out.
What to Do with Your Finished Artwork
At a family party, a framed group picture could become a special gift for Bubby. You could even raffle it off and let one lucky participant take home the finished masterpiece!
In a classroom, hang the artwork where everyone can enjoy it. Individual pictures also make wonderful personalized decorations, especially when you include a name or meaningful message.
Frame your artwork for a polished look, or simply display it as is.
Ready to Roll, Draw & Color?
With just a few simple supplies you probably already have at home, you’re ready for hours of colorful creativity!
Whether you’re creating a special gift, planning a Chanukah activity, or just looking for a fun way to spend time together, Roll, Draw & Color is a creative game you’ll want to play again and again!
You Will Need
Paper: Any size
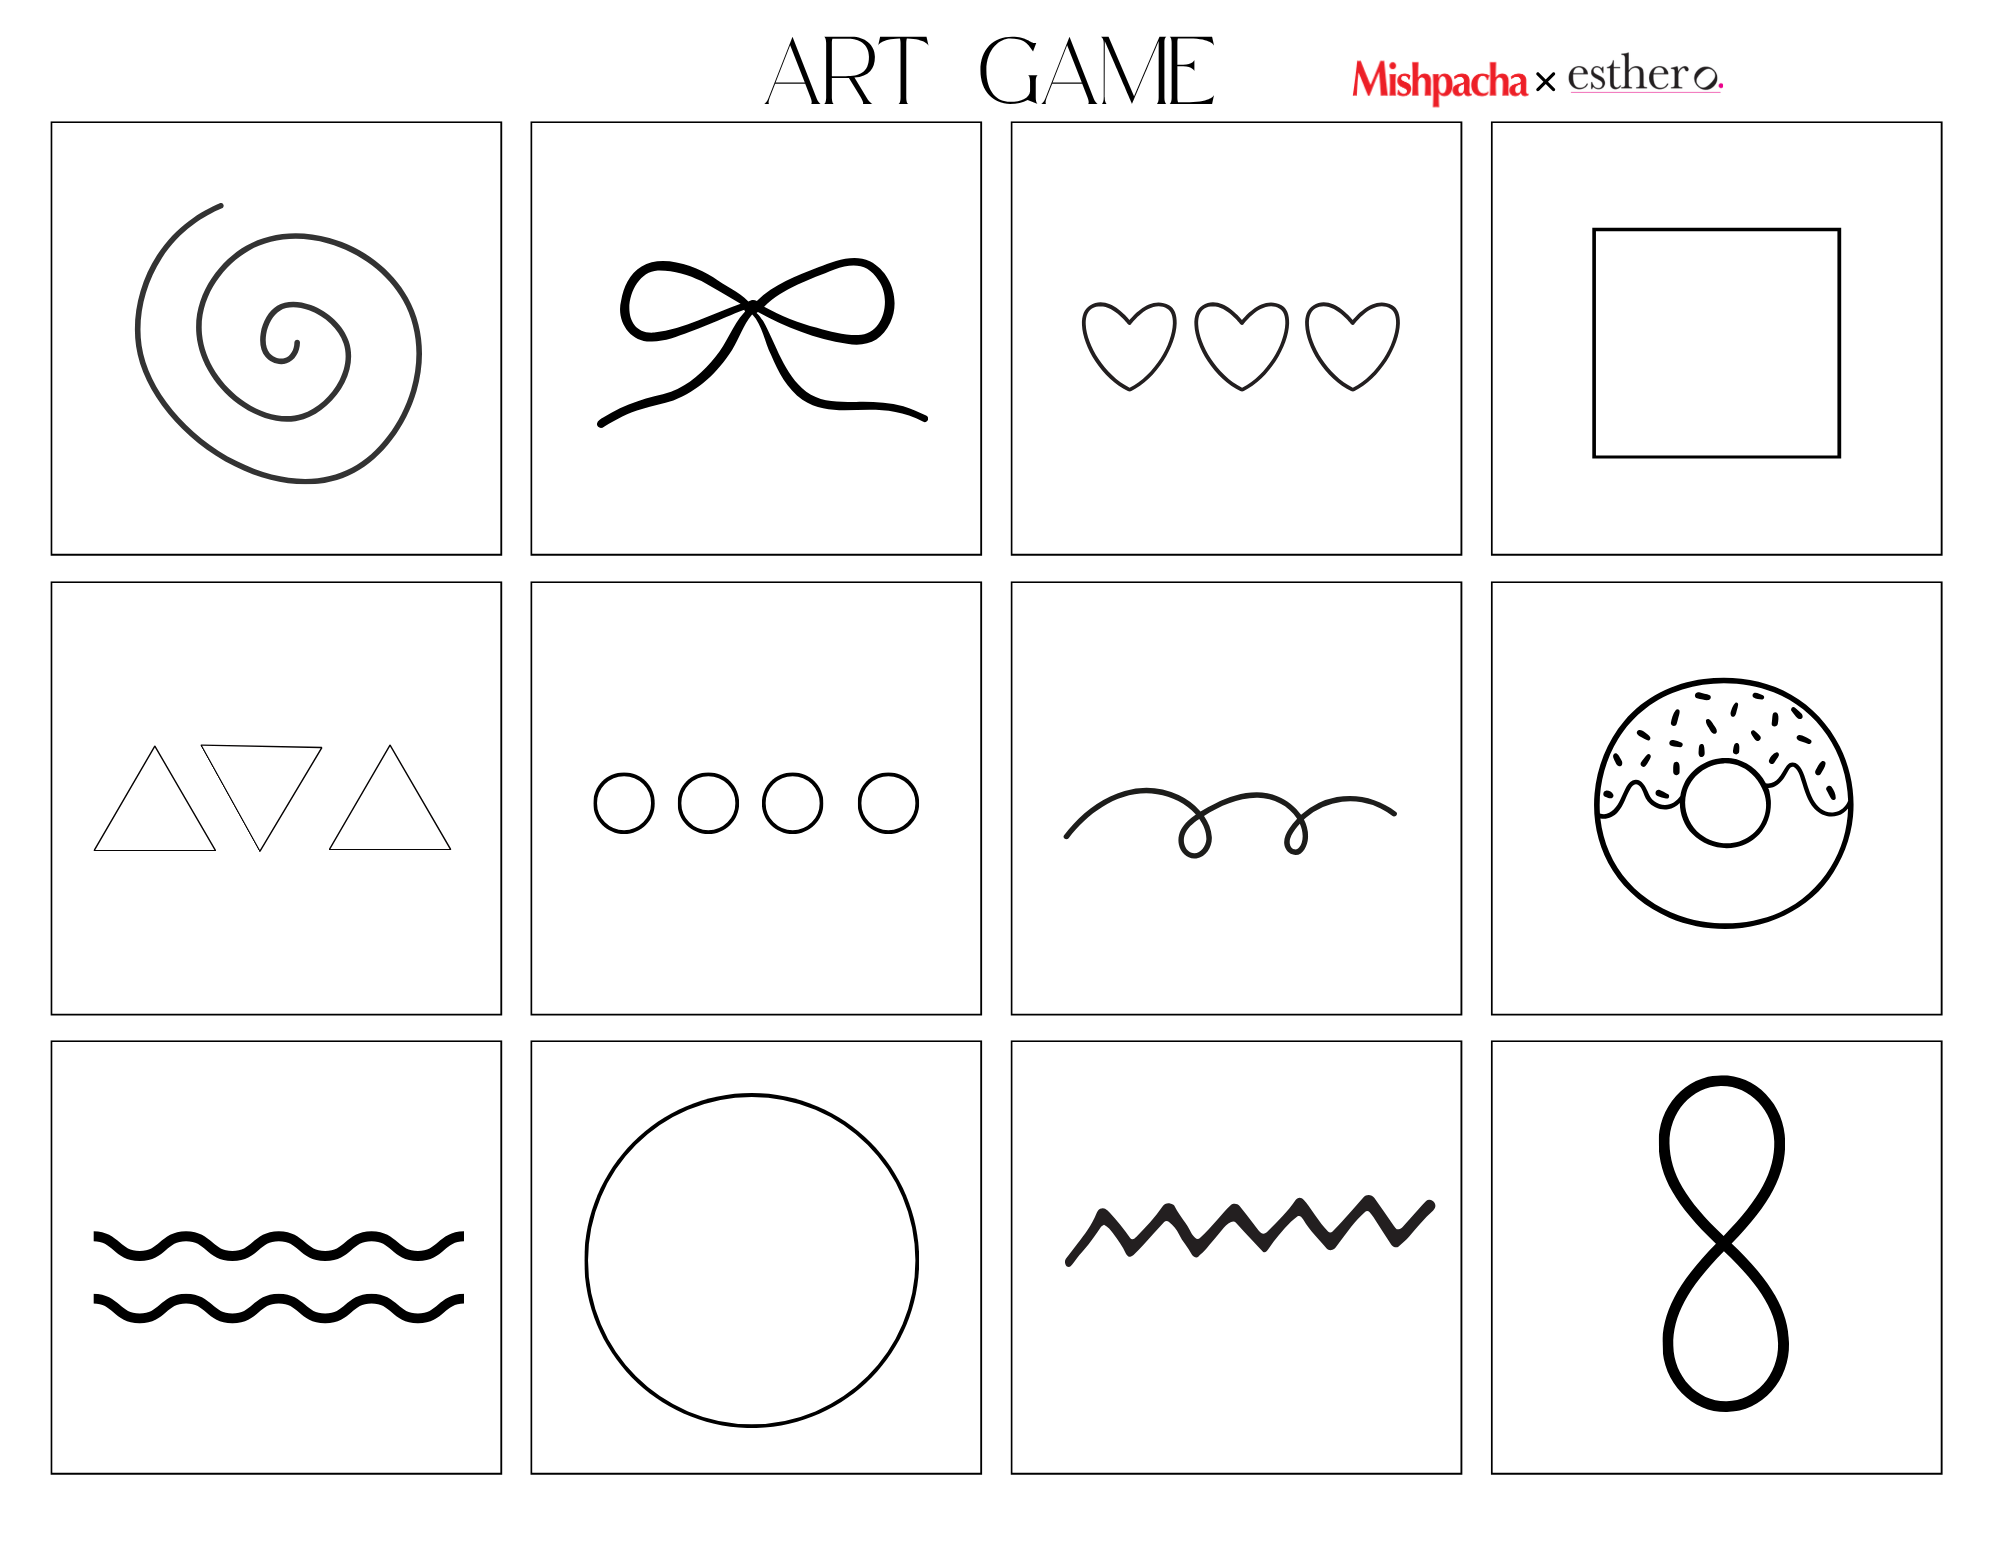
Design cards: Create your own set or use our printable design cards below.
One die
Black Sharpie: For drawing the designs
Coloring supplies: Markers, crayons, colored pencils, or paint
Optional: Editable name design
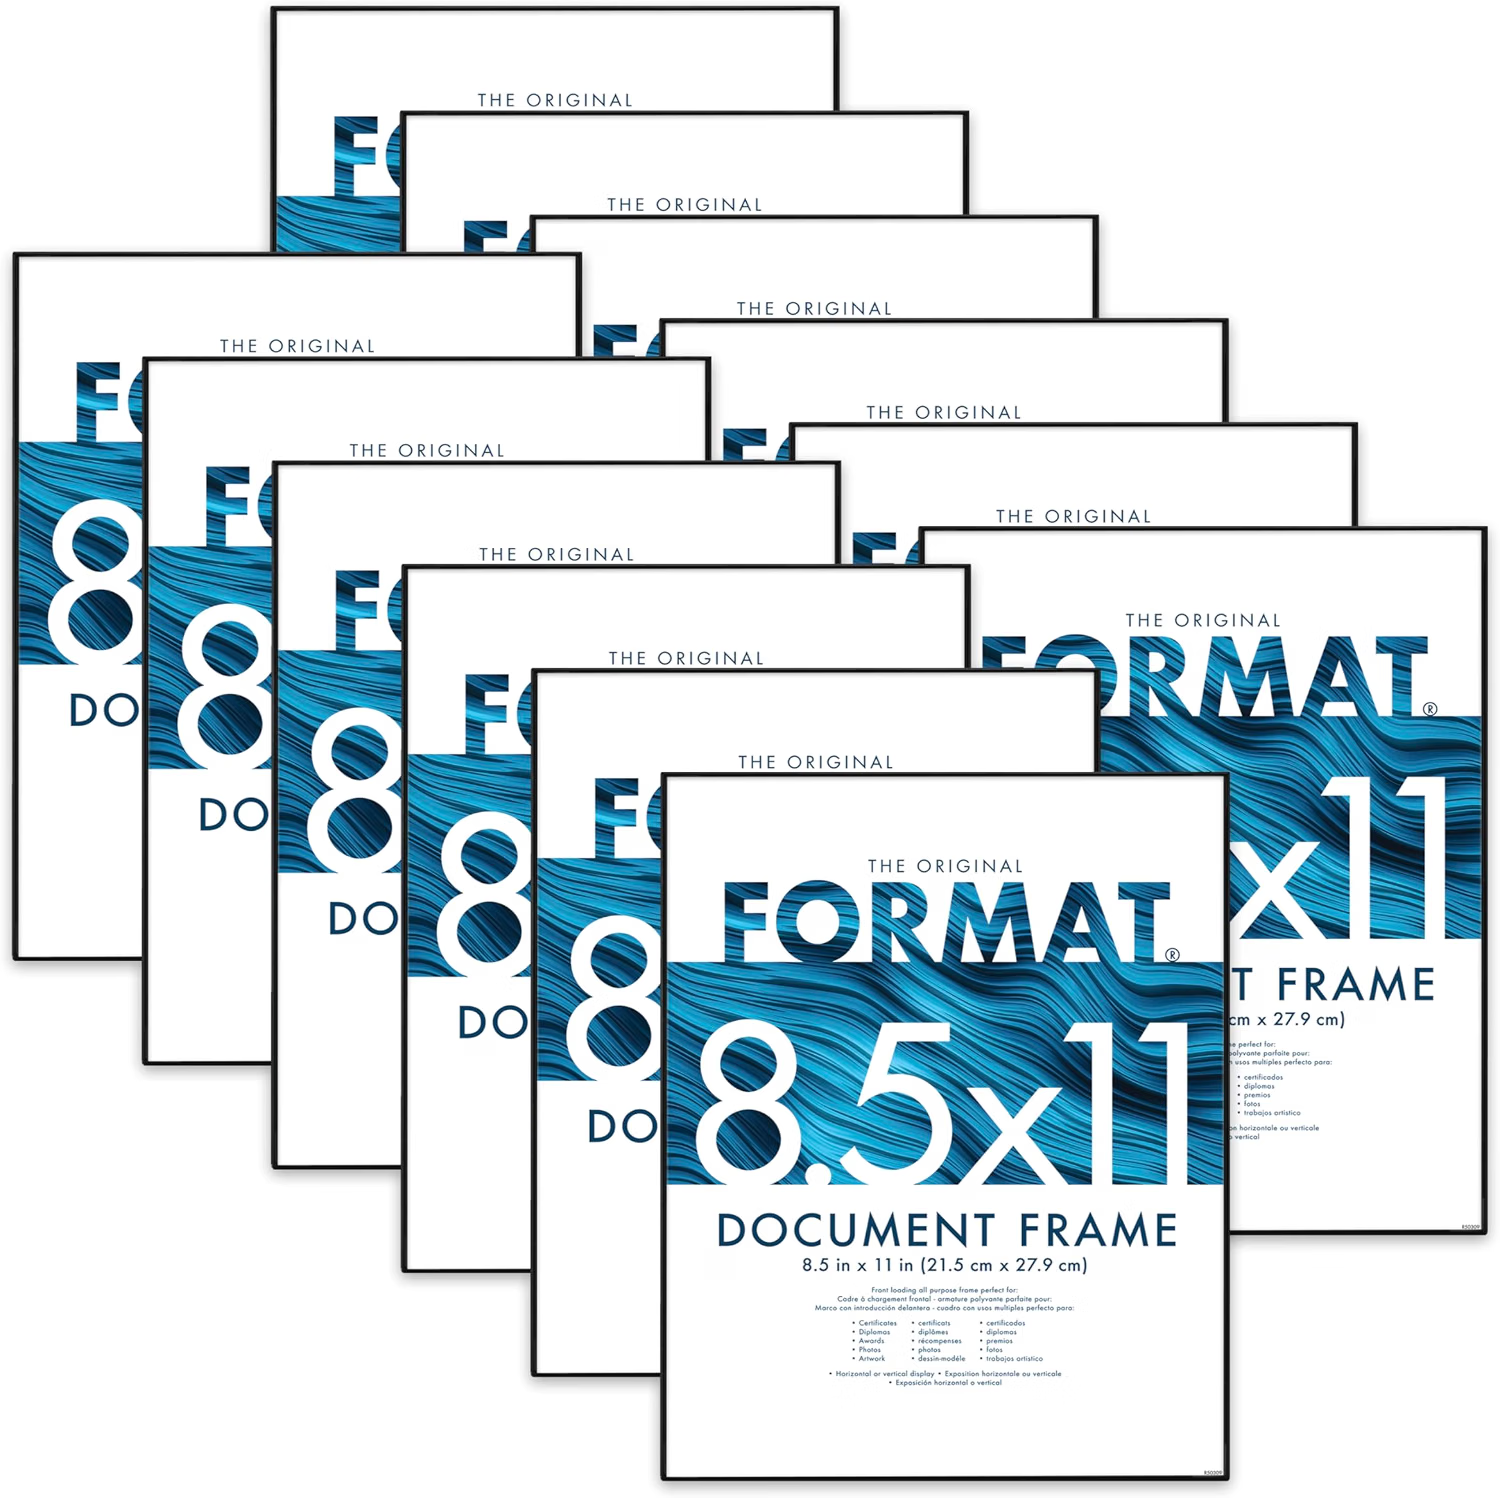
Optional: A frame for displaying the finished artwork
If you plan to frame your artwork, make sure to match the measurements of the frame to the paper.

Before You Begin
Decide how you’d like to play. Will everyone create their own picture, or will you work together on one large piece of art?
For a group project, choose a larger sheet of paper so everyone has plenty of room to contribute.
If you’d like to personalize your artwork with a name or message, print or write it on the paper before starting.
How to Play Roll, Draw & Color
Before You Begin: Prepare Your Design Cards
Print the design cards on cardstock and cut them out. You can decide whether to place the cards face up so everyone can choose their designs, or face down for a fun surprise!
Step 1: Roll the Die & Pick a Card
Roll the die and choose a design card. The number on the die tells you how many times to draw the design shown on your card.
Step 2: Draw Your Designs
Using a black Sharpie, draw the design the number of times indicated by the die.
Place the designs anywhere on your paper! Scatter them around, make some larger and others smaller, and experiment with different angles. There’s no need to line everything up!
Step 3: Keep Rolling & Drawing
Roll the die again, choose another design card, and add the new designs to your artwork.
Continue until you’re happy with how your page looks. The more designs you add, the more interesting your artwork becomes!
Step 4: Time to Color!
Now for the fun part! Use your favorite coloring supplies to fill in the designs and the spaces around them.
Try different color combinations, mix bright and soft shades, or choose a specific color palette. There are no rules!