


Custom Paper Bags: A Simple Yet Stylish Packaging Idea
Custom paper bags offer a sleek, professional look while being incredibly simple and budget-friendly to create. This versatile idea allows you to unleash your creativity—use scrapbook paper, colorful copy paper, or even wrapping paper to match your theme. You can also design and print your own custom paper for a truly personalized touch!
Want to take your custom bags to the next level? Try adding a window to showcase your treats! A Cricut machine makes it easy to cut clean, precise shapes, allowing you to place your food in a clear cellophane bag behind the window for a polished, professional finish.
Whichever style you choose, these paper bags offer a unique way to package your goodies with a personalized, creative touch. Just remember to choose flat items to minimize creases in the paper!
For more creative Mishloach Manos presentations, check out the rest of our Mishloach Manos posts.
You Will Need:

- Scrapbook paper or custom-printed graphics
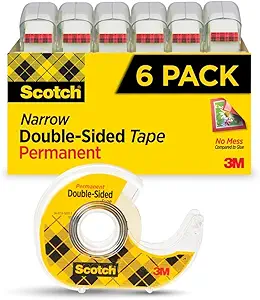
- Double-sided tape
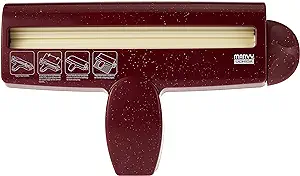
- Crimper tool
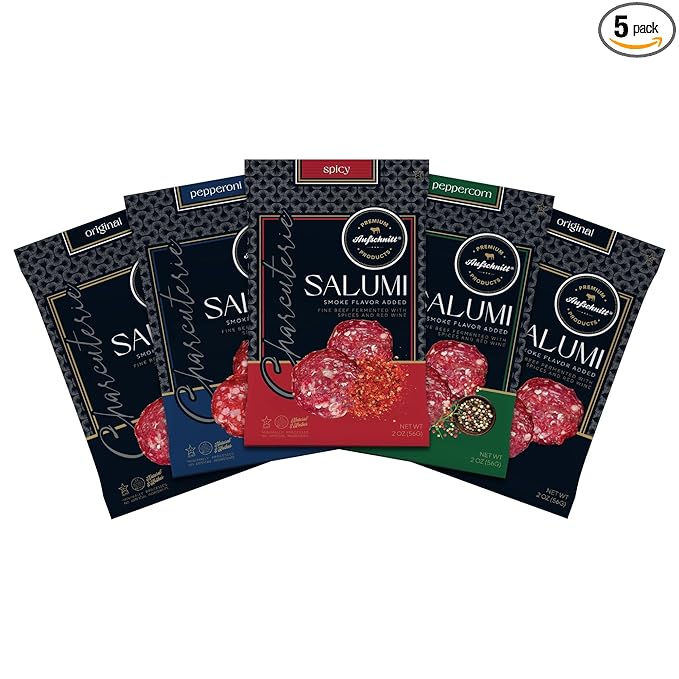
- Packaged food
- Hole puncher
- Ribbon
- Label
Find your supplies here...


Instructions:
- Decide what size you want your bag to be.
- Make a gate fold by folding the paper into three parts. One side should be slightly larger to overlap the other.
- Lay the paper face down on your work surface with the folds running vertically.
- Apply double-sided tape to the back edge of the larger side and along the bottom edge.
- Fold the larger side over the smaller one and press down to seal the taped edges.
- Crimp the sealed bottom edge with a crimper tool.
- Fill the bag with treats.
- Seal and crimp the top edge.
- Punch a hole at the top and tie it closed with a ribbon.
- Add a label for a finishing touch.
With endless possibilities for size, style, and design, these DIY custom paper bags are a fantastic way to elevate your packaging.
Labels by Leah – [email protected]
Photography and styling by Chay Berger
This article originally appeared in Family First


18 Responses
Can you let me know where I can get the box and maybe even the link for the box that you used for the Mishloach manos featuring the Rose’ can with the floral bag?
Hi,
You can use either a 5″x5″x2″ or 6″x6″x2″ box. We added the links above.
(The can might push up the top of the smaller box slightly and the bigger one will be a drop big.)
Hope this is helpful!
Love this crimper idea! Buy it once and you can save money for years!
Yes!
And a really fun tool too!
Enjoy!
Can you explain a bit more about where to put the double sided tape? We love this idea and are trying to do it ourselves
Hi,
There is a video on the bottom, that would probably help you.
Good Luck!
Hello, Where did you find the denim scrapaper?
Hi,
We got it at Hobby Lobby.
HERE are some options available on Amazon as well.
What’s inside the floral bag with the can of rose?
wrapped candies
Thank you!! Thanks for such amazing content and inspiration
Thank you so much- we appreciate the feedback!
Love this, ty! Watched the video but the part with double sided tape i still couldn’t catch…It has to basically be taped up on both ends before crimping it?
You’re so welcome! 😊
And yes—you’ve got it right. The double-sided tape needs to be placed on both ends first, and then you crimp it. That’s what helps it stay closed neatly and securely.
got it, thank youu!
Enjoy!
Thank you! I love this idea. Can I use glue instead of tape?
Thanks so much!
Technically you can. A glue stick might be neater though.