


Beautiful Babka Packaging: Elevate Your Gift Giving
Babka is a delicious treat and a perfect addition to any Mishloach Manos, hostess gift, or special occasion. But when it comes to gifting babka, we love a beautiful and creative presentation. Thoughtful and creative babka packaging transforms a homemade or store-bought babka into a beautifully wrapped gift that feels extra special.
This Babka Board Mishloach Manos is the perfect mishloach manos idea for those of us who just never get “bored of babka”!
If you have the time to bake, babka is a great option for mishloach manos. It looks very substantial and special, it is inexpensive and of course tastes delicious!!
This is our favorite go to recipe for chocolate babka. You can switch around the fillings to your liking.
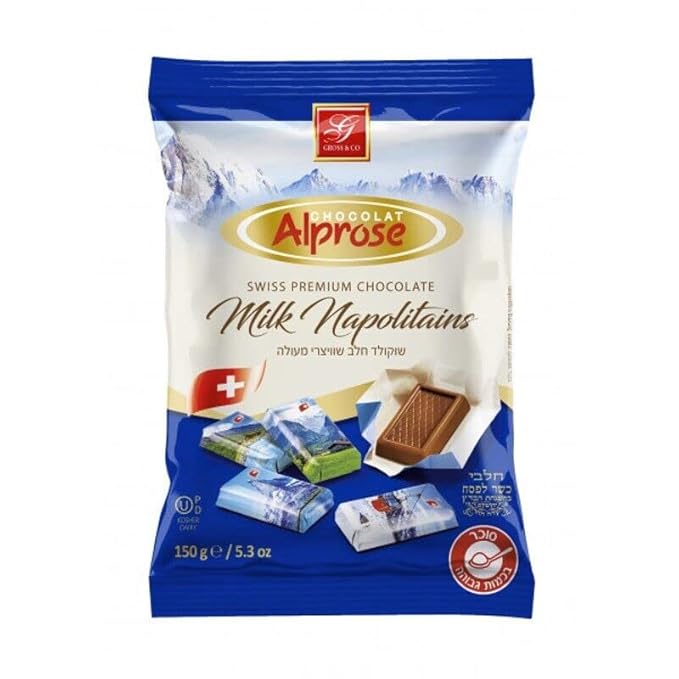
We love the way the three mini chocolate bars serve as a second item in the mishloach manos in addition to serving as fun flavor signs.
Hot off the Press Babka, Babka and Blossoms are also gorgeous packaging ideas for babka packaging.

You will need:
-
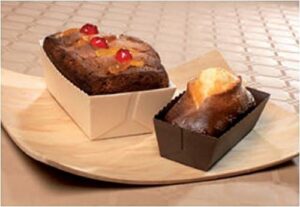
- mini babkas in 3 different flavors baked in these pans (we used 4–4½ ounces of dough per babka)
-
- shrink wrap
-
- tag and printed chocolate wrappers with name of flavors


Directions:
- Wrap each chocolate in a wrapper.
- Using glue dots, attach the babka pans and the chocolates to the board.
- Shrink-wrap the package, and attach ribbon, bunny tails, and tag.

A Note on Shrink Wrapping
We used shrink wrap on a roll, purchased at Center of Town in Lakewood. (This shrink wrap looks similar, but we never tried it. If you decide to experiment, we would so appreciate if you let us know if it worked.)
Directions:
- Measure and cut the shrink wrap by placing the shrink wrap over the board, add a few inches on each side for taping it underneath. The roll is doubled. We prefer to use one layer so it is not bulky, so we cut it apart by the fold. This will give you enough shrink-wrap for two packages.
- Place the shrink wrap over the board and tape it down from underneath.
- Using a blow dryer, carefully shrink the plastic until it’s tight. Be careful not to keep the heat in one area for too long, since that will melt the plastic and form holes.
Photography by Perretti Photography
Labels by Leah Borenstein – [email protected]
This article originally appeared in Family First