
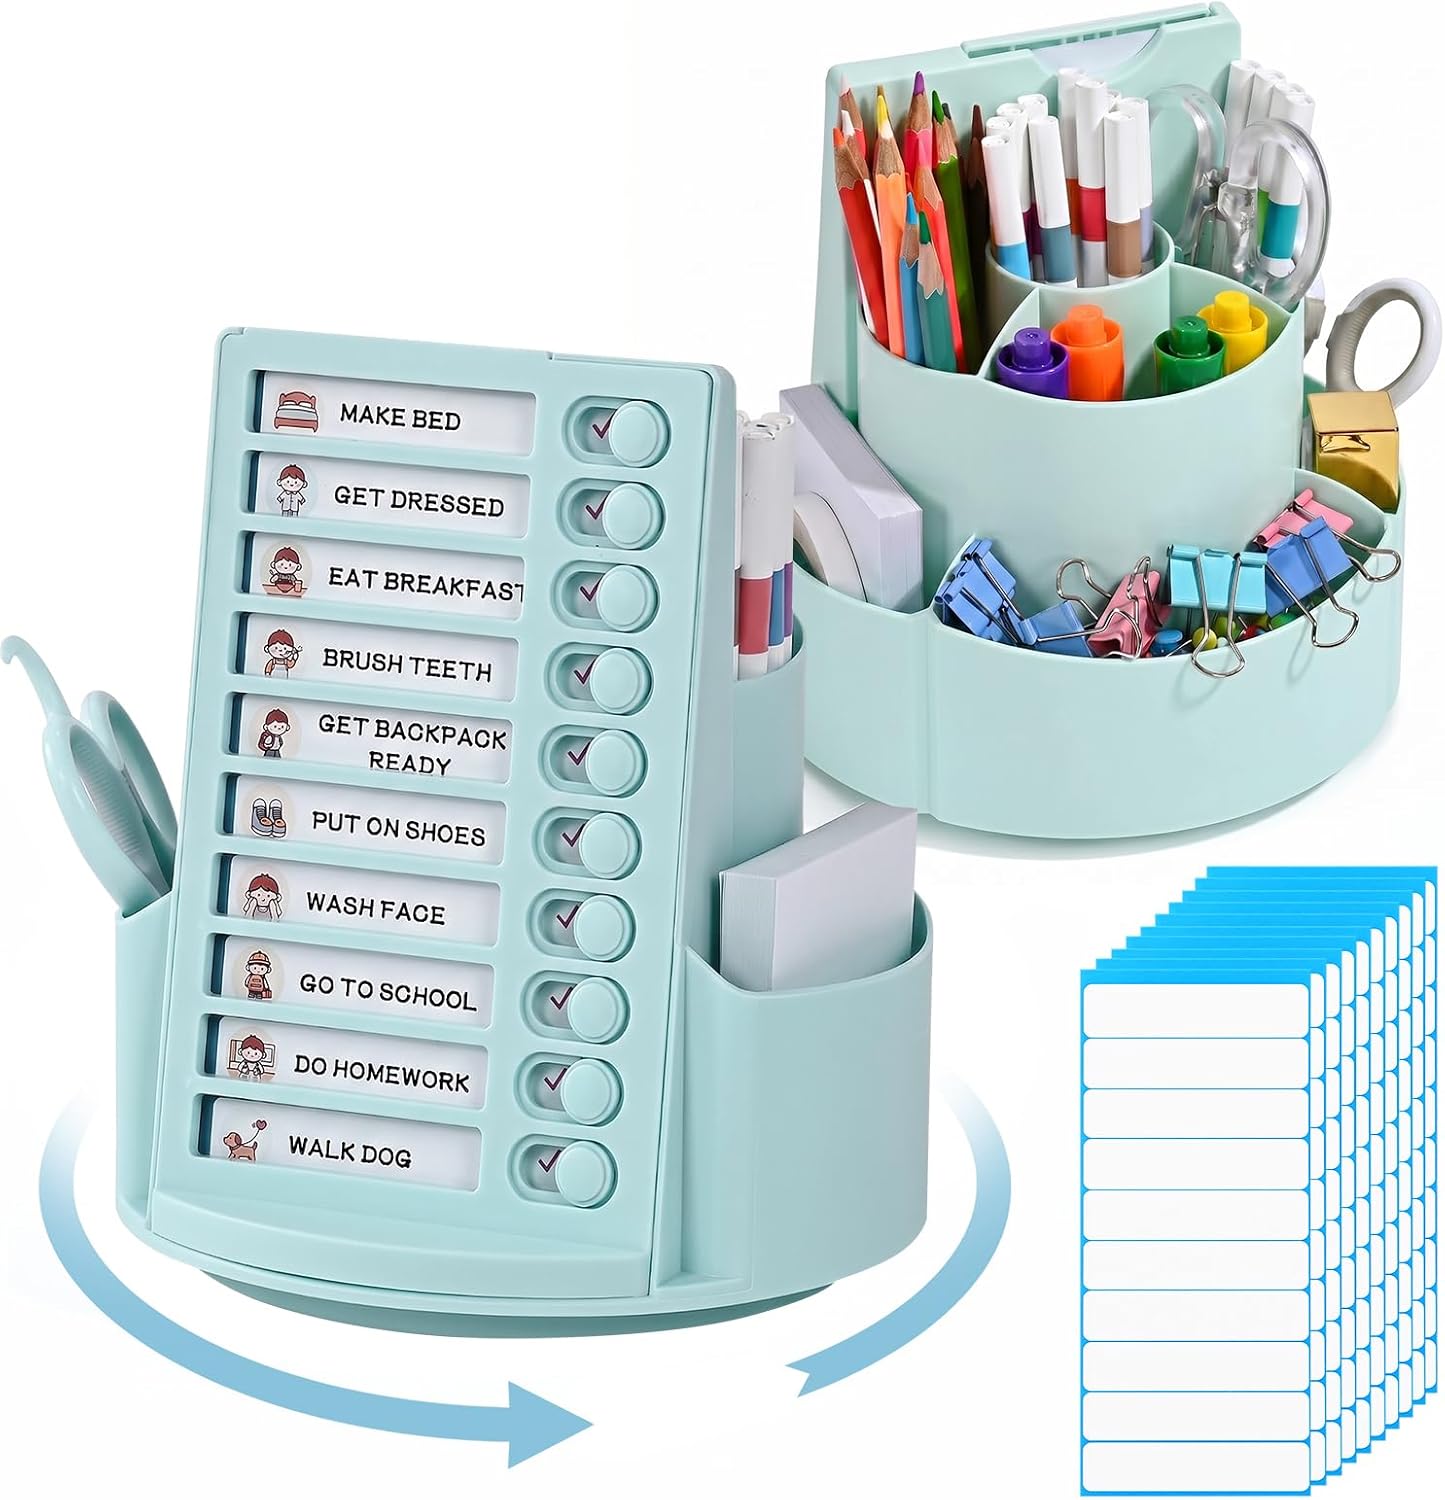

Lulav and Esrog Watercolor Sukkah Decoration
Carbon Copy Designs with Wax Crayons
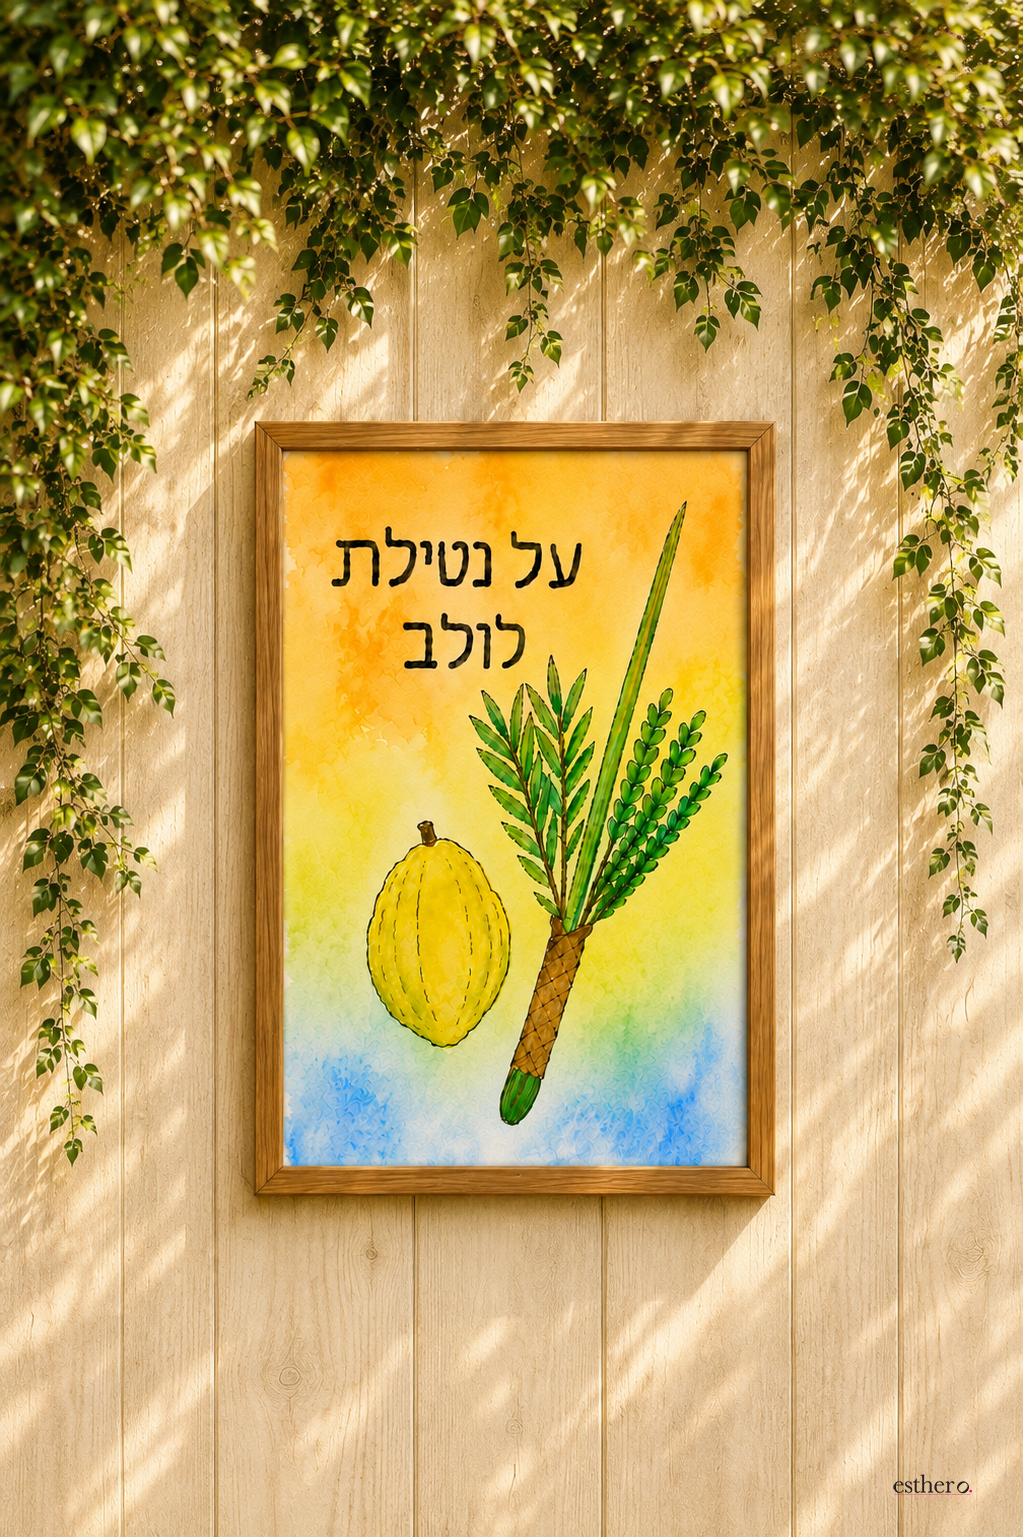
There’s something extra special about DIY Sukkah decorations. This lulav and esrog watercolor painting is colorful, meaningful, and beautiful enough to display in your sukkah year after year.
And you definitely don’t need to be an artist to make it!
Using a simple homemade carbon-paper trick, you can easily transfer the lulav and esrog design onto watercolor paper. Add a splash of watercolor paint, frame your finished masterpiece, and you have a gorgeous piece of DIY Sukkos decor.
Once you learn the technique, you can use it with so many different designs. You can also try using other pictures, such as these Yerushalayim designs.
And guess what? Once you get really good at this method, you can even try tracing pictures of real people!
A Sukkah Decoration That Looks Like Real Art
We love Sukkos projects that are fun to make but still look beautiful hanging in the sukkah.
The watercolor technique makes every painting unique. There’s no need to stay perfectly inside the lines or worry about getting every detail exactly right. The loose, slightly imperfect look is part of what makes watercolor so beautiful.
Once it’s framed, this simple project instantly feels like a finished piece of Judaica art.
The Easy Homemade Carbon-Paper Trick
If drawing a lulav and esrog freehand sounds intimidating, don’t worry! This project starts with an easy tracing method that allows you to transfer the design directly onto your watercolor paper.
Simply color the back of your printed design with a wax crayon. Place it crayon-side down on the watercolor paper and trace over the lines of the design. As you trace, the wax crayon on the back transfers the image onto the watercolor paper—almost like homemade carbon paper.
Once your outline is transferred, you’re ready to add watercolor, markers, or another medium of your choice.
How to Choose a Design for Different Ages
This particular lulav and esrog design is recommended for ages 9 and up because it requires a fair amount of tracing and includes smaller, more detailed areas to fill in.
The great thing about this technique is that the same concept can easily be used with younger children. Simply choose a basic drawing with larger shapes, fewer lines, and less detail.
When deciding if a design is age appropriate, keep two things in mind:
- How much tracing needs to be done? A simple picture with fewer lines will be much easier for younger children to transfer.
- How intricate is the design to fill in? Small spaces and detailed areas require more control when using watercolor or markers.
For younger children, choose a simple outline and let them enjoy the tracing and coloring process without worrying about tiny details. Older children can challenge themselves with increasingly intricate designs.
A Multi-Step Art Project
This beautiful watercolor project is a multi-step art project recommended for ages 9 and up.
From preparing the homemade carbon paper and transferring the design to adding color and finishing touches, each step gives children a chance to use a different skill and add their own creativity and style.
It can also be spread out over more than one art session, allowing children to design the watercolor background and take their time with the tracing before moving on to painting.
And remember—no two paintings will turn out exactly alike, and that’s what makes them so special!
You Will Need:
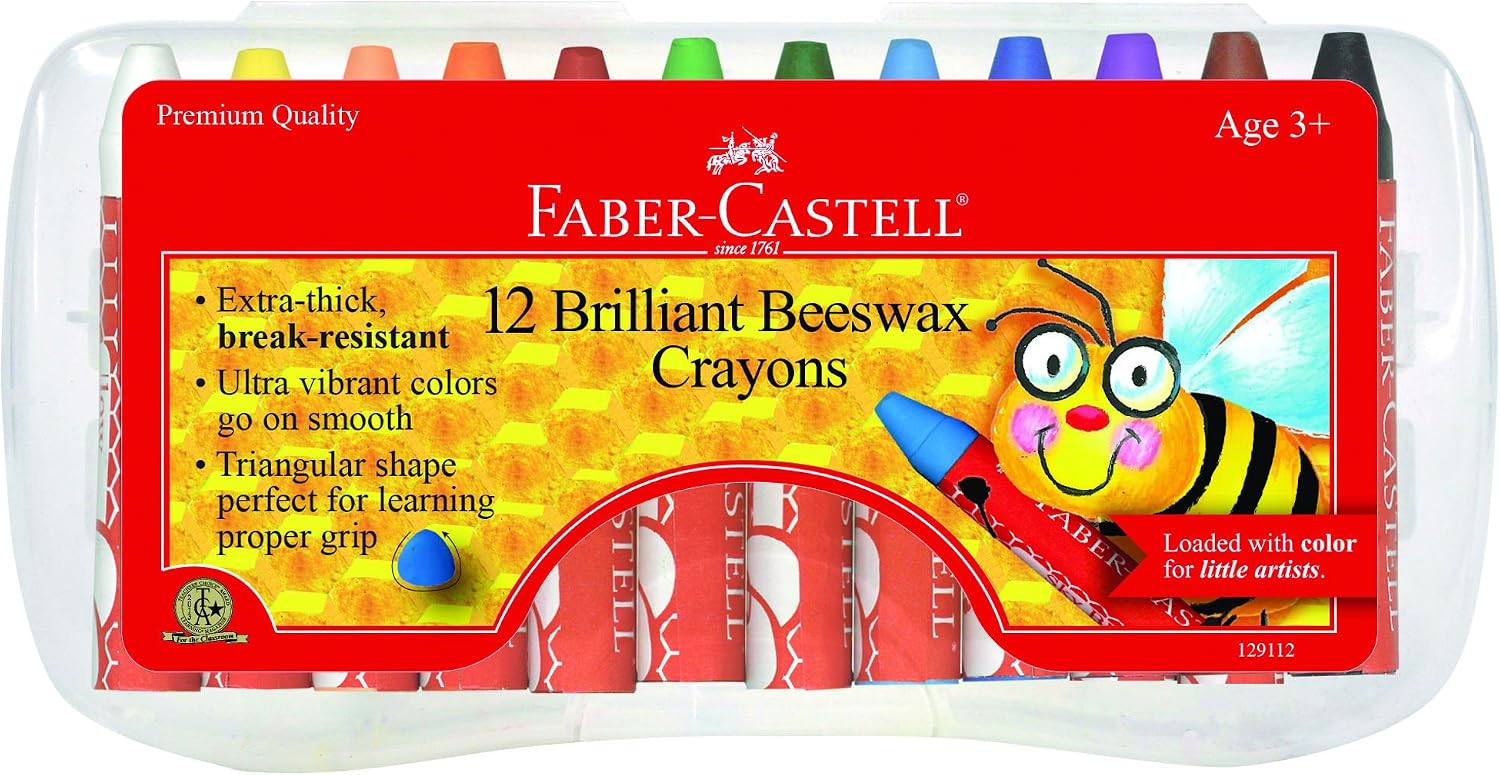
- Black crayon
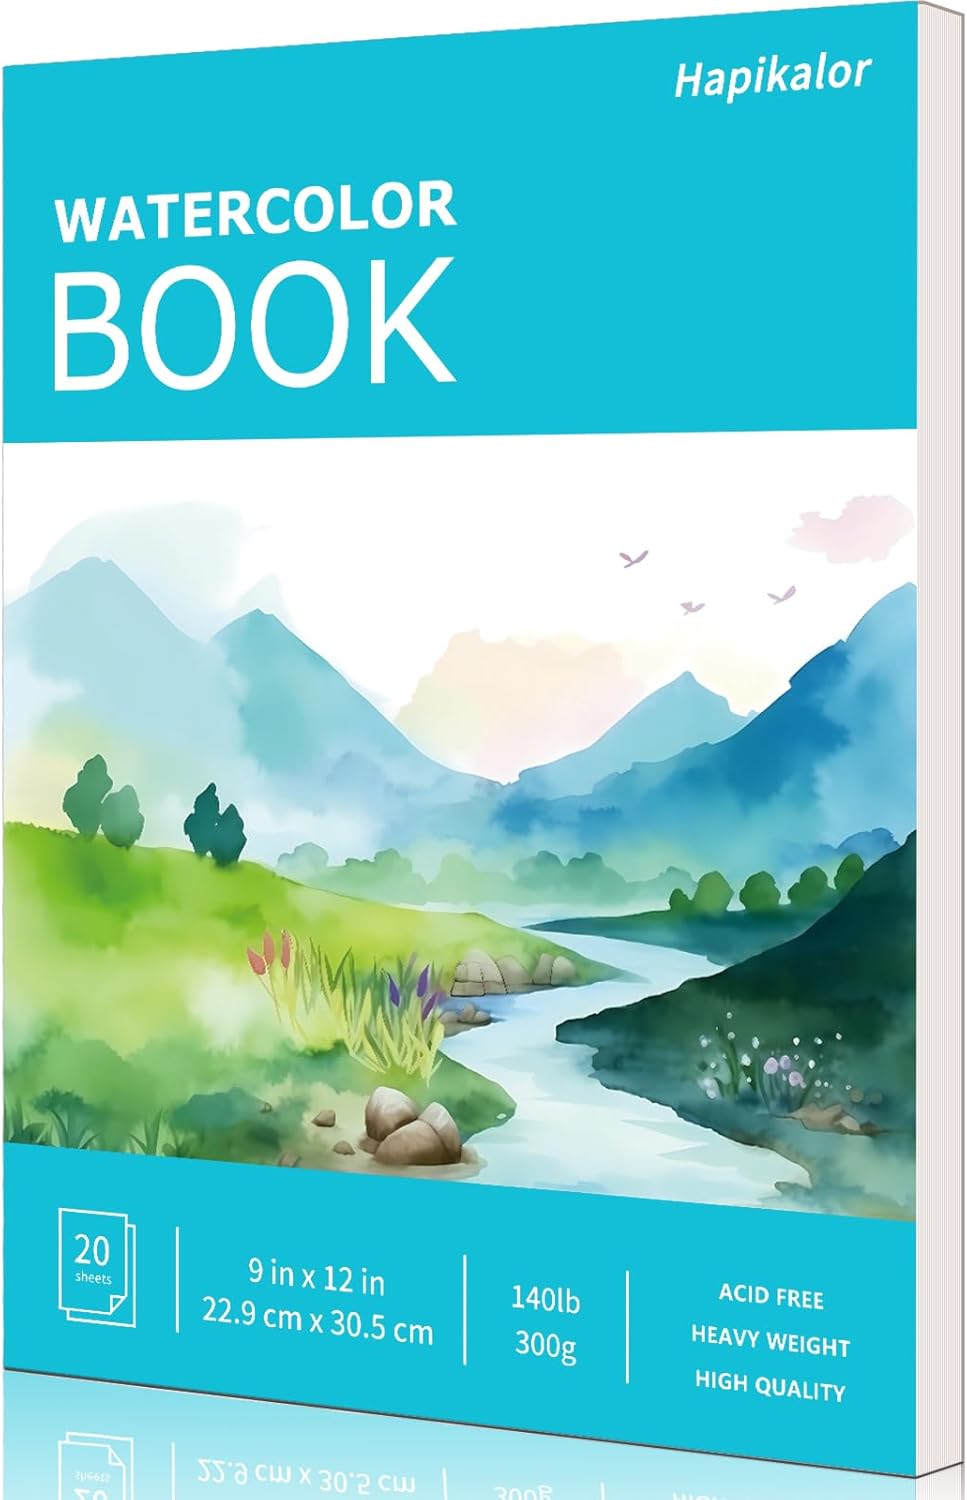
- 9″ x 12″ watercolor paper
- 9″ x 12″ frame
- Bowl of water
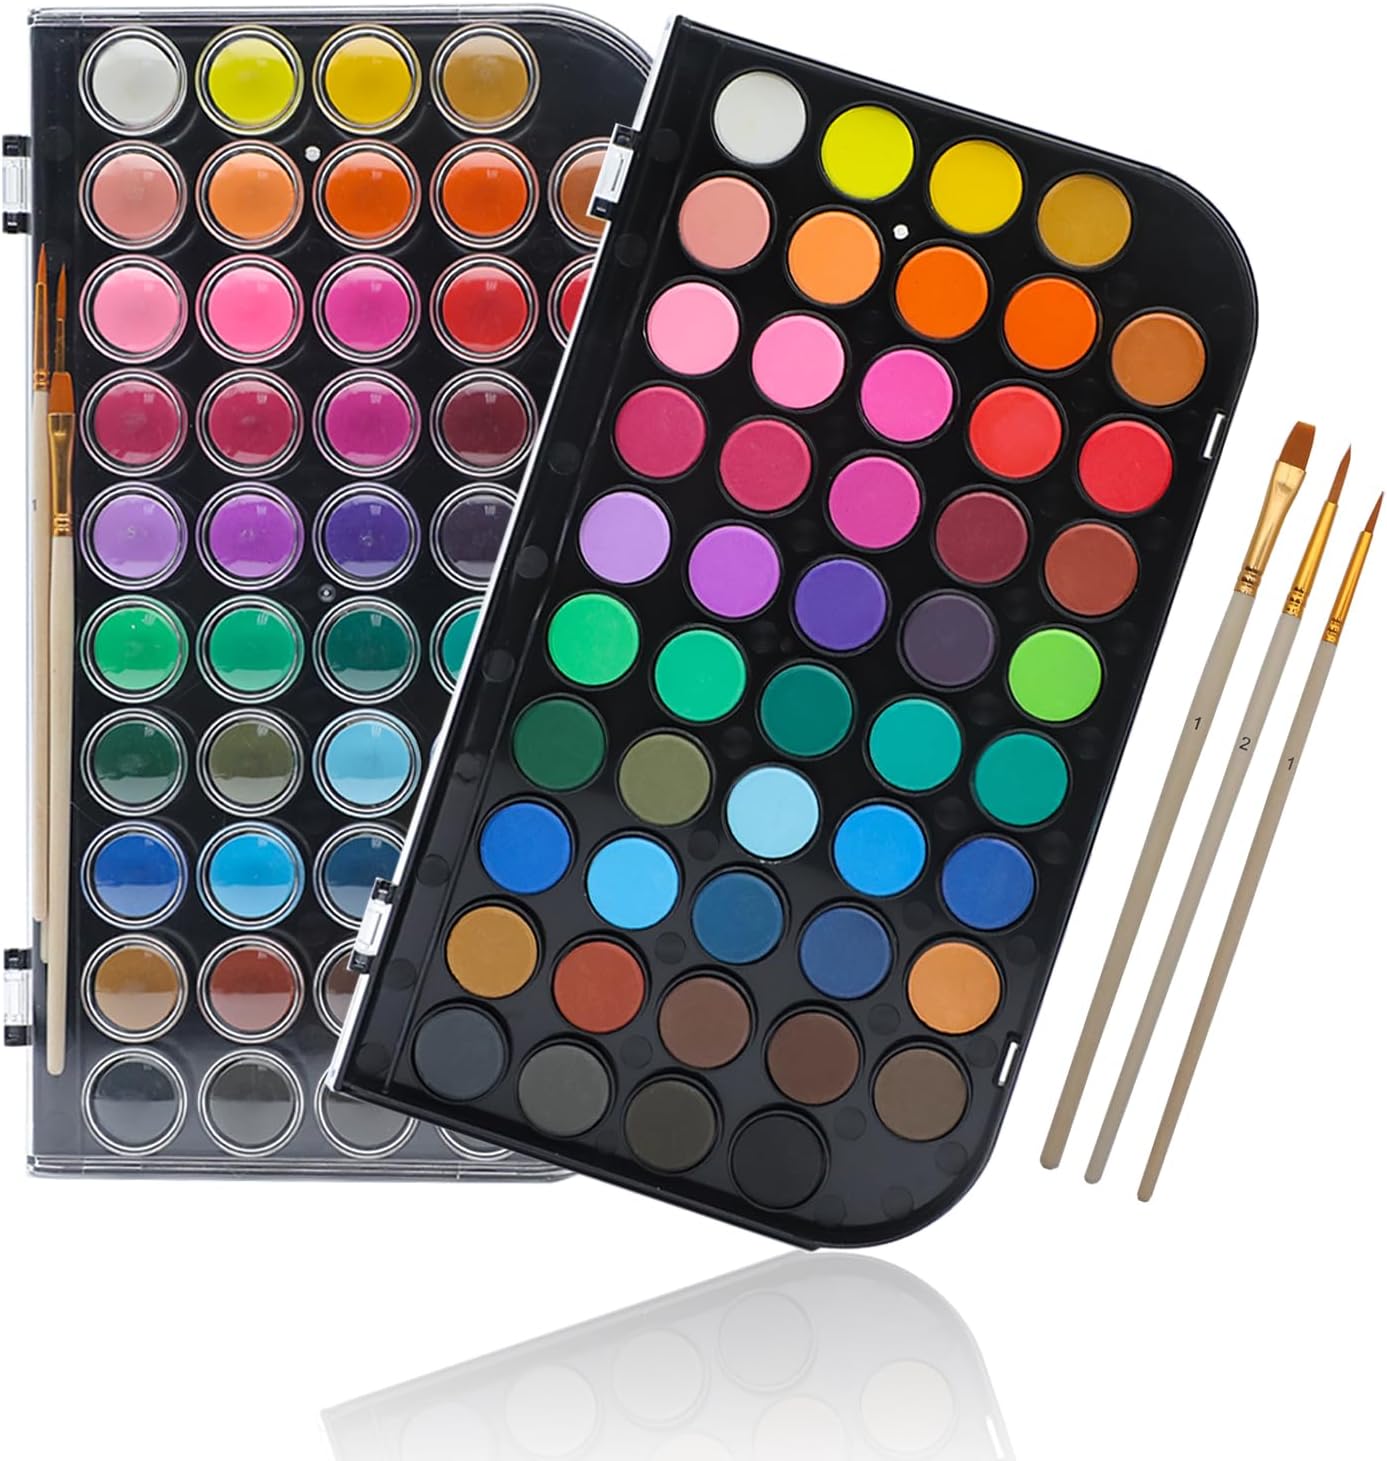
- Watercolor paints
- Paintbrush
- Tape
- Pen
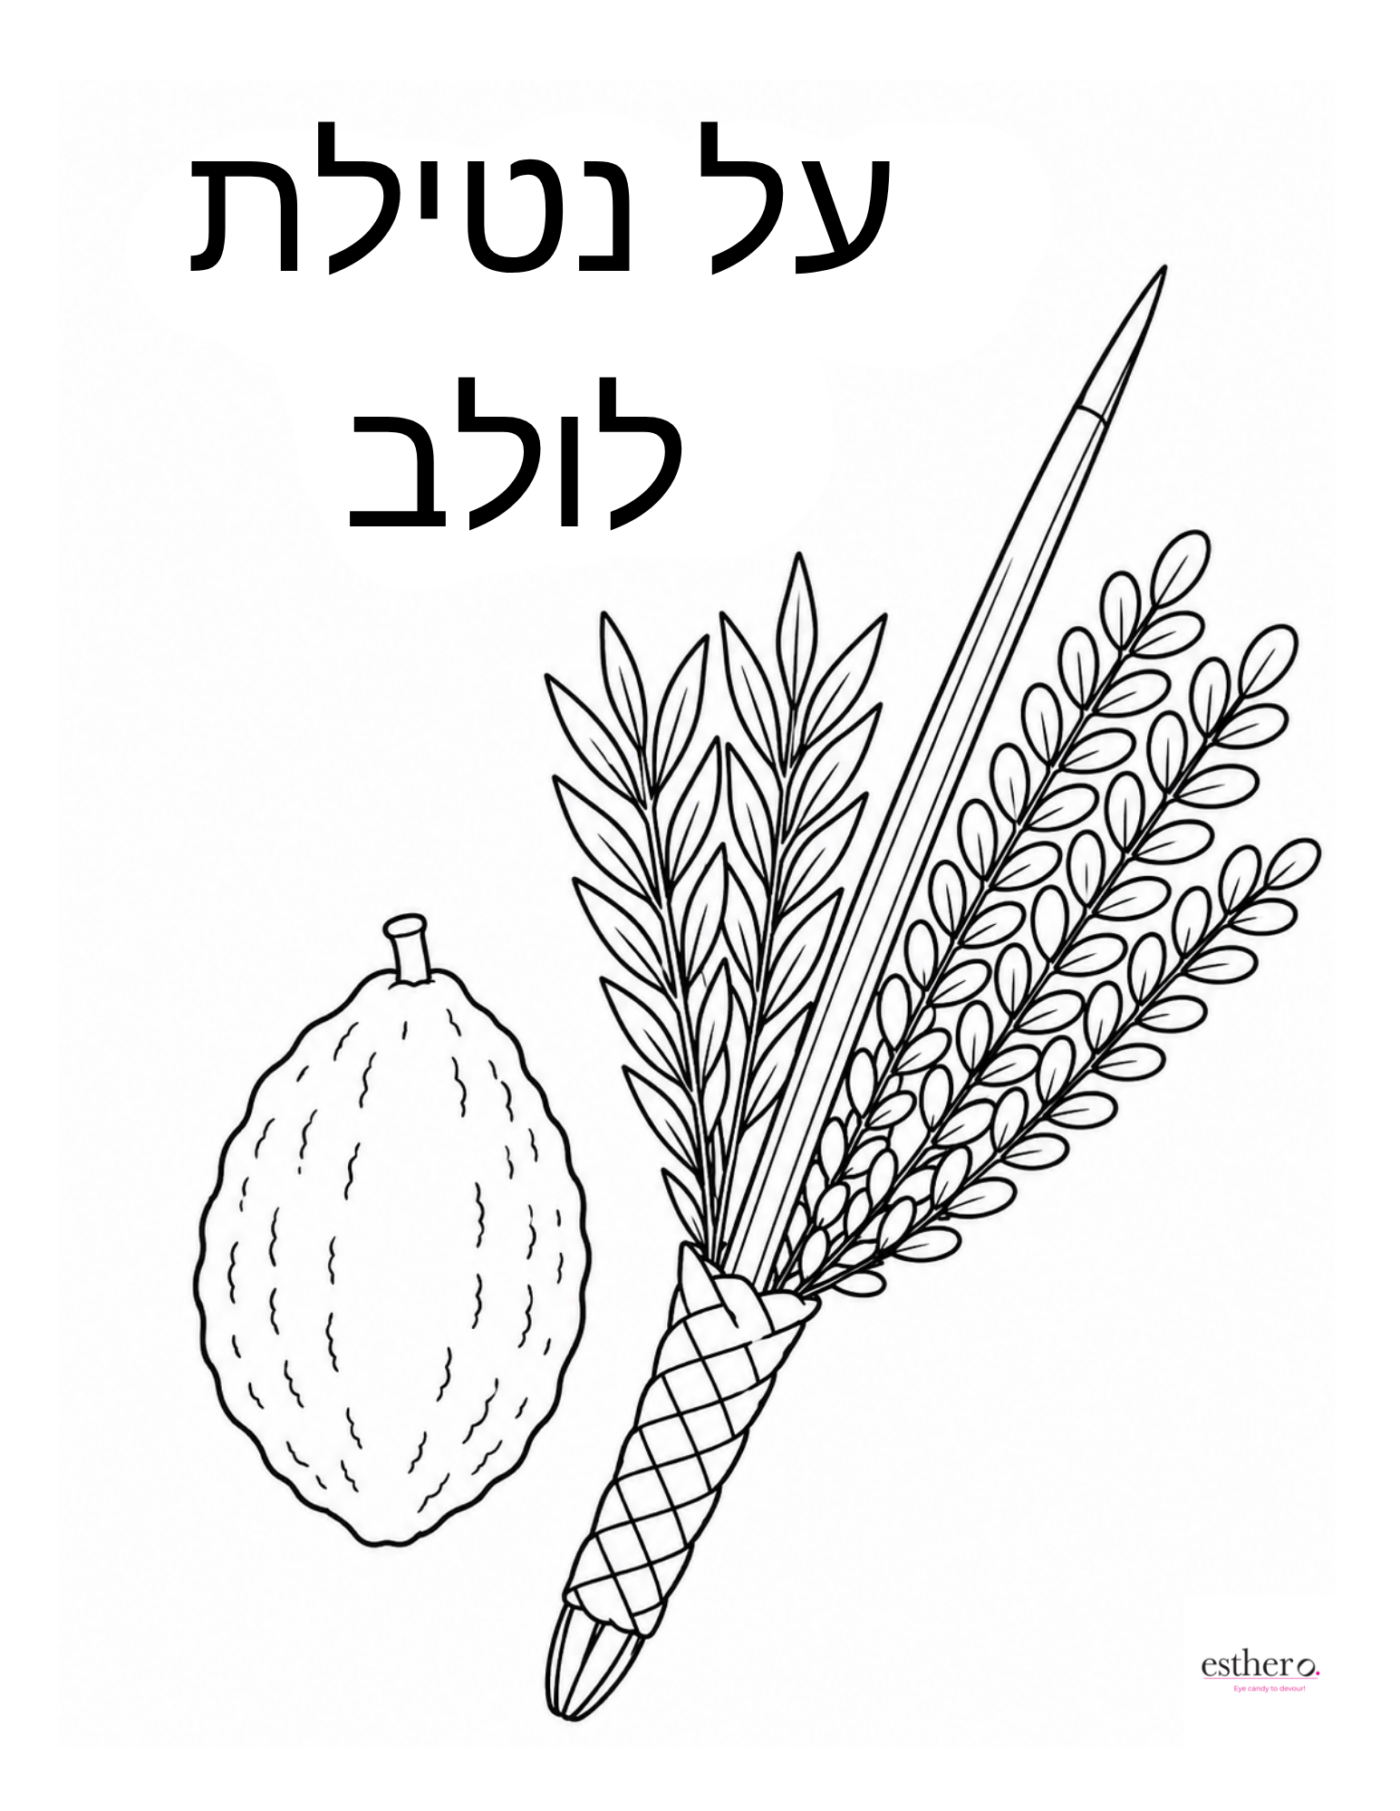
- Printed template printed on an 8.5 x 11″ paper
Directions:
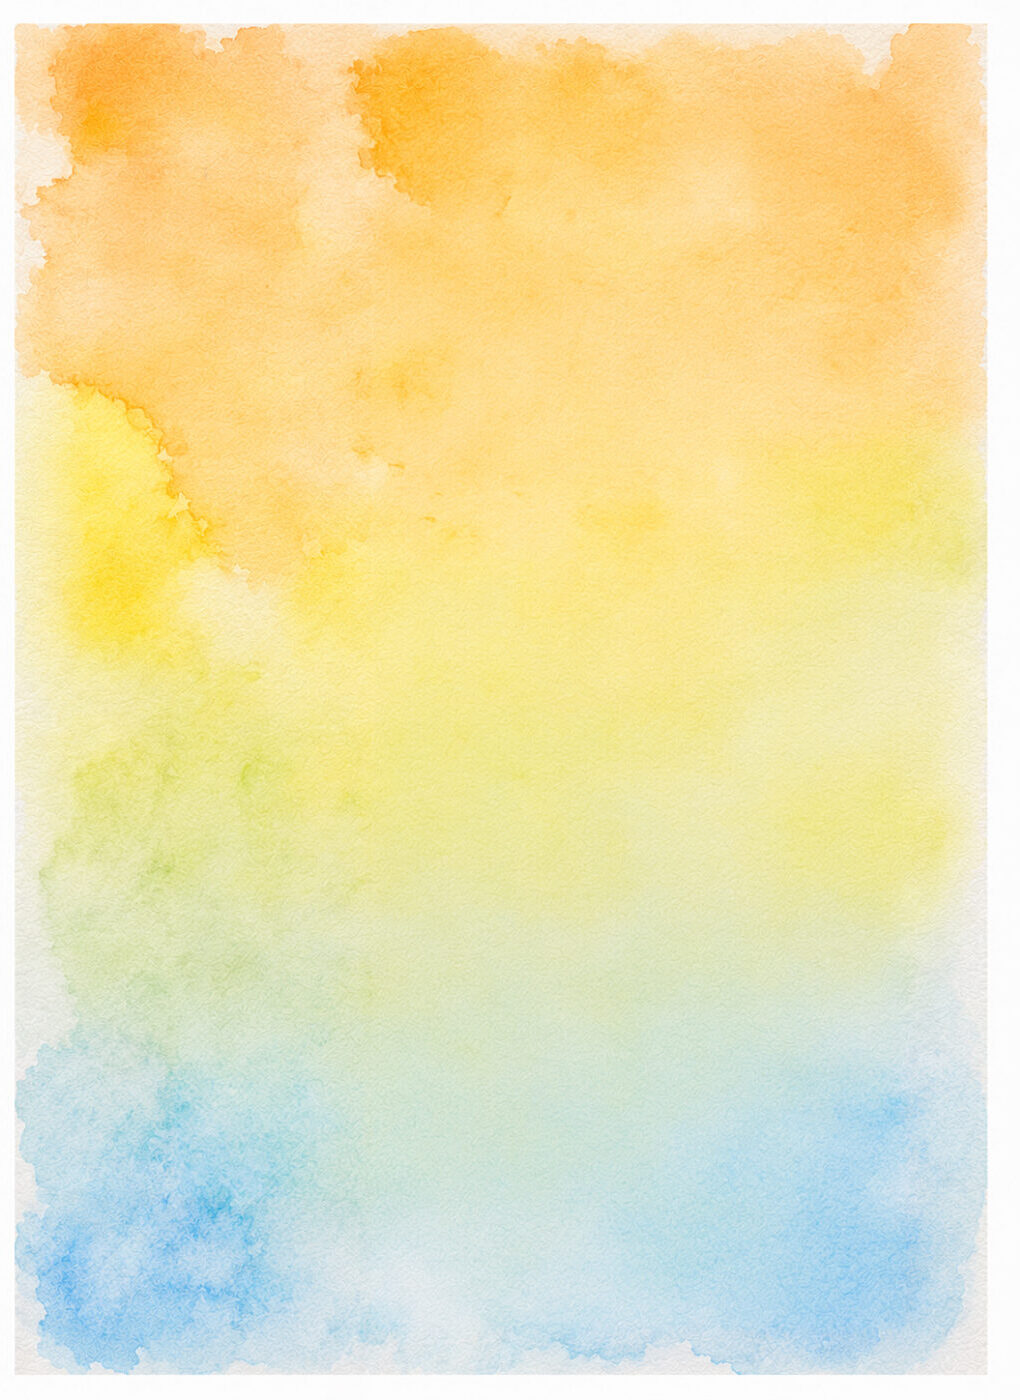
Paint the watercolor paper using light, soft colors. Use a generous amount of water to dilute the paint and create a pale watercolor effect.
Before starting, test your colors on a separate piece of paper to make sure they are light enough. Remember, you will be painting the lulav and esrog on top of this background, so you don’t want the colors to be too dark—especially in the areas where the design will be.
Let the watercolor background dry completely before moving on to the next step.
If you are using the Yerushalayim designs, you can skip this background painting step.
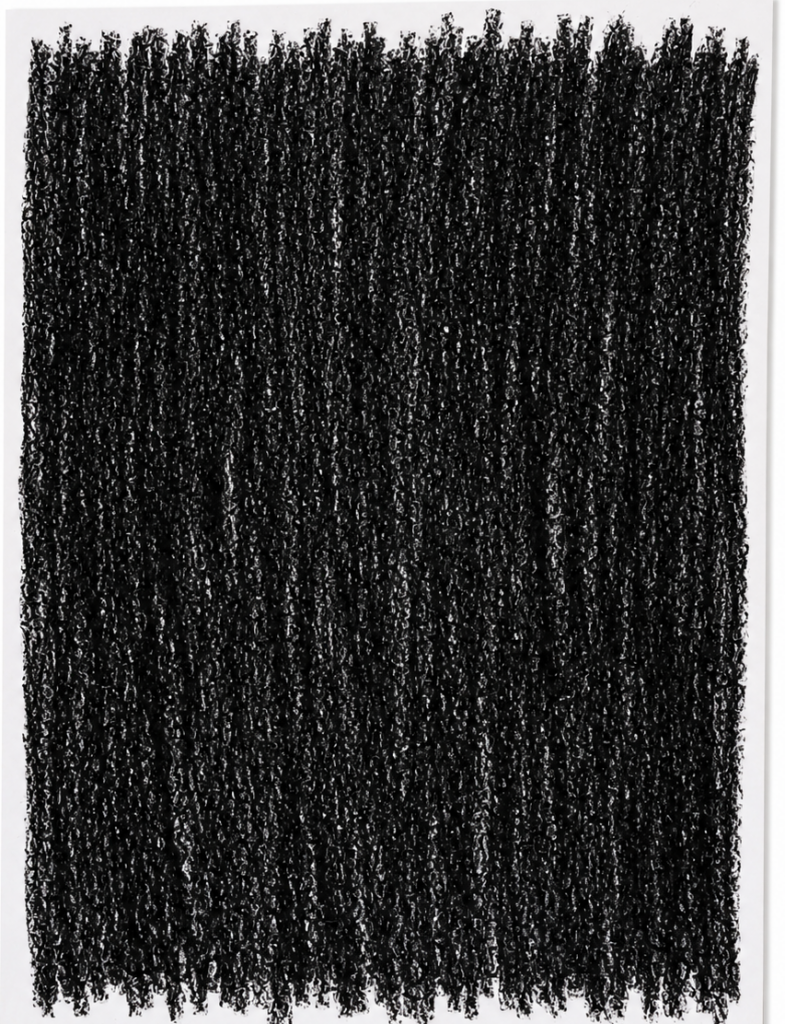
2. Color the back of the paper with your design with the black crayon. Make sure your entire paper is colored. Color hard so it is very black.
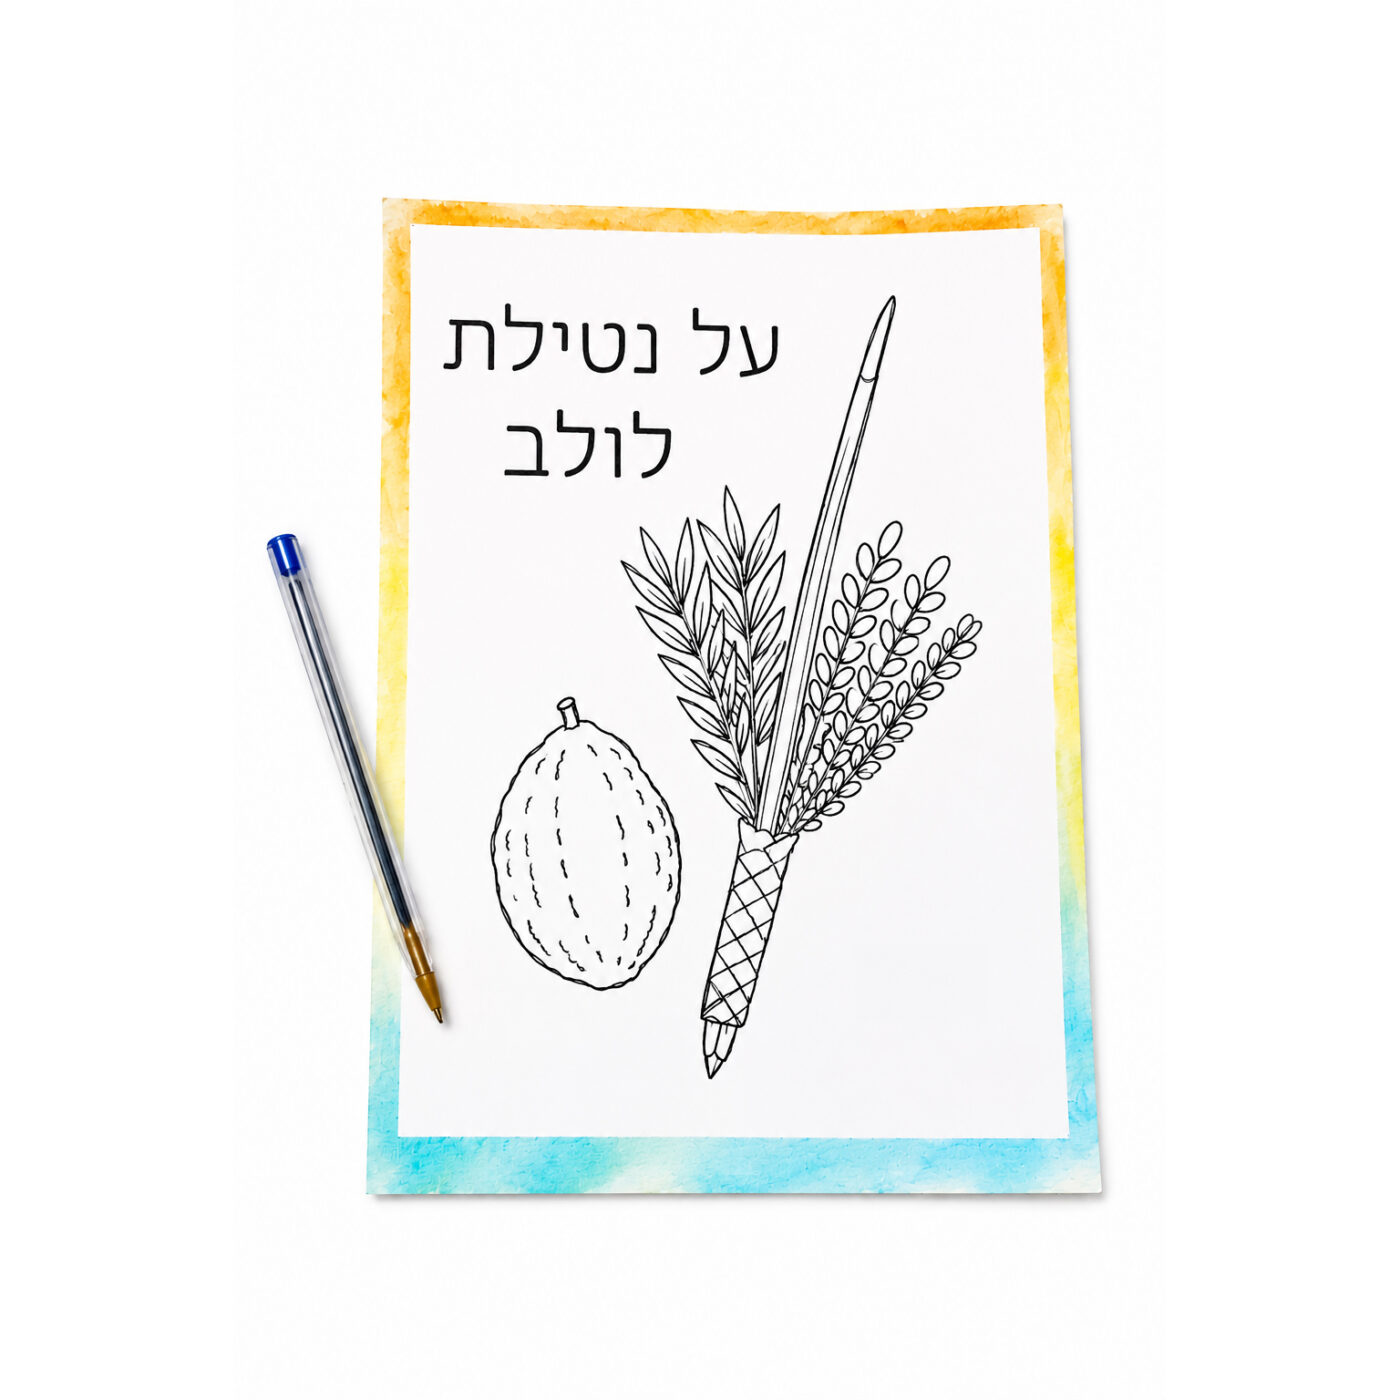
3. Turn the template right-side up and place it in the center of your painted paper. Make sure the paper is perfectly straight and secure it with a piece of masking tape or paper clips so it does not move. This is very important step.
4. Use a pen to trace the lulav, esrog, and words. Press firmly so the design transfers onto the watercolor paper. Do not move the template until you finish tracing everything.
For the text, you can make the letters double or just a single simple line tracing.
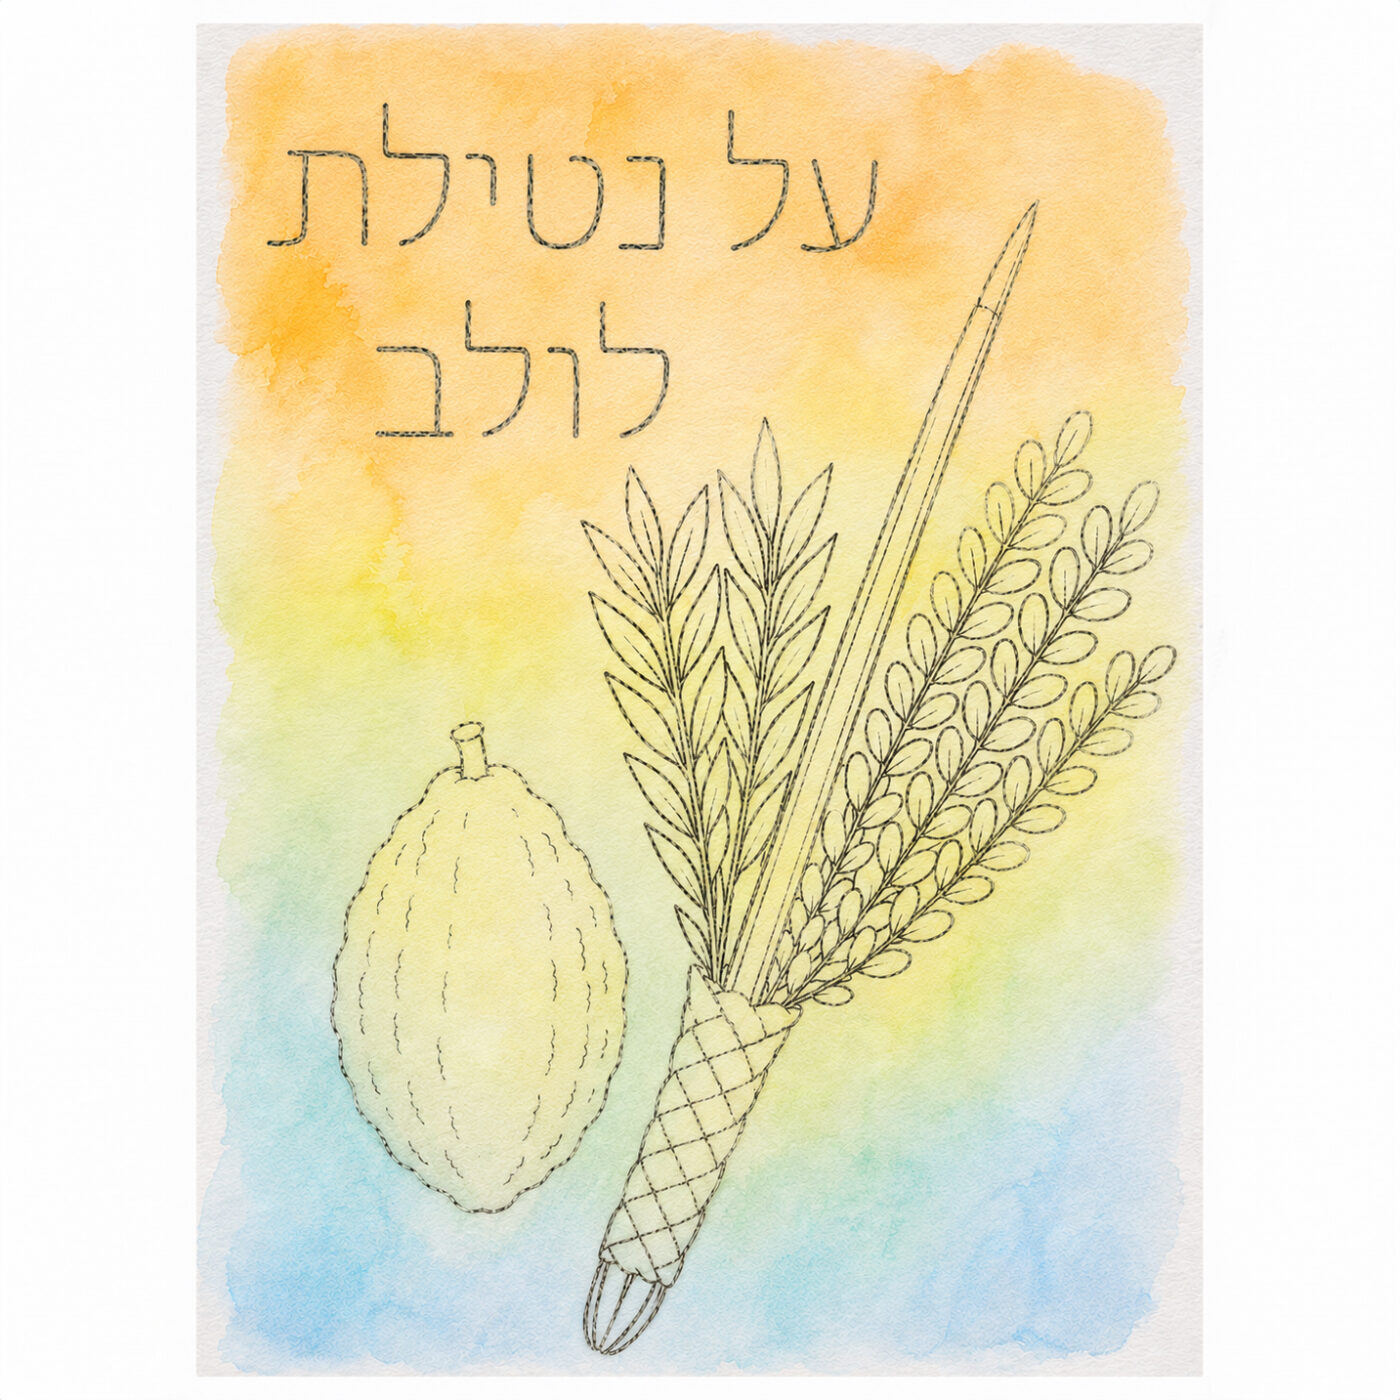
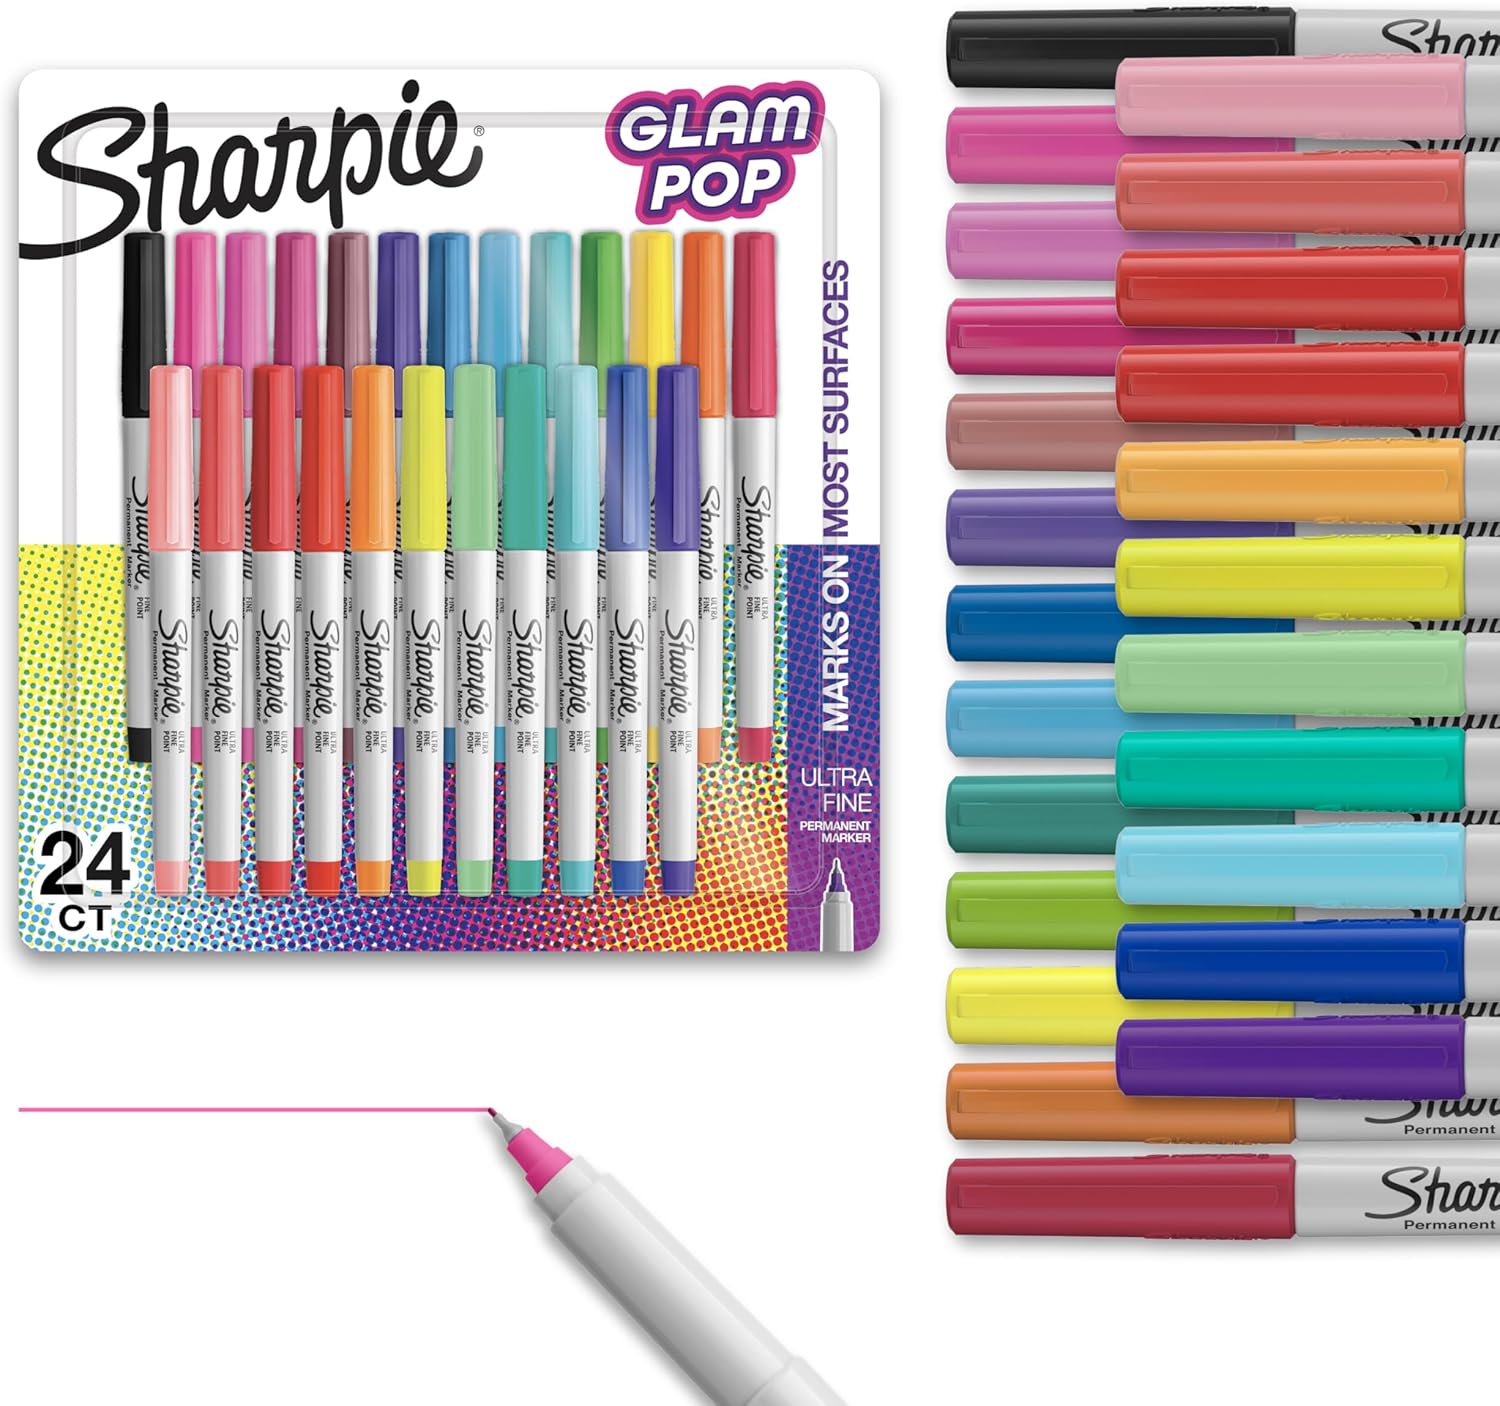
5. Carefully remove the template. You can use thin markers to darken any lines. If you want, you can color in the text with marker too.
6. Use watercolor paints to color in the lulav and esrog. For this step, use less water than you did for the background so the paint is slightly heavier and the colors stand out against the soft watercolor background.
Once your artwork is dry, place your masterpiece inside the frame!
Check out our other DIY Sukkah decorations.