


Fruit Tree Cupcakes
A Whimsical Tu B’Shvat Dessert Craft
Creating fruit trees out of chocolate — from crisp apples and juicy oranges to sweet peaches and bright, sunny lemons — this Fruit Tree Cupcake project is a fun and delicious way to celebrate Tu B’Shvat.
This edible craft is about creativity, not perfection. It doesn’t matter if the trees aren’t exactly alike or perfectly shaped — just like in nature, no two trees are the same. Each one is imperfectly perfect, whimsical, and one-of-a-kind — just like Hashem’s beautiful world.
Perfect for family fun or Tu B’Shvat parties, this activity doubles as dessert and hands-on fun.
What You’ll Need
chocolate cupcakes
chocolate frosting (homemade or store bought)
chocolate crumbs (for “soil”)
chocolate lentils (to create fruit)
semisweet chocolate
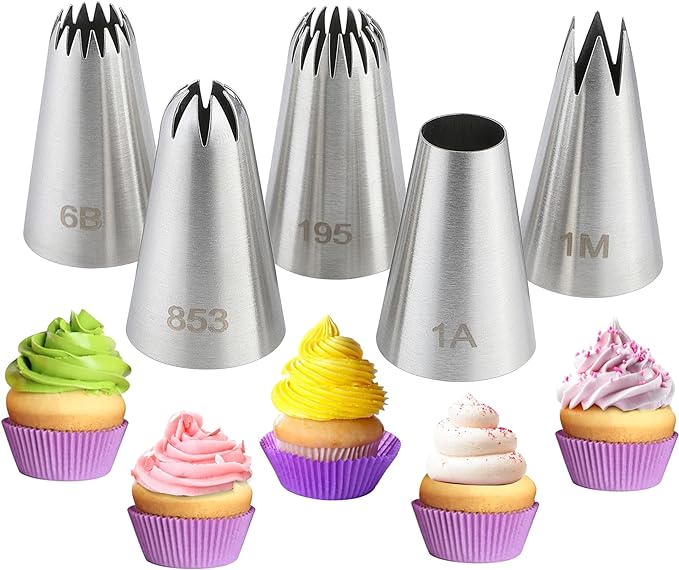
disposable pastry bag or Ziploc bag
piping tip
parchment paper
A Sweet Tu B’Shvat Moment
These Fruit Tree Cupcakes are more than just dessert — they’re a celebration of growth, creativity, and the beauty of nature. Whether you’re hosting a Tu B’Shvat party or creating a meaningful activity with kids, this project is guaranteed to bring smiles.


How to Make Fruit Tree Cupcakes
Step 1: Prepare the Cupcakes
Bake and frost chocolate cupcakes using your favorite homemade recipe or store-bought products. Sprinkle the frosting with chocolate crumbs to create the look of soil.
Step 2: Prepare the Chocolate Trees
Cover your work surface with parchment paper. Melt the semisweet chocolate and transfer it to a disposable pastry bag or Ziploc bag. Cut a small hole at the tip of the bag.
Step 3: Create the Trees
Pipe tree shapes directly onto the parchment paper using the melted chocolate. While the chocolate is still wet, add chocolate lentils to represent fruit.
The trees we made were approximately 4–5 inches tall.
Step 4: Let Them Set
Allow the chocolate trees to dry completely at room temperature or in the refrigerator until firm.
Step 5: Assemble
Once fully set, gently peel the trees off the parchment paper and insert them into the cupcakes.
Photography and styling by Chay Berger
This article originally appeared in Family First