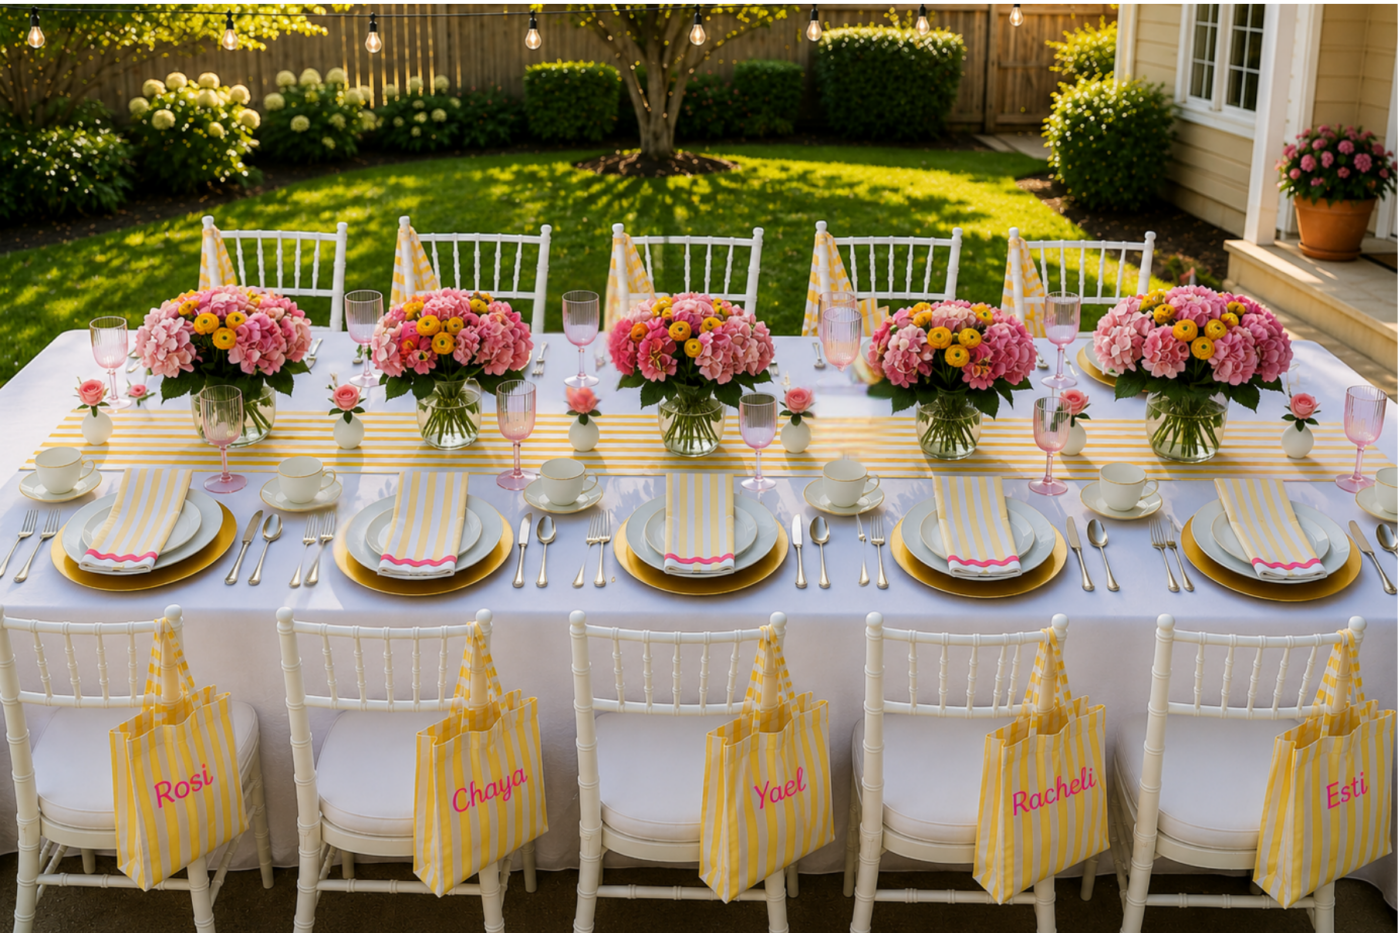
These Mini Bouquet Seating Cards are one of the prettiest ways to elevate a Shavuos table, sheva brachos, or floral event. Simple kraft paper bouquets tied with twine become elegant personalized place cards that double as décor and favors.
Why These Seating Cards Are So Popular
These mini bouquets feel thoughtful, elegant, and handmade without requiring complicated crafting. Each guest gets their own tiny floral arrangement with a personalized name tag, creating a table that feels warm and inviting.
They work beautifully for:
Shavuos tables
Weddings
Sheva brachos
Bat mitzvahs
Bridal showers
Garden parties
Spring entertaining
The best part? You can fully customize the flowers and paper colors to match your tablescape.
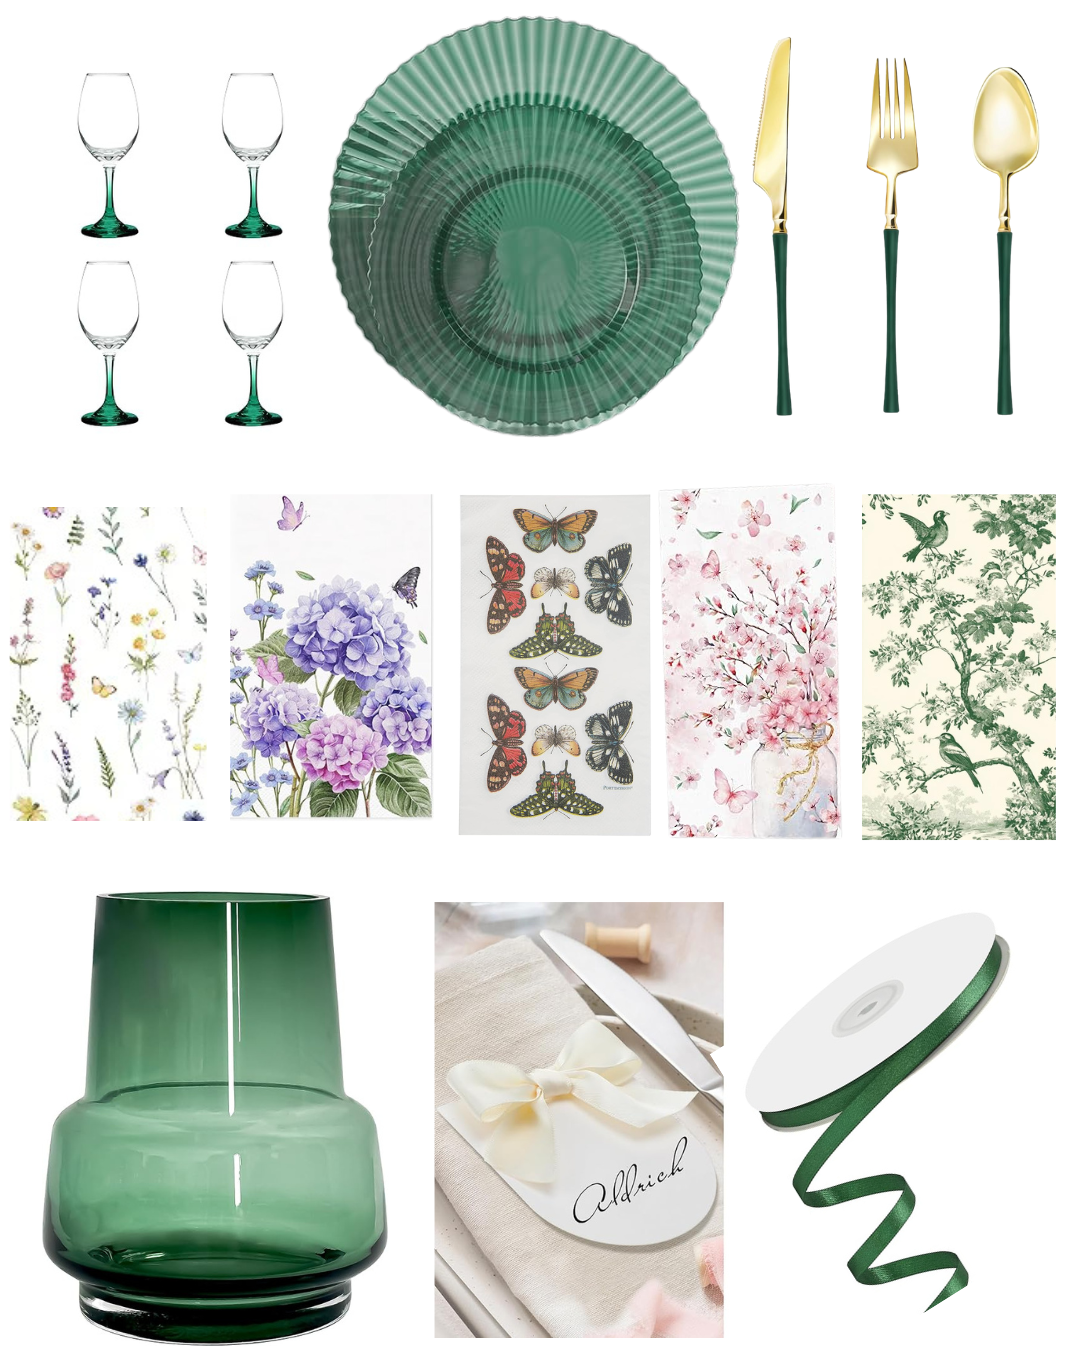
Supplies You’ll Need
According to the original Esther O tutorial, you will need:
6-inch square paper
Twine
Small flowers (fresh, dried, or faux)
Mini name tags
Kraft paper creates a rustic natural look, but you can also use:
Origami paper
Floral wrapping paper
Tissue paper
Colored parchment paper
Styling Ideas
Rustic Shavuos Table
Use kraft paper with lavender or wildflowers for a natural earthy tablescape.
Elegant Floral Theme
Coordinate bouquet colors with your linens, menus, and centerpieces.
Color-Coordinated Place Settings
Make each bouquet identical or create assorted floral bundles in complementary shades.
Tips for Best Results
Use smaller flowers so bouquets stay delicate and lightweight.
Dried flowers hold up especially well if preparing ahead.
Keep fresh bouquets refrigerated until close to serving time.
A Beautiful Favor & Place Card in One
One of the reasons these seating cards are so memorable is that guests can take them home afterward. They function as both seating cards and party favors, making your table feel extra special without adding clutter.
EstherO is an Amazon Affiliates Associate and may make a small commission from any purchases made through the links on its website, at no additional cost to you
Please double-check all kosher certification as there are constant changes.